How to Freeze Pierogi (Without Them Sticking)
Freeze, Defrost, and Reheat Pierogi the Right Way
Yes — you can freeze pierogi. And when done properly, they freeze extremely well.
In fact, if you’re making homemade pierogi, freezing a large batch is usually the smart move. The dough holds up beautifully, and most classic fillings reheat without any noticeable loss in texture or flavor.
But here’s the important part: pierogi only freeze well if the filling freezes well.
Potato and cheese, meat, farmer’s cheese — all excellent candidates. But fruit fillings like apple can turn watery and mushy after defrosting.
Below, I’ll show you exactly how to freeze pierogi the right way so they don’t stick, crack, or lose texture — and how to reheat them properly when you’re ready to eat.
👉 Want the full pierogi workflow in one place, in video form? My FREE pierogi course walks through dough, filling, shaping, and cooking step by step.
Can You Freeze Pierogi?
Yes.
For best results, freeze pierogi after cooking them. That way, reheating is simple — you can warm them directly in a skillet instead of bringing a large pot of water to a boil.
They keep good quality in the freezer for about 3 months.
Here’s the exact process:
Freezing Pierogi Step by Step
- Prepare the Pierogi. Make and shape your pierogi as usual.
- Cook. Cook the pierogi as usual.
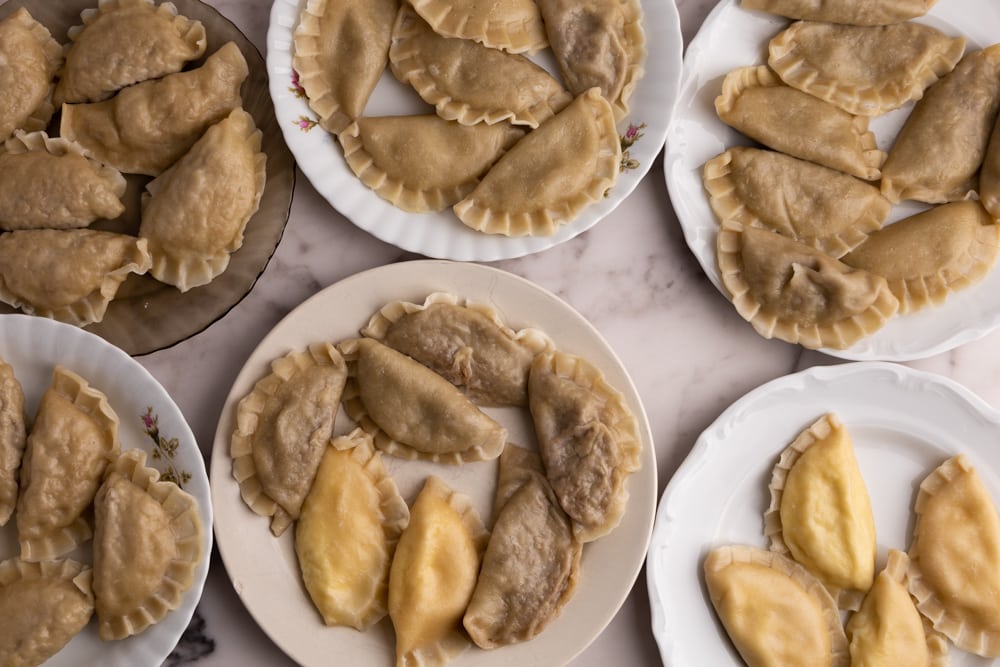
- Cool and dry. Place the pierogi in a single layer on large plates or trays. Let them cool fully. After 15–20 minutes, flip them so both sides dry. This step matters because any surface moisture turns into frost in the freezer — and frost affects texture.
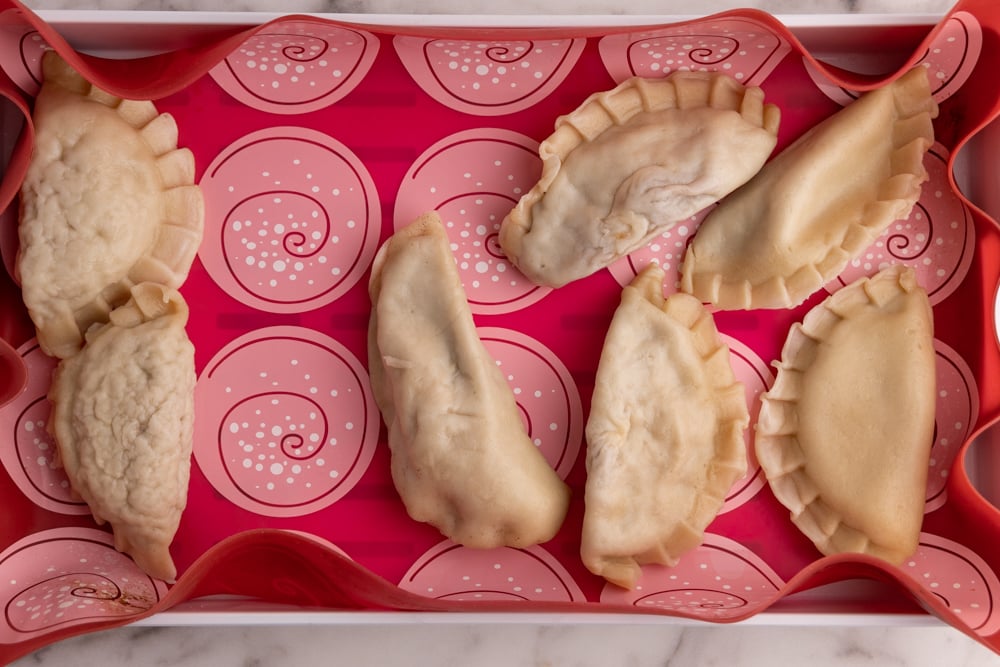
- Pre-freeze. Transfer the cooled pierogi to a tray or baking sheet. Make sure they are not touching. Freeze for 2–3 hours, until the exterior is solid. This prevents them from sticking together in the freezer bag and allows you to remove only as many as you need later. A silicone mat makes removal even easier.
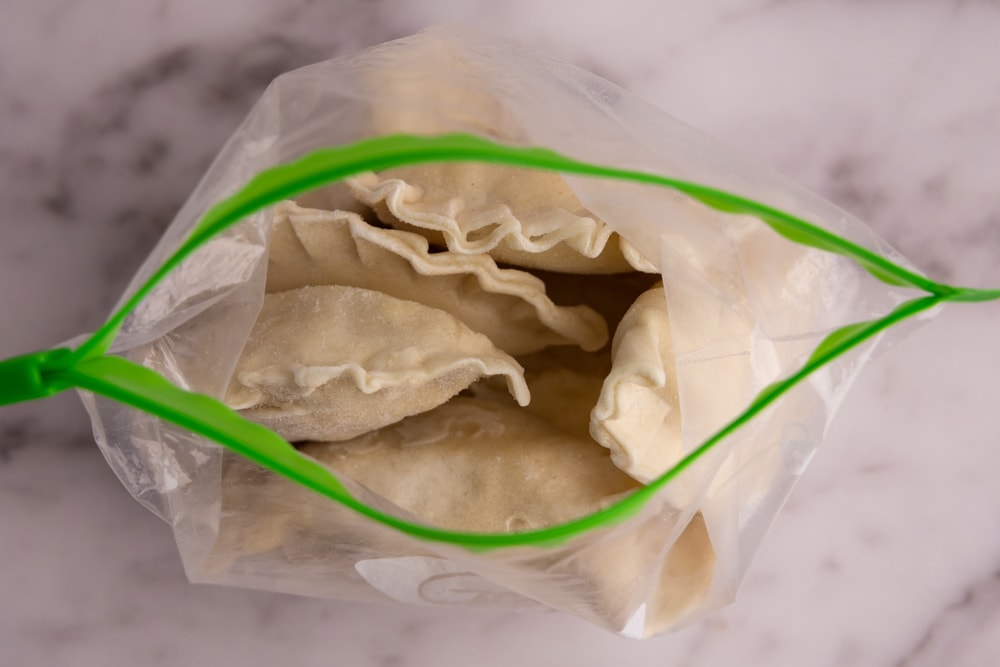
- Transfer. Once frozen solid, transfer the pierogi to freezer bags. If you have different fillings (for example potato and cheese and meat), store them in separate bags and label accordingly. They can look surprisingly similar once frozen.
- Freeze. Place the bags back in the freezer. For best quality, use within 3 months. They’re still safe beyond that, but texture and flavor can gradually decline.
Properly frozen pierogi retain their shape, don’t stick together, and reheat beautifully — as long as the filling itself freezes well.
Next up, let’s talk about defrosting.
How to Defrost Pierogi
You don’t have to defrost pierogi before reheating them. They can go straight from freezer to pot or pan.
However, defrosting first gives you:
- Shorter cooking time
- More even heating
- Lower risk of a hot exterior and cold center
If you have the time, it’s worth doing. Here’s how:
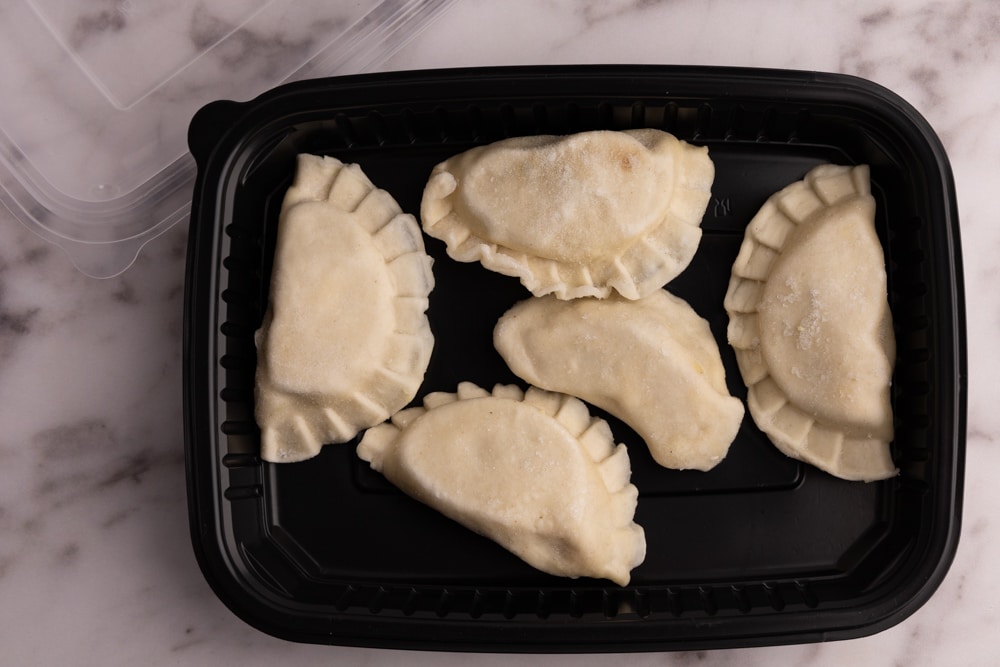
- Remove the amount you plan to eat.
- Place them in a single layer inside an airtight container.
- Refrigerate overnight (about 8–12 hours).
Do not overcrowd the container. If pierogi sit tightly pressed together while thawing, they can stick. Also, seal the container well to prevent drying.
Once thawed (or straight from frozen), use the correct reheating method based on whether the pierogi were cooked before freezing.
How to Reheat Pierogi
How you reheat pierogi depends on one thing:
Were they cooked before freezing?
Use this rule:
- Uncooked (fresh or store-bought) → Cook in water
- Already cooked (boiled before freezing) → Reheat on the stove
Do not boil already cooked pierogi again — it can make them watery and increase the risk of tearing.
Reheating Uncooked Frozen Pierogi (Boiling Method)
Use this method if the pierogi were frozen raw — either store-bought or homemade and frozen before cooking.
- Bring a large pot of salted water to a boil. (About 1 teaspoon salt per quart/liter of water.)
- Add the frozen pierogi.
- Stir gently so they don’t stick to the bottom.
- Once they float, cook for another 2–3 minutes.
- Drain and serve — or transfer to a skillet with butter if you want a crispy exterior.
Frozen pierogi will take slightly longer to float than defrosted ones.
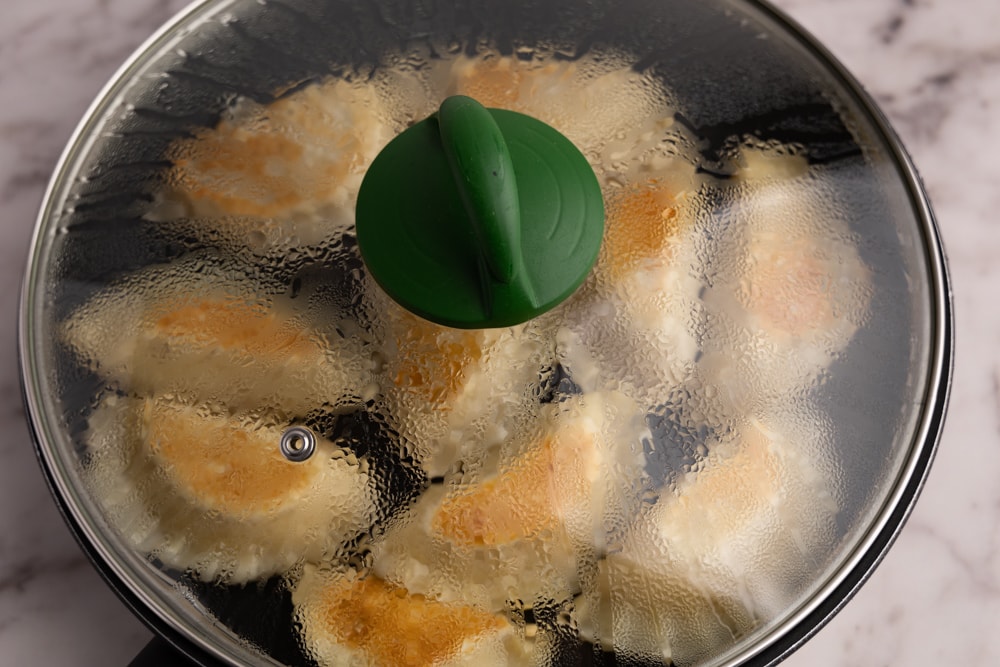
Reheating Cooked Frozen Pierogi (Stovetop Method)
Use this method if the pierogi were boiled before freezing. This is the best overall texture method — soft inside, lightly crisp outside.
- Heat a non-stick skillet over medium-low heat.
- Add butter or oil to coat the surface.
- Add the pierogi in a single layer.
- Cover with a lid and cook 10–15 minutes, flipping halfway through.
If cooking straight from frozen, expect closer to 18–20 minutes depending on size.
For extra crispness, remove the lid during the final few minutes and increase heat slightly.
Can You Freeze Pierogi Dough?
Yes — you can freeze leftover pierogi dough. But freezing dough should be a backup plan, not part of your normal workflow.
Pierogi dough takes about 10–15 minutes of active time to make. It’s the quickest part of the process. Freezing it intentionally rarely makes sense.
Freezing pierogi dough makes sense only if you run out of filling or made too much dough, and the alternative is throwing it away. And if you only have enough dough left for 1–3 pierogi, freezing isn’t worth the plastic or freezer space.
How to Freeze Pierogi Dough
- Form the dough into a tight ball.
- Wrap it tightly in plastic wrap.
- Place the wrapped ball into a freezer bag for extra protection.
- Label it (especially if you freeze other doughs like pizza or bread).
The extra bag prevents freezer burn and keeps the dough from drying out.
How to Defrost Dough
- Transfer the frozen dough to the refrigerator.
- Let it thaw slowly overnight.
- Bring it to room temperature before rolling.
Once thawed, knead it briefly to restore elasticity before using.
