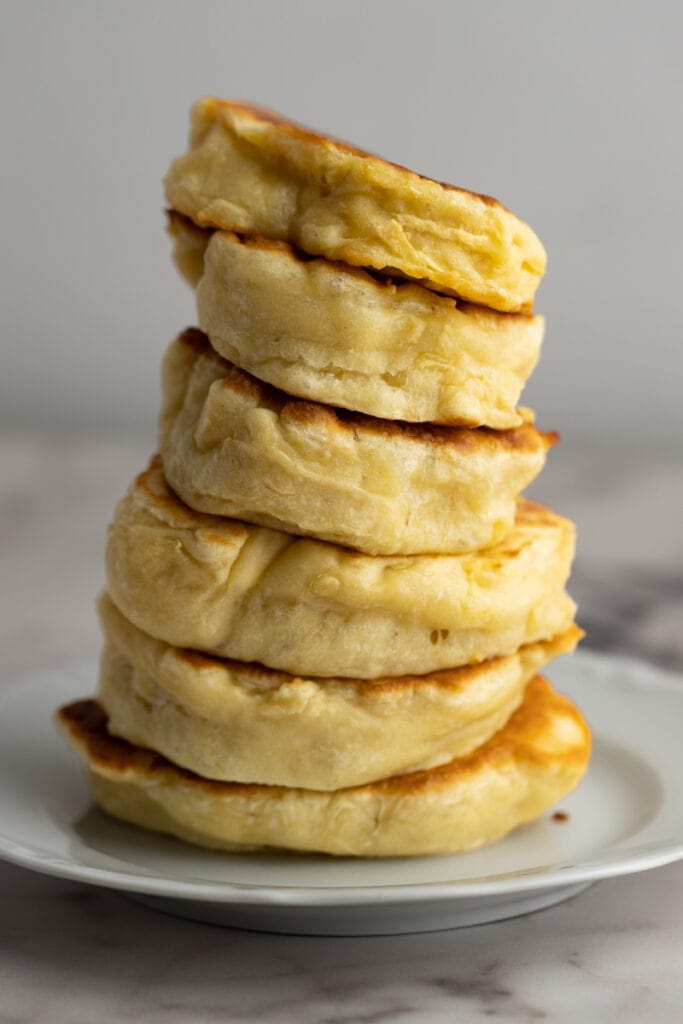
Polish Pancakes with Yeast (Racuchy)
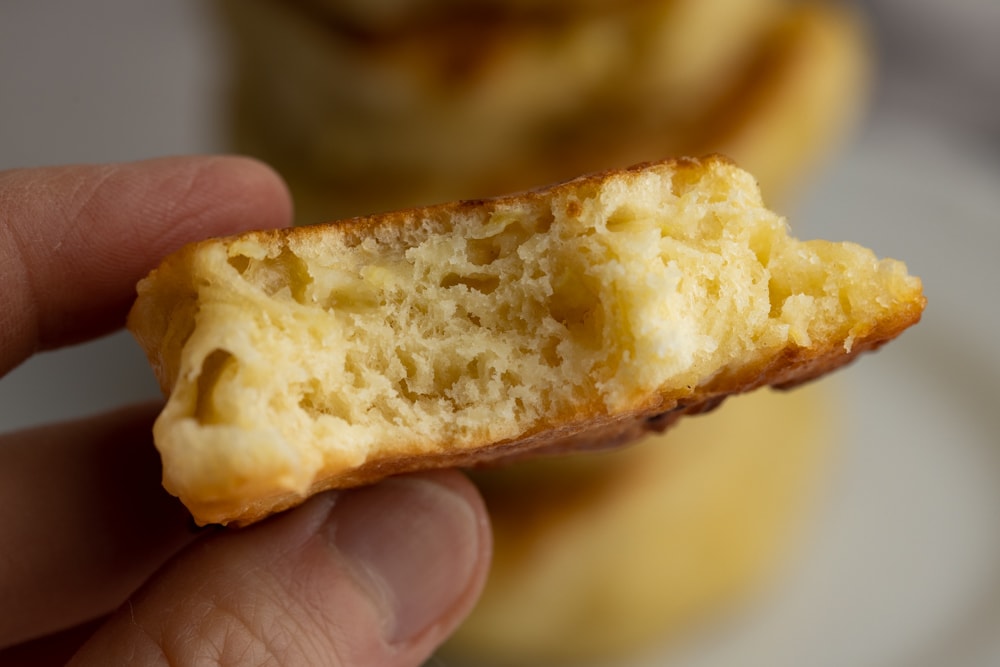
These yeast pancakes are light, fluffy, and just the right amount of sweet. We’re using common ingredients you likely already have in your kitchen, but with a twist: we’re swapping baking powder for yeast. This small change adds a nice lift, making your pancakes fluffier and thicker than your usual ones.

If the thought of using yeast, especially in pancakes, feels a bit daunting, don’t worry! I’ve laid out detailed, step-by-step instructions and helpful tips to ensure you get that great rise we’re looking for. And remember, working with yeast does require a bit of patience, but trust me, the results are definitely worth the wait!
To add a fun twist, I’ve put together a list of my go-to pancake toppings—from the ever-classic powdered sugar to an assortment of fruity jams and jellies. Feel free to get creative and personalize these pancakes to your liking.
If you’re giving these yeast pancakes a go for the first time, I’d recommend reading through the ingredients notes, instructions, and tips before you start. For those who’ve been here before, feel free to jump straight to the recipe card.
Ingredients Notes and Substitutes
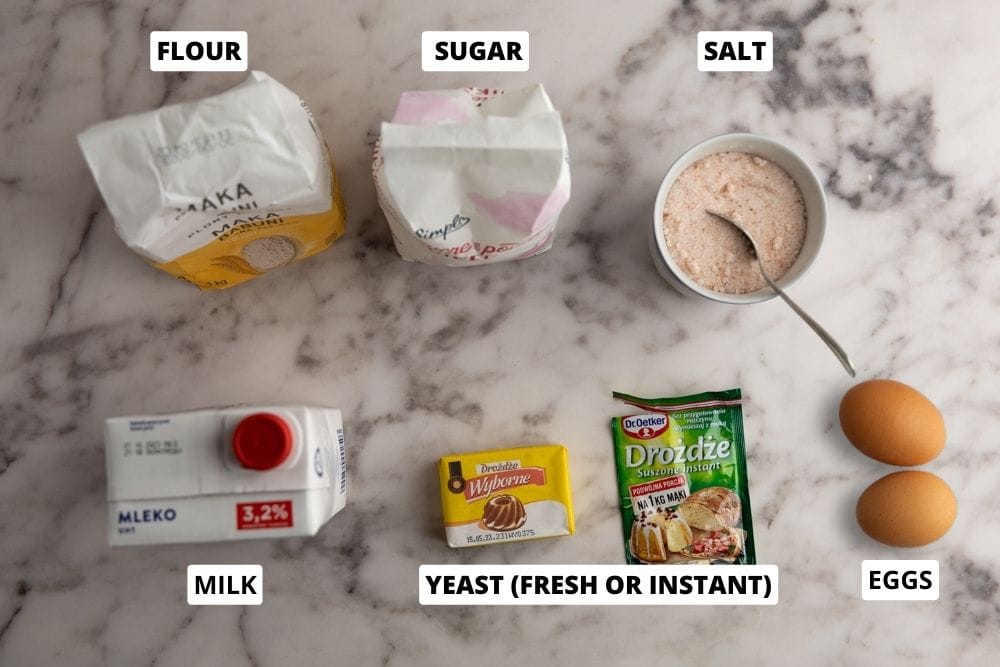
- Flour. Opt for all-purpose flour, as using other types of flour requires adjusting the liquid quantity.
- Milk. Both whole and skim milk work well, but you can also try milk alternatives like almond, oat, or coconut milk (the one that comes in cartons). While the flavor may vary slightly, it won’t significantly impact the recipe. If you use a sweetened milk alternative, remember to halve the sugar content.
- Instant yeast. Fresh yeast (or cake yeast), the one found in the refrigerated section, is another option – you’ll need 25 grams of it. Active dry yeast is also a suitable alternative, although you may need to proof it before mixing in all the flour and letting the dough rise. There’s a section later in the article where I outline the changes to the recipe.
- Sugar. White sugar works best, but brown will do in a pinch.
- Eggs.
- Salt. Using fine-grain salt is the ideal choice.
- Oil (not pictured). You can use butter, ghee, or any neutral cooking oil you like. I typically use refined coconut oil for cooking these.
Step-By-Step Instructions
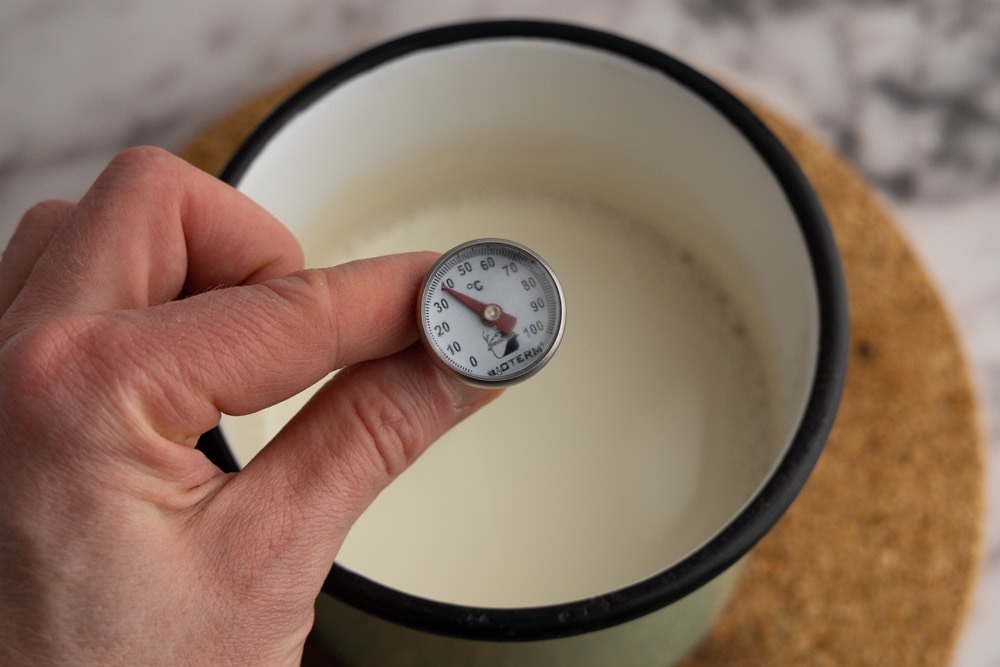
- Begin by gently warming the milk on the stove or in the microwave. If you have a food thermometer handy, make sure the temperature stays below 115°F (or 45°C). If not, simply ensure that the milk is pleasantly warm but not too hot.
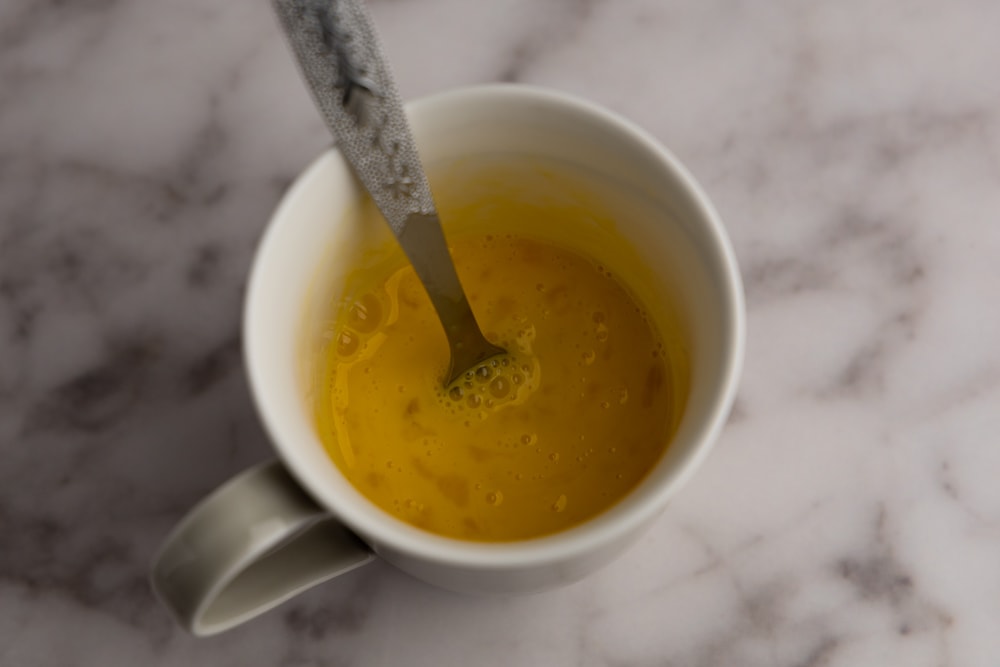
- Grab your favorite glass or coffee mug and pour about 1/2 cup of the warmed milk into it. Stir in the yeast, and don’t worry if it doesn’t dissolve perfectly. If you’re using fresh yeast, just break the block apart with a fork before stirring.
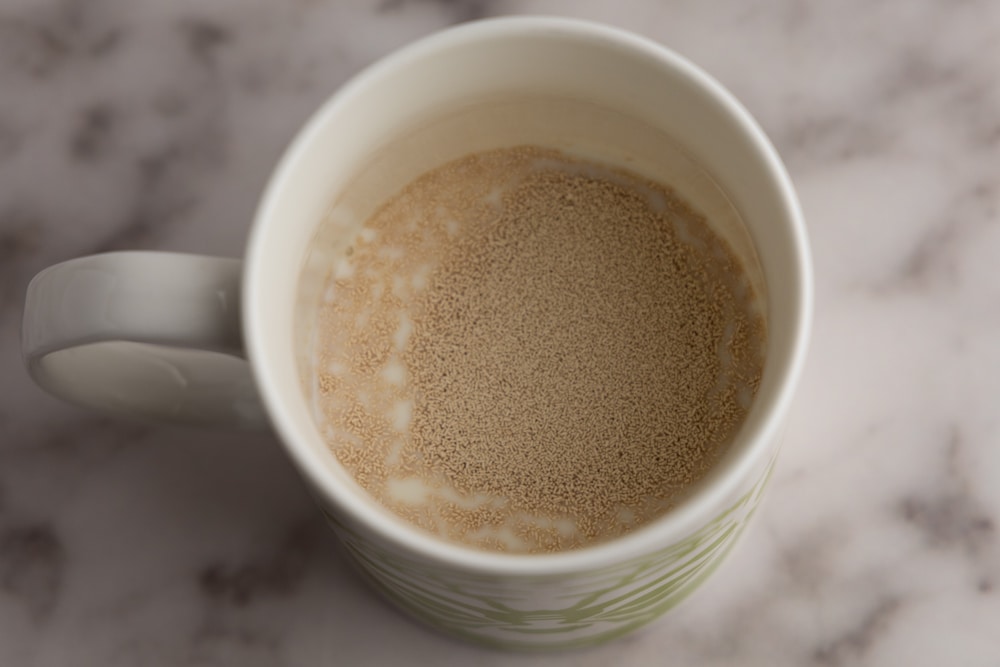 Before stirring
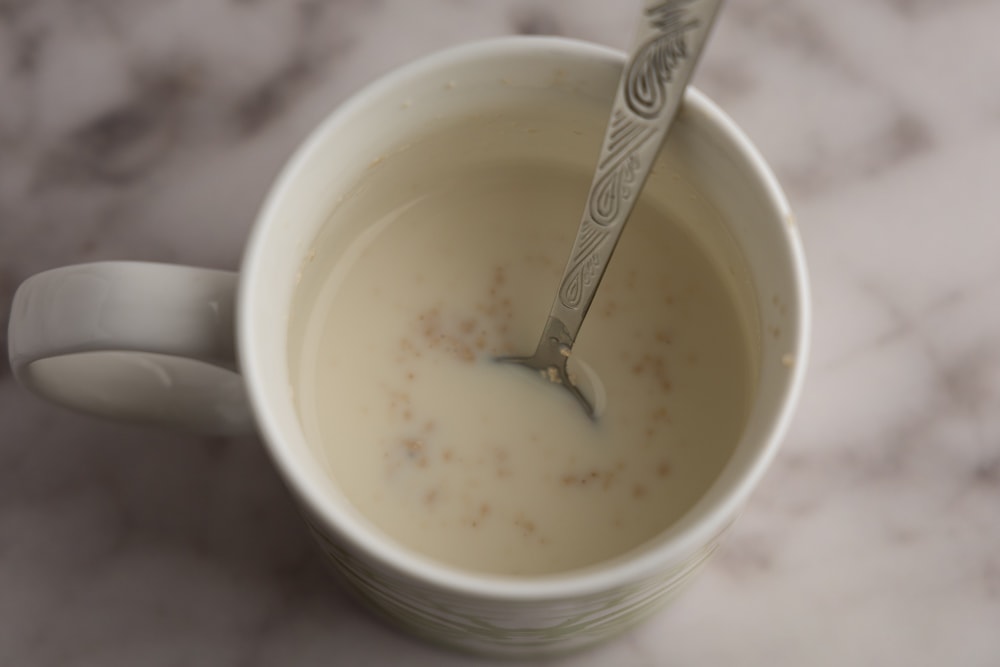 Yeast stirred into warm milk
- Whisk the eggs.
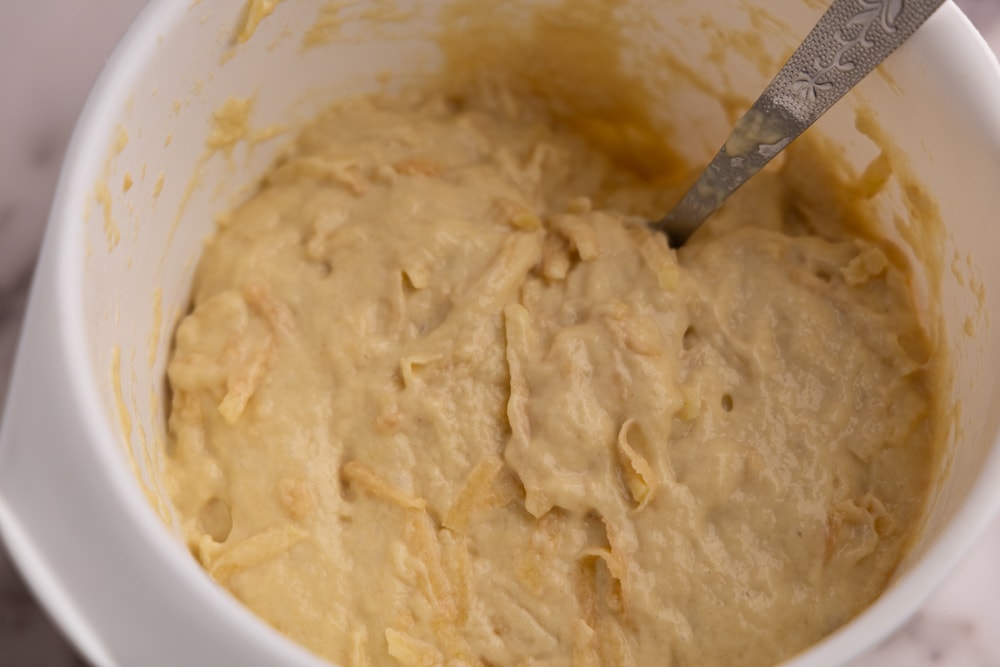
- Grab a large mixing bowl and pour in the flour (reserving 1/2 cup for later), sugar, salt, eggs, the yeast mixture you just prepared, and the rest of the milk. Stir everything together with a spoon until it’s well mixed and there’s no dry flour left in the bowl.
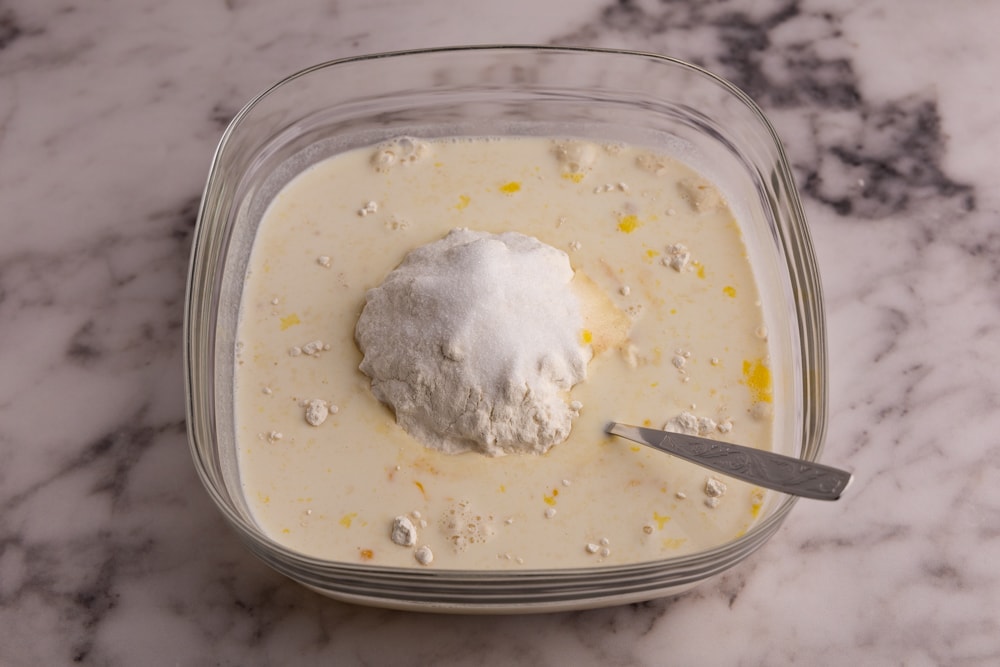
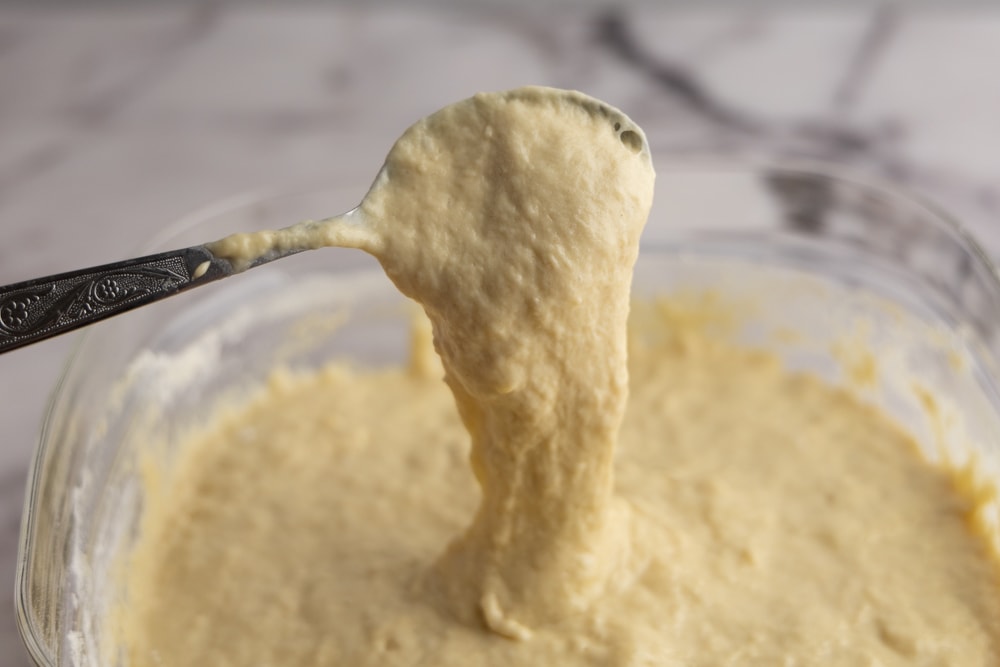
- Check the consistency of your dough. It should be thick enough that when you scoop some and turn the spoon upside down, it drops slowly and gracefully. If the dough is still too thin, which it most likely will be, stir in the 1/2 cup of flour you set aside earlier. If needed, add another 2 to 3 tablespoons of flour.
And here’s the same as a video:
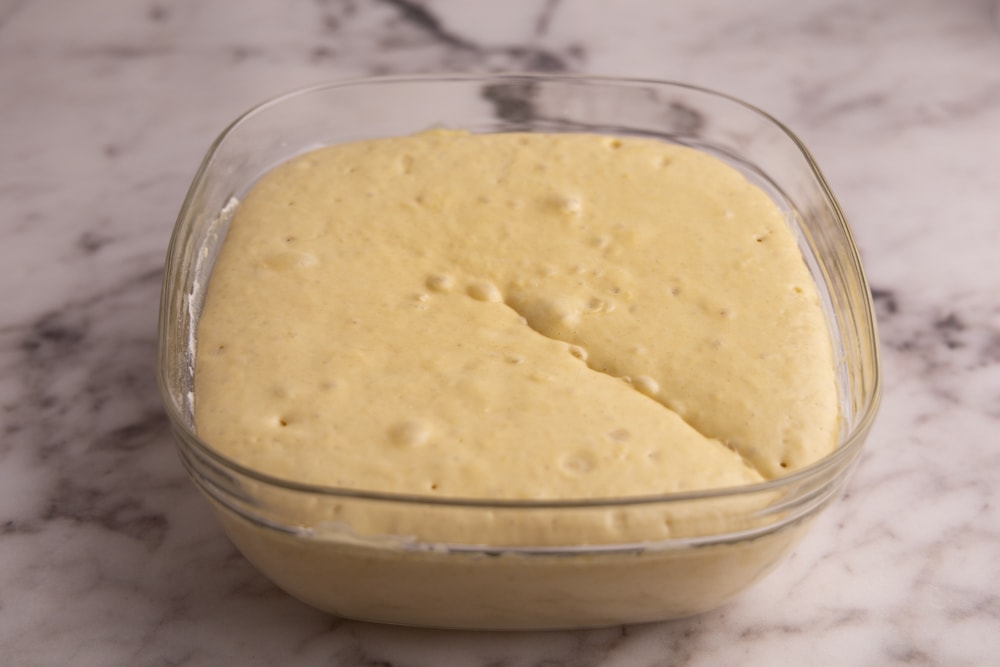
- Cover the bowl with a kitchen towel and set it aside in a warm spot for an hour.
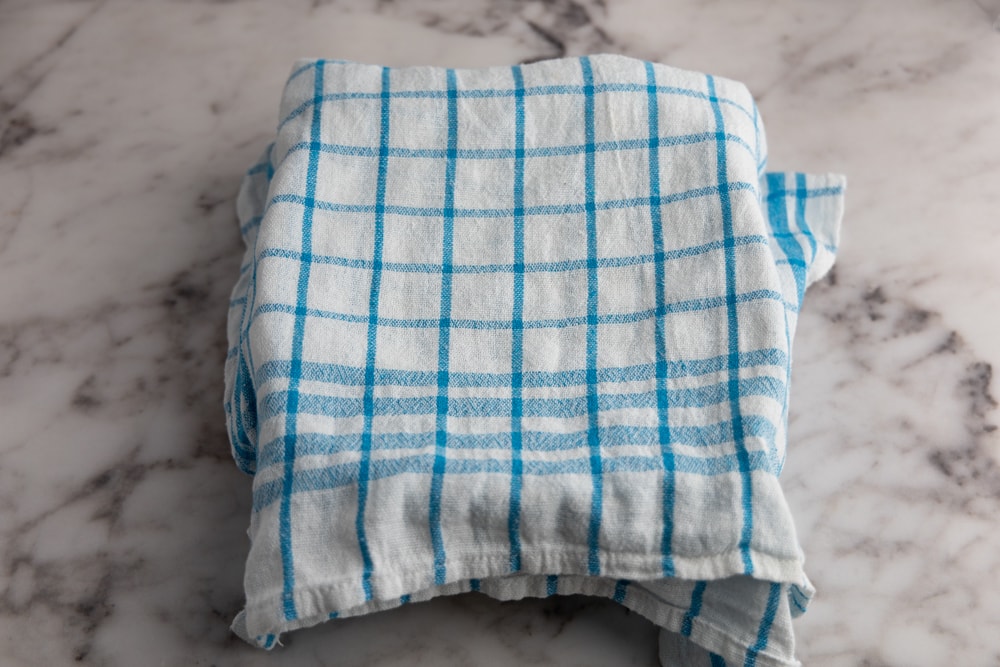
- After an hour, check on your dough. It should have doubled in size, looking bubbly and inviting. If it hasn’t quite reached that point, give it a little more time in a warmer spot for at least 20 minutes.
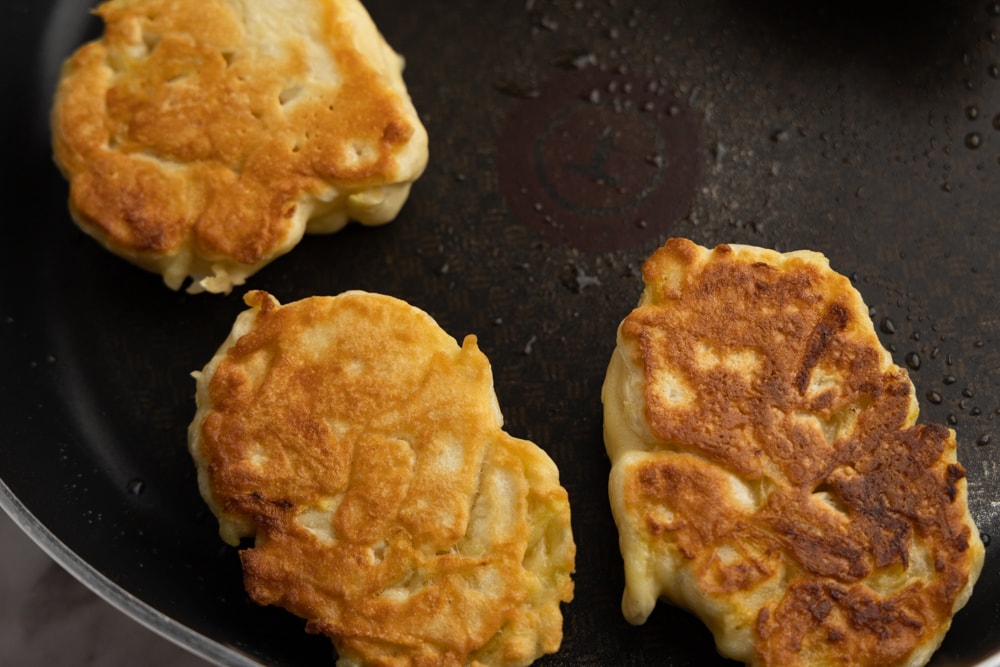
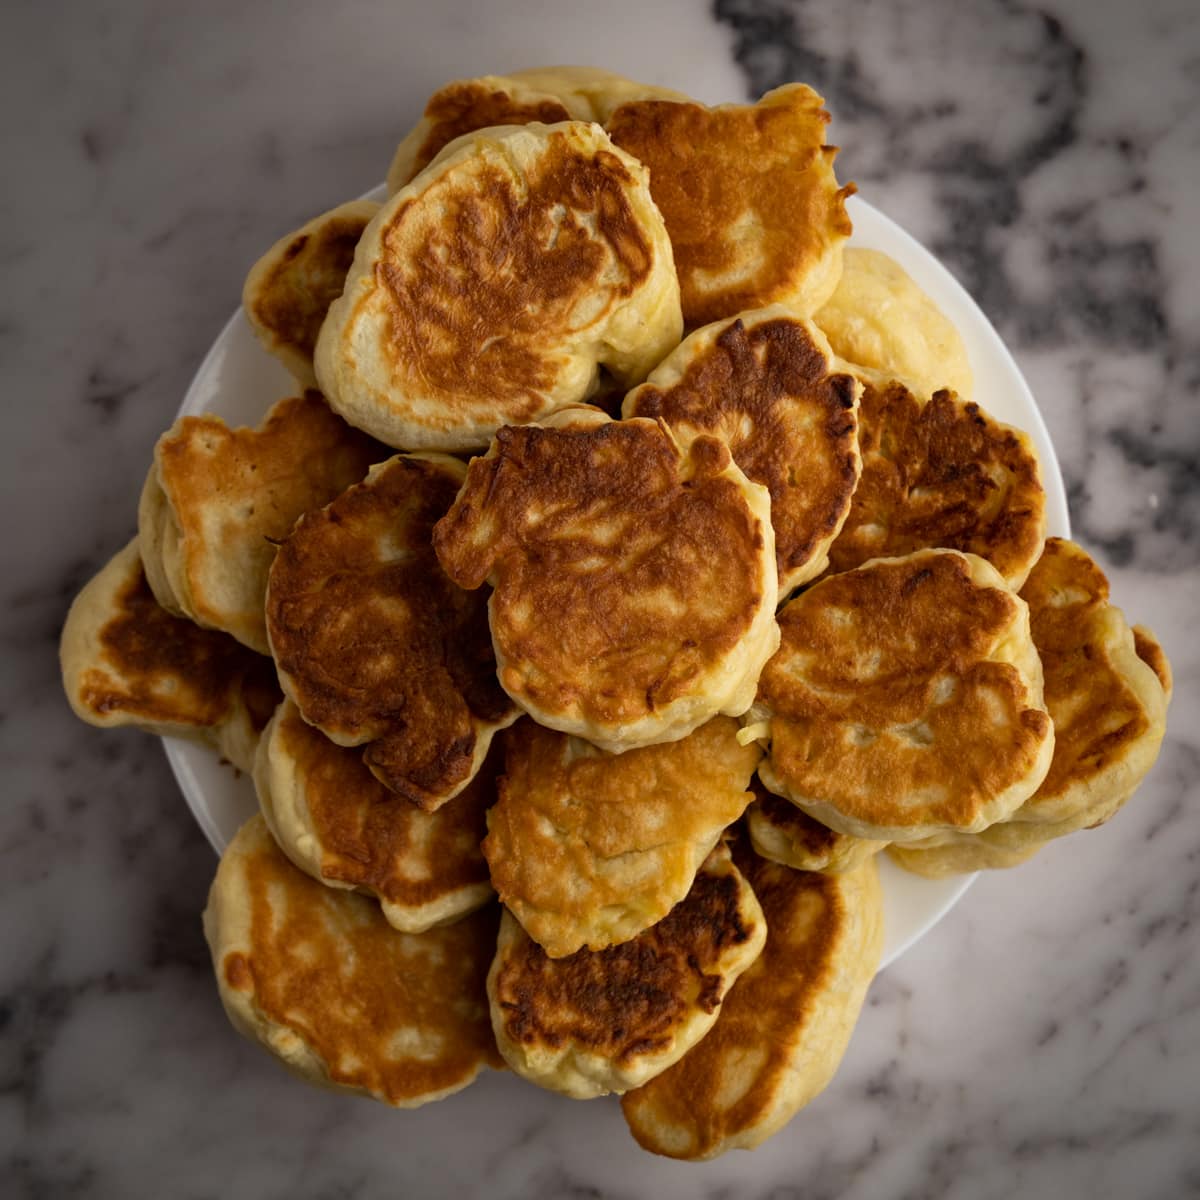
- Time to cook the pancakes! Heat up a large non-stick skillet and add a teaspoon of your preferred neutral-tasting cooking fat. Once the skillet and fat are nicely warmed, start spooning your pancake dough. Each pancake will need a heaping spoonful of dough, and due to the thick, sticky nature of the dough, you’ll end up with uniquely shaped pancakes of various sizes. Each pancake could reach up to 2 cm (almost an inch) in thickness.
- After placing a few dollops of dough in the pan, let them cook for 3 minutes before checking the bottom for doneness. If the bottom is completely yellow, gently raise the heat, and if it’s already brown, lower it a bit. Aim for a golden brown color after about 4 to 5 minutes of cooking. Once they’re perfect, flip them over and continue until you’ve used up all the pancake dough. Add oil when needed.
Recipe Tips
- Find a warm spot for dough rising. If you’re making these pancakes in colder weather or can’t find a warm area, briefly preheat your oven at the lowest setting for 3 minutes, then turn it off and place the covered bowl with the dough inside. This will encourage optimal rising. Keep in mind that yeast struggles to survive above 120°F (~50°C), so avoid overheating the oven. You only need it to be slightly warmer than typical room temperature.
- Save time by using a large skillet or two skillets. Cooking each pancake for a couple of minutes on each side means that cooking an entire batch can take up to an hour. To speed things up, opt for the largest skillet available or even use a second one. Washing an extra skillet will only take a few minutes, potentially saving you 20+ minutes of cooking time. Managing two pans during the relatively low-effort cooking process shouldn’t be a big deal.
- Use a second spoon for easier dough handling. The dough is quite sticky, so if you encounter difficulties spooning it into the skillet, use a second spoon to scrape off the dough.
Using Active Dry Yeast
Want to sub in active dry yeast? First off, take a good look at the label. Different brands have different recommendations – some might ask you to proof the yeast first, others might not.
If the one you picked up doesn’t make a big fuss about proofing, you’re in luck! Just swap out the instant yeast in the recipe with active dry yeast and you’re ready to roll.
Now, if you’re up for proofing, we’re here for it. Here’s how you do it:
- First, grab a cozy little bowl. Toss in the yeast, sugar, a splash (about 3 to 4 tablespoons) of warm milk, and two tablespoons of flour from your total amount. Give it a good mix and pop a cover on top.
- Now, it’s waiting time. Set your bowl in a nice warm nook.
- After about 10 to 20 minutes, you should see your proofing mix all bubbly and twice as big as when you started. If it’s taking its sweet time, find a warmer spot and give it another 10 minutes. But if it’s bubbling up nicely, you’re good to go! Pour the mix into a bigger bowl and get the rest of the gang in there: the eggs, salt, and the remaining milk and flour.
- Cover this big bowl and let it chill in a warm spot for 40 minutes to an hour. Once it’s puffed up to twice its size, you’re all set! Time to cook up some delicious pancakes.
Toppings
You can top these with literally anything you want. To get you started, here are a couple of ideas:
- Powdered sugar. A classic and simple choice, just sprinkle it on top of your pancakes.
- Fruits. Berries, sliced bananas, apples, or any seasonal fruit can be a great addition. Frozen fruits can work too, assuming they’re defrosted and you’re okay with them being mushy.
- Jam or jelly. Strawberry, raspberry, blueberry, or any other fruit preserve you have on hand works great. You can even go for the classic peanut butter and jelly combo.
- Whipped cream. A dollop of whipped cream adds a touch of indulgence.
- Honey or maple syrup. These pancake classics add an extra layer of sweetness.
- Cinnamon and sugar. Mix them together and sprinkle over the pancakes for a warm, aromatic touch. This combo works even better for Polish apple pancakes.

Variations
Yeast Pancakes with Apples
This variation is super simple and my family actually prefers it to the “plain” yeast pancakes. It’s as simple as it gets.
Once the pancake dough has doubled in size, grate 2 large apples and stir them into the dough. Cook the same way as described.
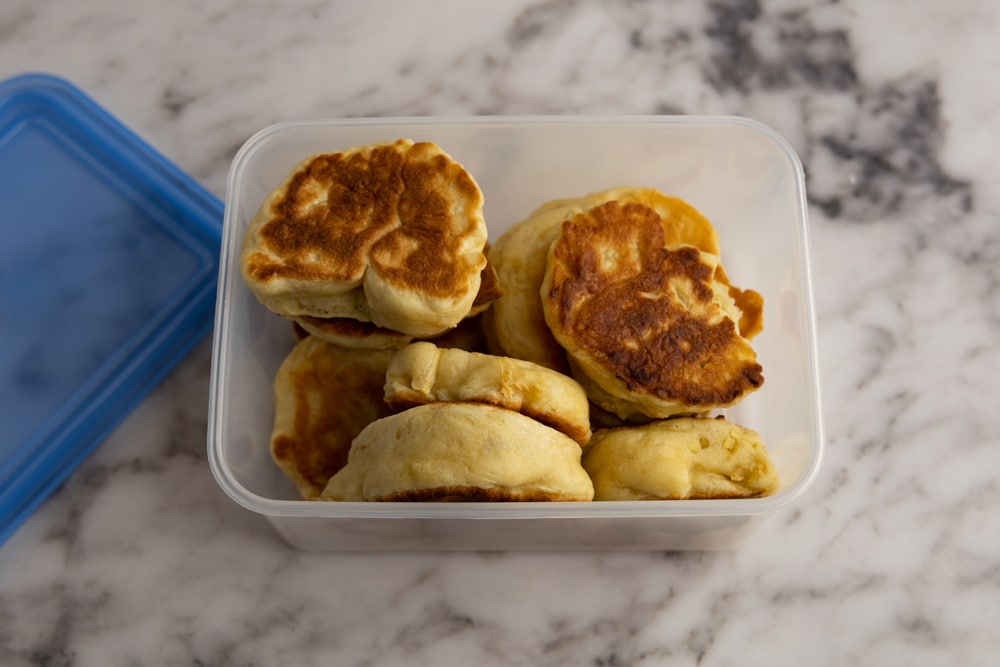
Storage
Leave any leftover yeast pancakes on the counter for 20 to 30 minutes or until they cool to about room temperature. Once they’re nice and cold, transfer them into an airtight container and refrigerate.
Stored this way, they stay safe for 3 to 4 days in the fridge.
If that’s not long enough, you can freeze the pancakes in a freezer bag for a couple of months. Just make sure they’re cold before you put them in the freezer, and squeeze as much air out of the bag as possible.
Reheat
Reheat those yeast pancakes in a non-stick skillet on medium-low heat for 3 to 5 minutes per side, depending on how thick yours are. Putting on a lid can speed up reheating by a couple of minutes, so feel free to use one if you’re in a hurry.
If you’re using a skillet that’s not non-stick, add a couple of tablespoons of butter or neutral oil to keep the pancakes from sticking. And transfer the reheated pancakes onto a paper towel to drain excess fat.
Similar Recipes to Try
Looking for more? Check out the following recipes:
- Want other pancake recipes? Check out our Pumpkin Cottage Cheese Pancakes.
Ingredients
- 4 cups all purpose flour
- 2 cups milk regular or skin
- 2 eggs
- 2 tbsp sugar
- ⅓ tsp salt
- 4 g instant yeast or 10g fresh yeast
- cooking oil
Instructions
- Heat Milk: Warm milk gently (below 115°F / 45°C) and mix 1/2 cup with yeast in a glass or mug.2 cups milk, 4 g instant yeast
- Whisk Eggs: Whisk eggs separately.2 eggs
- Combine Ingredients: In a large bowl, combine flour (save 1/2 cup), sugar, salt, whisked eggs, yeast mixture, and remaining milk. Stir until well mixed and no dry flour is left.4 cups all purpose flour, 2 tbsp sugar, ⅓ tsp salt
- Adjust Thickness: Adjust the dough's thickness with reserved flour (add extra if needed), aiming for a thick, slow-dropping consistency.
- Cover: Cover the bowl with a kitchen towel, and let dough rise in a warm spot for 1 hour, or until doubled in size.
- Cook: Heat a non-stick skillet with neutral-tasting cooking fat, and spoon the dough into the pan, using a heaping tablespoon of dough per pancake. Cook pancakes for 4-5 minutes per side on medium heat, until golden brown. Adjust heat if they cook too fast or too slow, and continue cooking until all dough is used.