Blueberry Pierogi Recipe
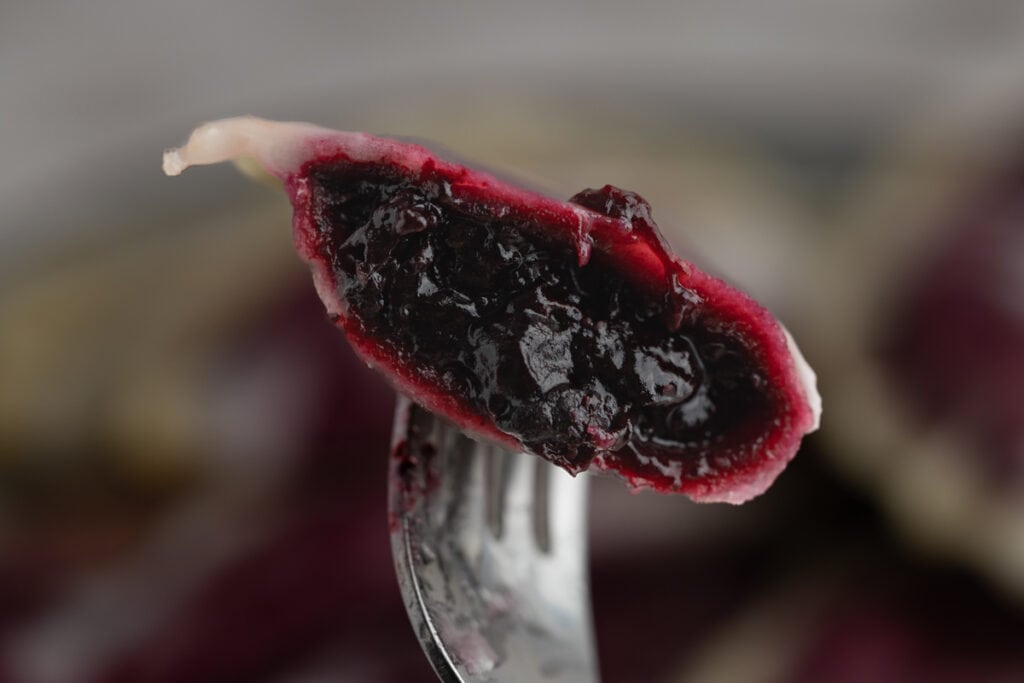
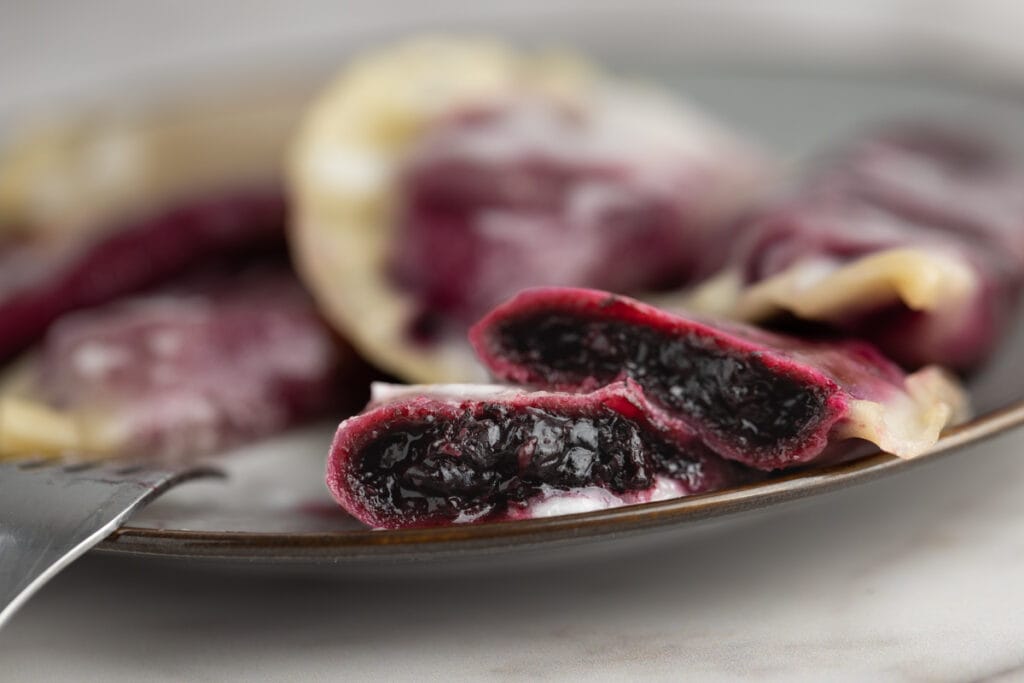
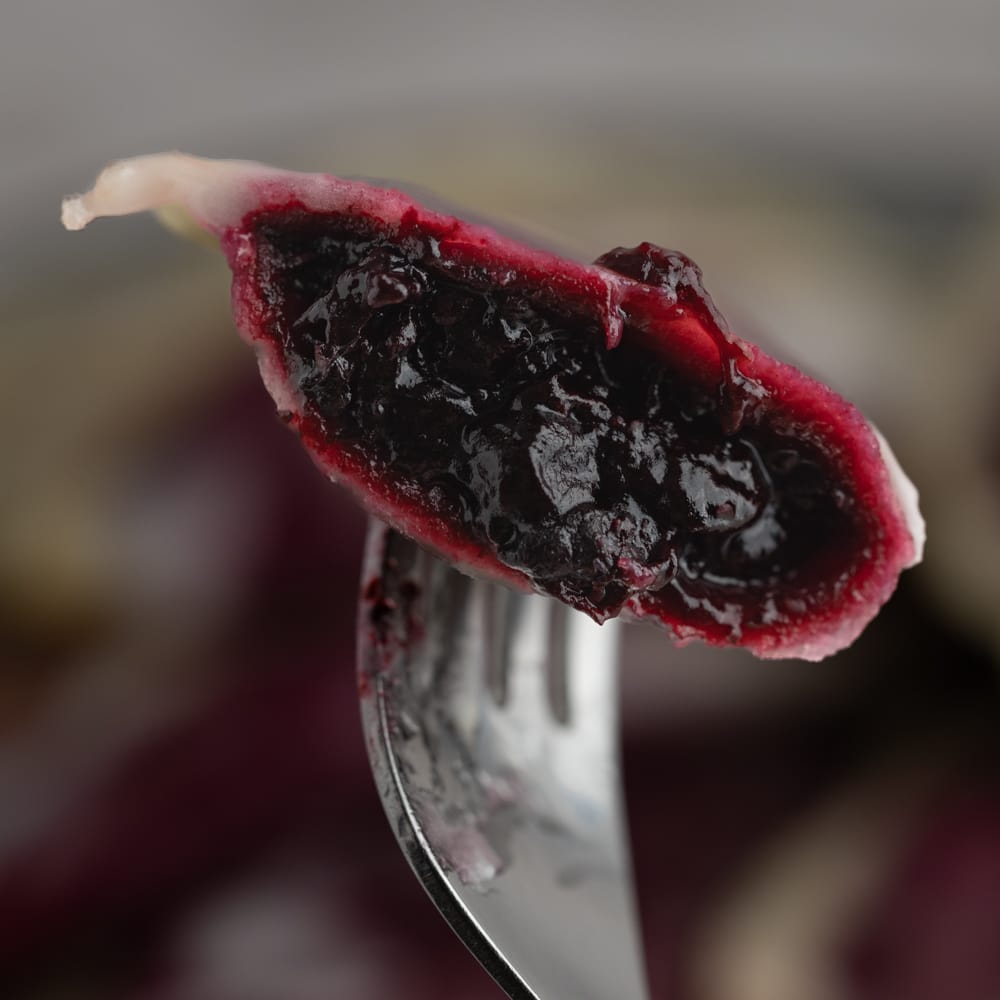
Get ready to taste the perfect combination of sweet and tangy with these delicious Blueberry Pierogi. Made with a slightly thicker dough to prevent tearing, these pierogi are filled with a blueberry mixture that is cooked until hot and thickened, and then boiled until they float to the surface.
If you’re looking for dessert pierogi, these blueberry-filled dumplings are definitely worth trying out.
Recipe At a Glance
This blueberry pierogi recipe is:
- Kids and adults friendly. These make a really nice treat no matter how old you are.
- Works with fresh or frozen blueberries. This setup works just as well with both options, so you can make them all year.
- Slightly more difficult. The filling is fairly soft, making the wrapping process more difficult than for pierogi with firm filling (say, meat pierogi). That means your filling might spill a couple of times before you get the hang of it. The trick is to start with less filling than you think would fit.
- Freezes well. You can double or triple the batch and save some for later, saving time.
If you’re making Blueberry Pierogi for the first time, read the ingredients notes, step-by-step instructions, and tips. If you’re a veteran, feel free to jump to the recipe card.
Extra Learning
Before we jump in, here are a few handy resources to help you nail this recipe:
- Homemade Pierogi for Beginners. My pierogi guide that walks you through the pierogi making process, start to finish. Whether you’re new to pierogi or just need a refresher, this guide has you covered.
Ingredients Notes and Substitutes
Pierogi Dough
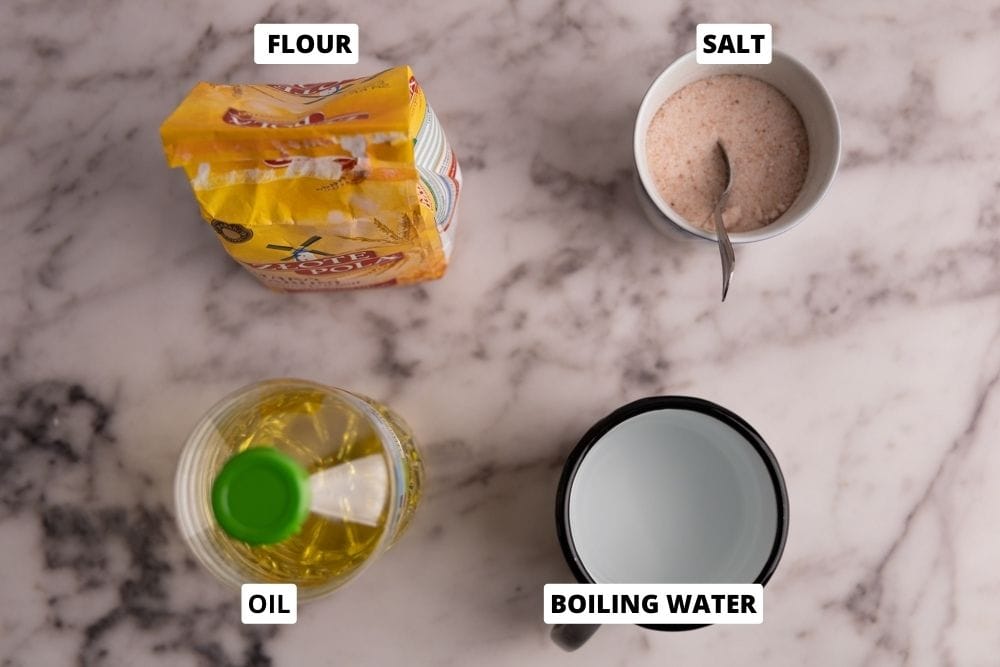
- Flour. Use all-purpose flour. If you use something like bread flour or whole wheat flour, you will need noticeably more liquid to achieve the right dough texture.
- Oil. Use a neutral-flavored oil, such as your regular cooking oil. Avoid olive oil as it can be bitter, which may affect the dough’s flavor.
- Salt. Use fine-grained salt for best results.
- Water. Plain boiled water is all you need; no need to be fancy here.
Blueberry Pierogi Filling

- Blueberries. Fresh or frozen both work fine.
- Sugar.
- Cornstarch. We need some starch to thicken the filling. Cornstarch works great, and so does potato starch.
- Lemon juice. Optional, but recommended for adjusting the acidity level to perfection.
Step-By-Step: How to Make Blueberry Pierogi
Step 1: Make Dough
(Read more about this in our pierogi dough recipe.)
- Boil a pot of water.
- Sift flour into a large bowl. Sifting probably isn’t necessary, but I recommend it anyways. Plus, it’s something you can do while waiting for the water to boil.
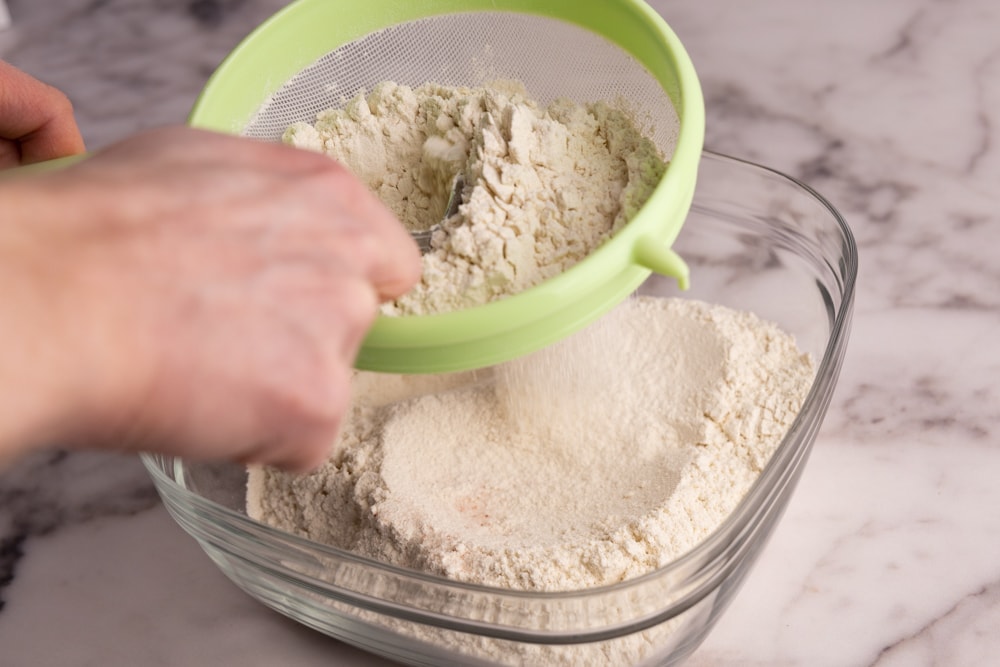
- Add salt and mix. Just a quick stir to spread the salt.
- Add oil and boiled water.
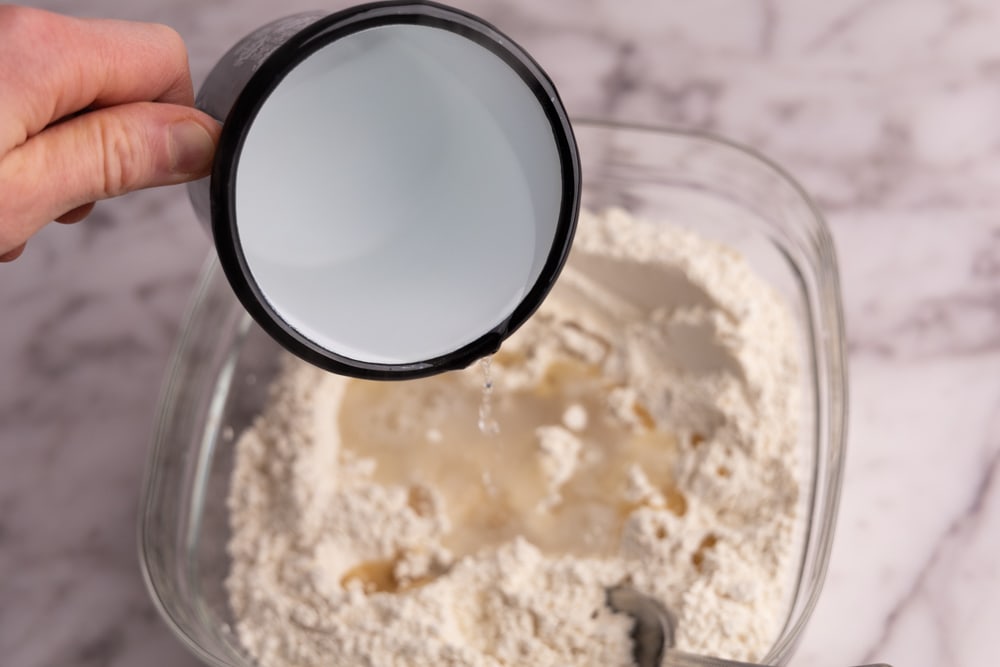
- Mix. Mix the ingredients by stirring with a regular tablespoon or a large wooden spoon. Be careful not to burn yourself, as you will be working with water that was boiling just a few moments ago. Stir until you reach the point where there is no visible water in the bowl, then switch to using your hands.
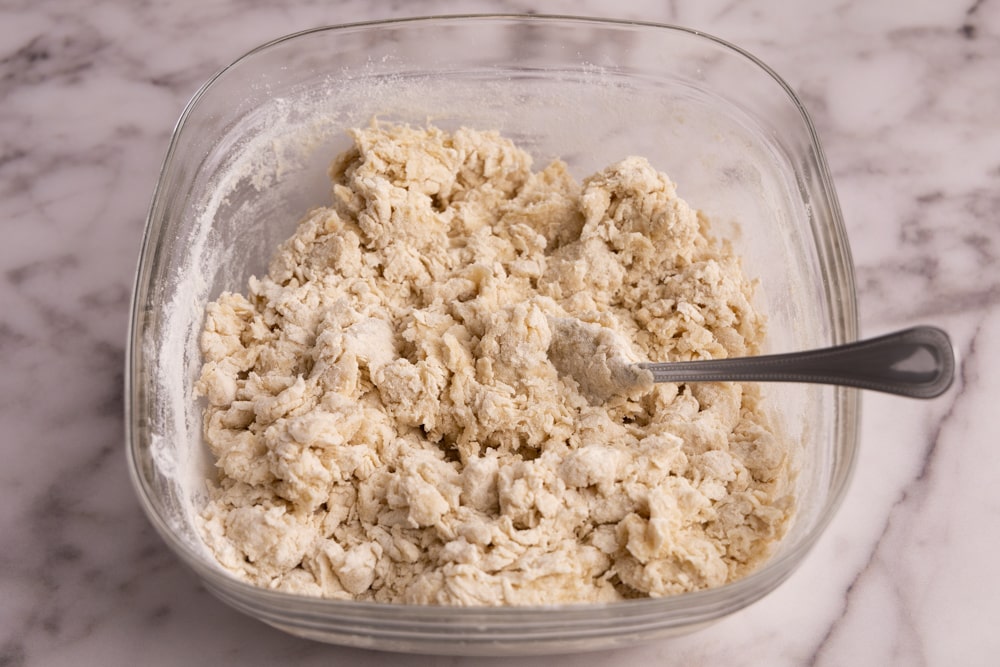
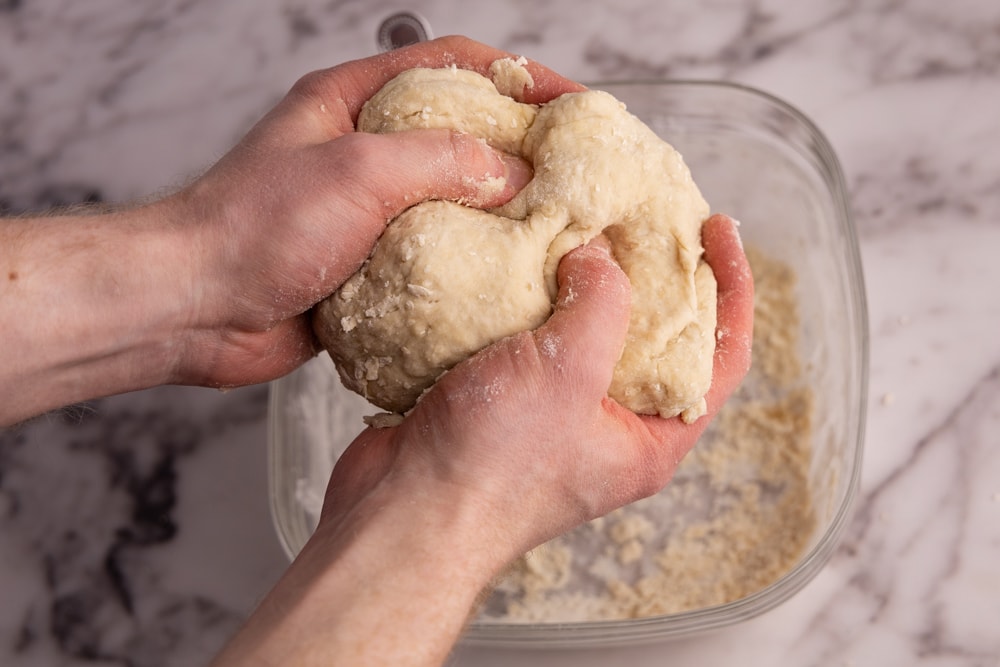
- Knead. Start slowly and make sure the dough isn’t too hot to handle. Knead until you have incorporated all the flour into a homogeneous dough ball, which usually takes 4 to 8 minutes.
 Kneading in progress. Note that there’s still flour left in the bowl.
 Dough ready – all the flour is incorporated and the dough is pretty homogenous.
- Wrap and rest. Wrap the dough ball tightly in plastic wrap and let it rest for about 30 minutes before continuing. This will allow the dough to relax and become easier to work with.

- Make pierogi. Once that half an hour of waiting is over, the dough is ready for rolling and making pierogi.
Step 2: Prep Filling
- Make the blueberry mixture. Mix the blueberries with the sugar, the cornstarch, and the lemon juice. Let that mixture sit for 10 to 15 minutes until it starts to draw out the water. If you’re using fresh blueberries, add a teaspoon (or two) of water. For frozen, use the right from the freezer – no need to defrost.
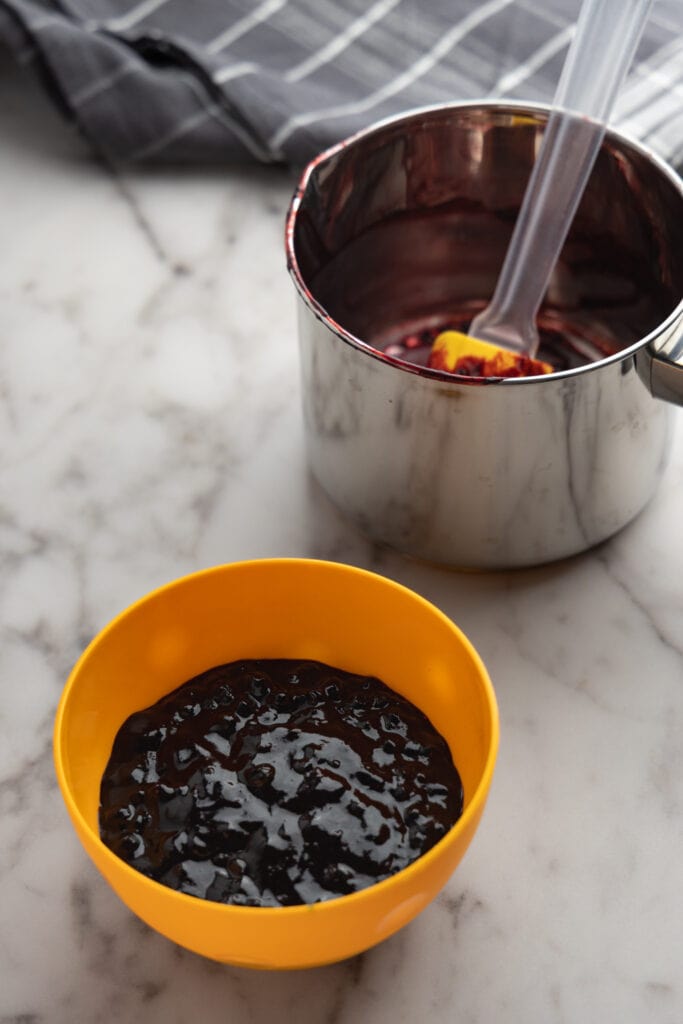
- Cook the mixture. Transfer the mixture into a saucepan on low heat, and cook the blueberry mixture until it’s hot and starts to thicken, stirring constantly. Take it off the heat, taste it, and add more sugar or lemon juice if needed. You’re aiming for a good balance of sweet and sour that’s delicious to eat on its own. Set the mixture aside to cool down to room temperature. Once cold, refrigerate it if you’re not using it immediately.
Step 3: Combine
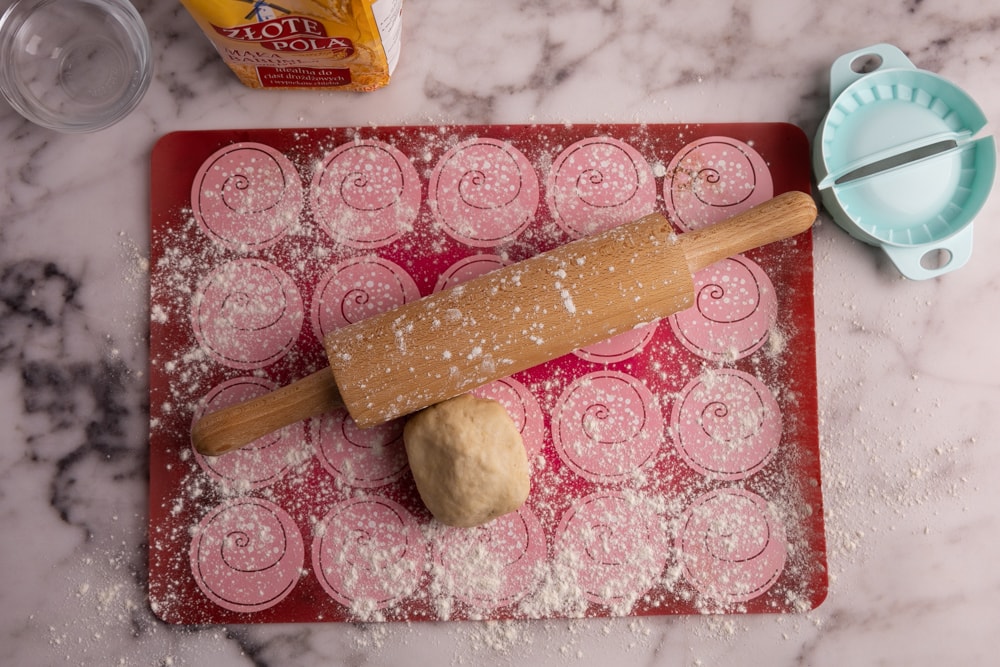
- Divide. Divide the pierogi dough into two or three parts. Take one part and spread it on a floured work surface, then roll it out until it’s nice and thin. Be careful not to roll it too thin, as it may tear when you form the pockets and seal the dough around the filling. Wrap the rest of the dough tightly to prevent it from drying out.
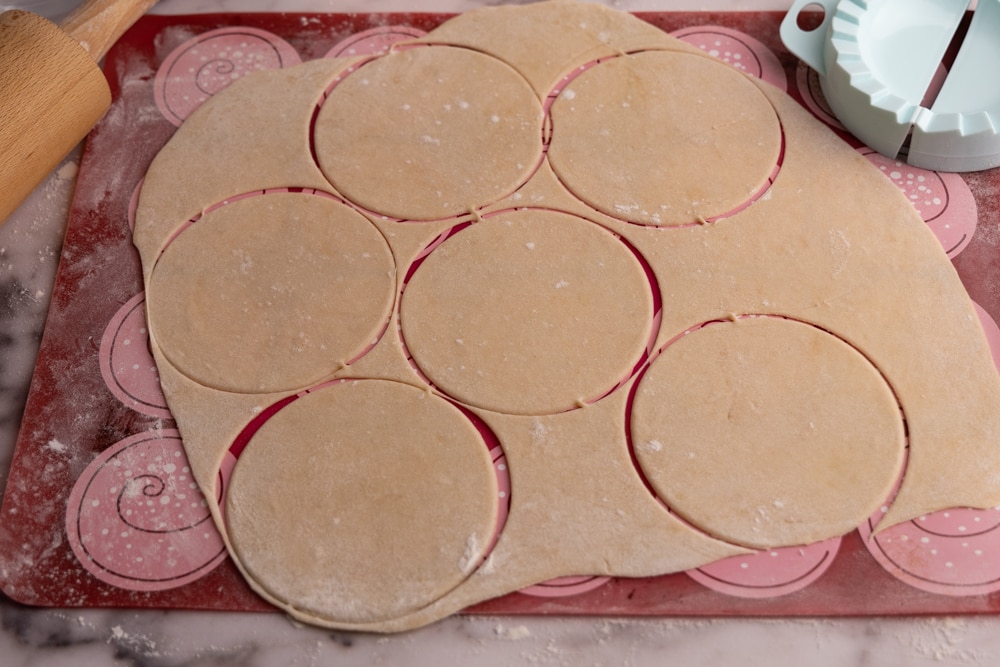
- Cut into circles. Cut palm-sized circles in the rolled pierogi dough. Anything round with a somewhat sharp edge is great, but a simple glass or mason jar works as well. Or use your pierogi maker if you have one. Form a ball with the dough left over after cutting and use it when rolling out the rest of the pierogi.
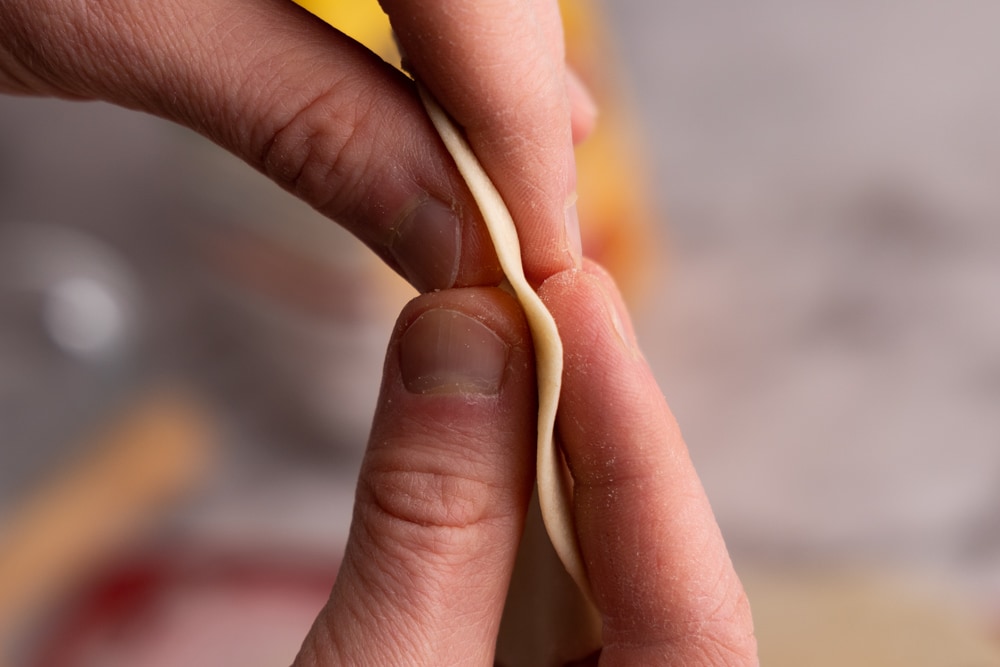
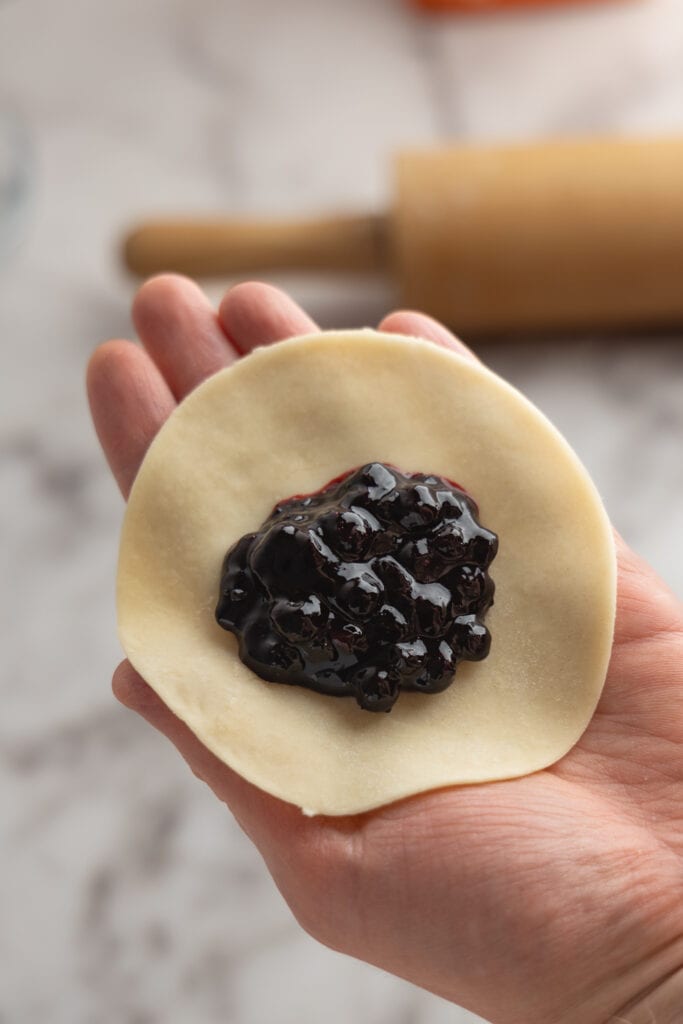
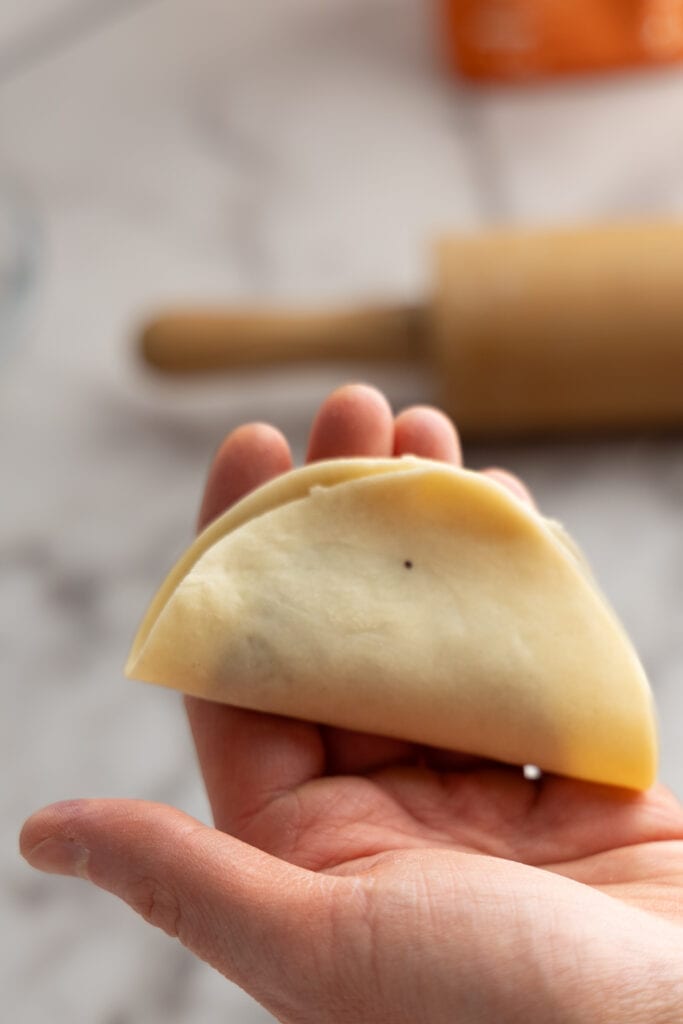
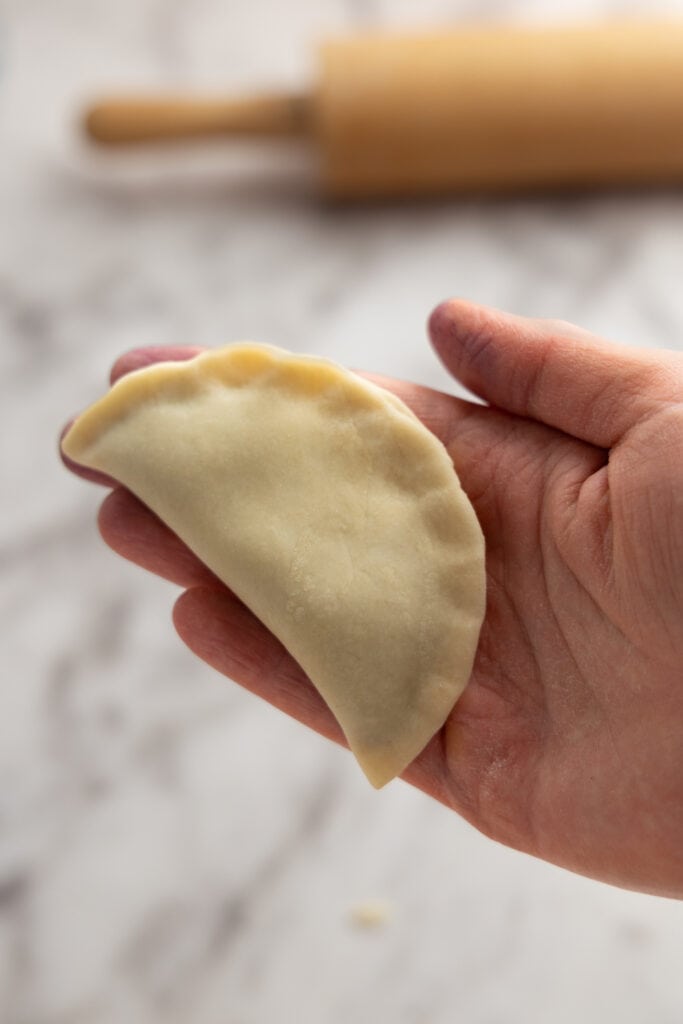
- Fill the pierogi. Creating blueberry pierogi starts by cupping one hand to form a small ‘bowl.’ Place a cut dough circle into this hand-formed well. Add a modest amount of blueberry filling – usually less than you’d initially think, so the circle can be sealed without spilling. Next, pinch the dough edges together to create a pocket, starting in the middle and moving slowly towards one end. Once sealed, tilt the pierogi to make it stand upright, with the sealed part on the bottom, and continue pinching the dough upwards. This simple move helps settle the filling towards the bottom, reducing spillage chances. Lastly, giving the pierogi a gentle side-to-side shake can assist in distributing the filling evenly.
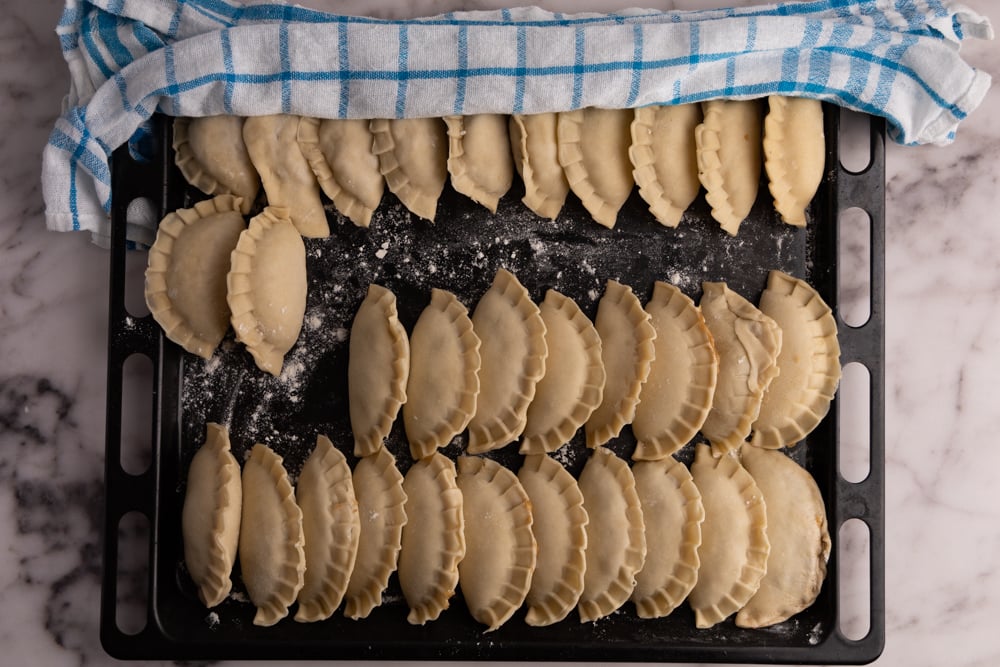
- Cover with damp towel. Set each shaped pierogi on a flour-dusted cookie sheet and cover them with a damp kitchen towel to prevent from drying out. If you need to save space and have the pierogi touch, simply dust the contact areas with flour. This keeps them from sticking together and damaging the dough when you remove them for boiling. Continue crafting pierogi until all dough or filling has been used.
Step 4: Cook
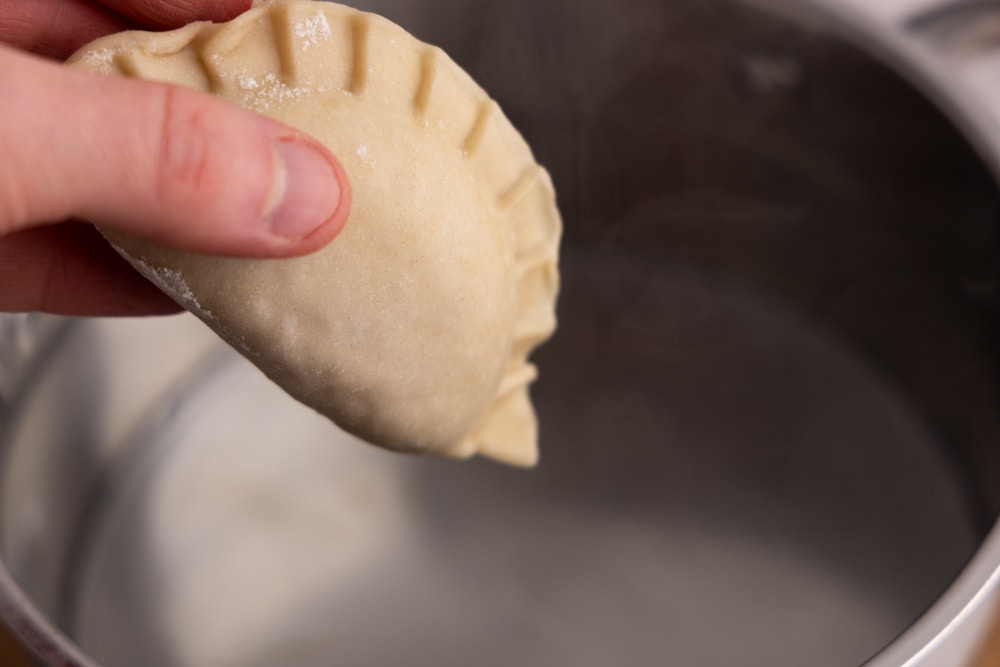
- Boil water. Bring a large pot of salted water to a boil. I typically use one teaspoon of salt per quart of water but feel free to adjust the amount to your preferences.
- Add a few pierogi. Once the water is boiling, add a few pierogi to the pot and stir them to prevent them from sticking to the bottom. Once the pierogi start floating to the surface, simmer them gently for another 3 to 4 minutes. Make sure not to overcrowd the pot so that the pierogi don’t stick together or cook unevenly.
- Remove. Remove the pierogi from the water using a slotted spoon.
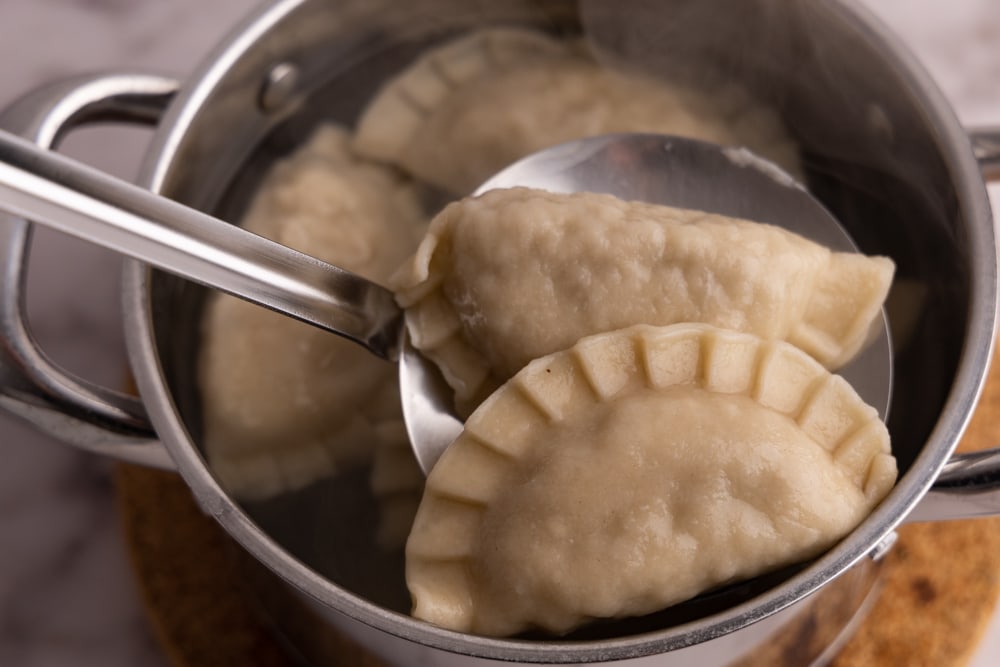
- Serve. Serve them up and enjoy your homemade pierogi.
Recipe Tips
- Have a small bowl of water nearby when forming the pierogi to help seal the edges. If there’s leftover flour on the pierogi dough, the edges won’t seal easily. If that’s the case, moisten the edges using your finger. That’ll usually do the trick.
- Double or triple the batch. Making pierogi takes time, and there’s no way around that (polish lazy pierogi are an exception, but they aren’t really pierogi). So if you have an extra hour you can spend cooking these, double or triple the dough and filling. Or use a couple of different fillings if you like variety.
- Start boiling the water when you’re halfway through the dough. Once it starts boiling, add in some pierogi and continue forming pockets and cooking at the same time. That saves quite a lot of time.
Another Filling Variation
Cooking the blueberries on the stove isn’t the only way to go about making blueberry pierogi. There are at least a couple of others.
A common alternative involves using fresh blueberries and wrapping them directly in the dough. This technique is akin to one of the methods used in making strawberry pierogi.
This route results in tart pierogi that usually benefit from a sweet finishing touch. Counteracting this sourness might involve adding a pinch of sugar to each pierogi (as suggested in this recipe), but this step does add to the overall preparation time.
Also, handling raw blueberries can prove slightly challenging, as they tend to scatter rather than stay neatly in the dough pocket while you’re pinching the sides together.
That said, if you want to try something slightly different, you’ll still make a tasty pierogi dish.
Serving Suggestions
Ready to savor your homemade blueberry pierogi? Here are several ways to enhance your dining experience:
- Just as they are. If you opt for the cooked blueberry filling I suggested, these pierogi shine without any embellishments. Simply pan-fry and serve. However, if you’ve chosen the no-sugar alternative filling, it’s wise to dust them with powdered sugar to balance their tanginess.
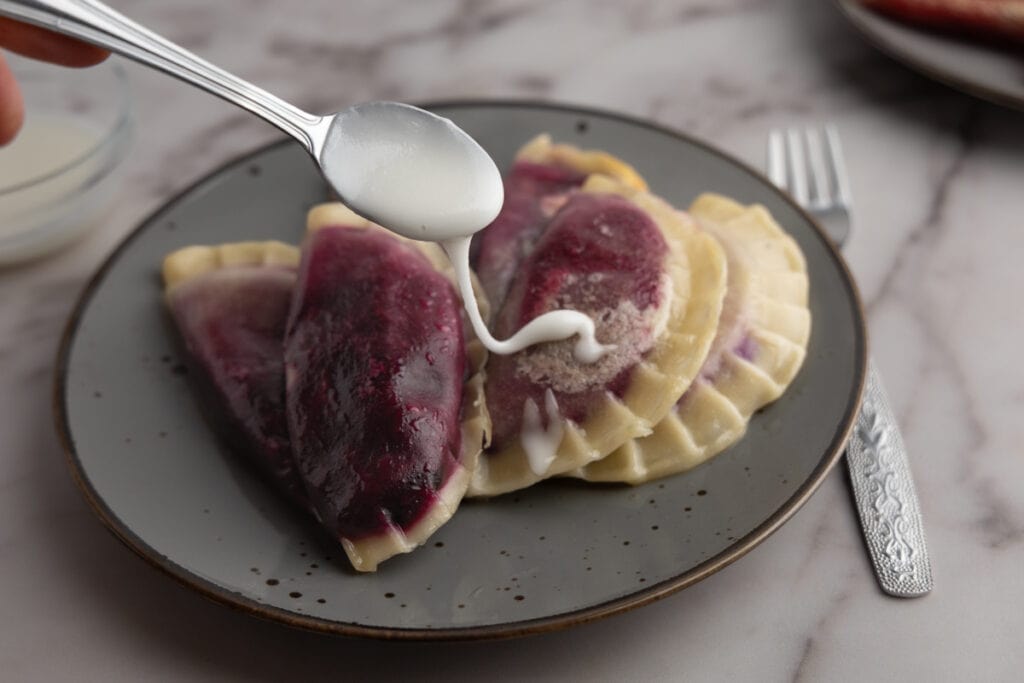
- Sour cream. Pairing sweet pierogi with sour cream provides a delightful contrast, and these pierogi are no exception. If they aren’t overly sweet and the sour cream makes them too tart, a dusting of powdered sugar does the trick.
- Fresh berries. Serve your Blueberry Pierogi alongside fresh blueberries or other berries for a refreshing, juicy contrast to the comforting warmth of the pierogi. Pairing them with the suggested sour cream is also a great idea.
- Blueberry sauce. For an easy blueberry sauce, puree two handfuls of blueberries (fresh or defrosted) with an immersion blender. Mix in a couple of teaspoons of thick yogurt (like skyr, Greek yogurt, or even sour cream) and half a teaspoon of sugar. Stir thoroughly (avoid using a blender for this step) and adjust the sweetness as desired. Drizzle this sauce over the pierogi for a zesty kick.
- Ice cream. For an indulgent treat, pair your blueberry pierogi with a scoop of vanilla ice cream. The contrast of warm pierogi and cold ice cream is a match made in dessert heaven.
- Pan-fried. Enhance your serving choice by pan-frying the pierogi before dishing them out. Heat a non-stick pan over medium heat with a small dollop of butter and fry the pierogi for 3-5 minutes on each side until they turn beautifully crispy.
Got other ways you like to serve these? Make sure to add a comment below. And check out this guide to pierogi sauces and toppings for more ideas.

How To Store Blueberry Pierogi
To store, let the pierogi cool on large plates for 15 to 20 minutes without touching one another. After that, flip them over so the other sides dries nicely too.
Once cold and dry, transfer them to an airtight container, seal it tight, and refrigerate for 3 to 4 days. Try to make the dumplings touch one another as little as possible so they don’t stick. And don’t stack them unless you separate the layers using aluminum foil or plastic wrap.
If you want to keep them longer, you can freeze pierogi for a few months. But let’s be honest; they’re so tasty, they probably won’t last that long!
How to Reheat
The easiest and quickest way to reheat blueberry pierogi is to pan-fry them. Here’s how:
- Heat a non-stick pan over medium heat and add a small knob of butter.
- Once the pan is hot, add the pierogi and cook for 3-5 minutes on each side until both sides are nice and crispy.
- Remove them from the pan and serve them hot, topped with the melted butter.
This post may contain affiliate links. Read our privacy policy.
Equipment
Ingredients
Pierogi Dough
- 2 cups all-purpose flour ~250g
- ¼ tsp salt
- 1 ½ tbsp oil
- ½ cup boiling water ~120ml
Blueberry Pierogi Filling
- 21 oz blueberries ~600g, frozen or fresh
- 4 tbsp sugar ~50 grams
- 2 tablespoons cornstarch or 1 tablespoon potato starch
- 2 tablespoons lemon juice optional
- salt for cooking
Instructions
Make Dough
- Boil Water: Boil a pot of water.½ cup boiling water
- Sift Flour: Sift flour into a large bowl.2 cups all-purpose flour
- Add Salt: Add salt and mix.¼ tsp salt
- Wet Ingredients: Add oil and boiled water.1 ½ tbsp oil
- Mix Ingredients: Mix the ingredients by stirring with a spoon. Be careful not to burn yourself. Once there is no visible water in the bowl, use your hands to knead the dough until it is a homogeneous ball.
- Wrap and Rest: Wrap the dough ball tightly in plastic wrap and let it rest for about 30 minutes before continuing.
- Make Pierogi: Once the wait is over, the dough is ready for rolling and making pierogi.
Prep Filling
- Blueberry Mixture: Combine blueberries, sugar, cornstarch, and lemon juice. Allow the mix to sit for 10-15 minutes to extract water. Add water for fresh blueberries; use frozen ones straight from the freezer.21 oz blueberries, 4 tbsp sugar, 2 tablespoons cornstarch, 2 tablespoons lemon juice
- Cook Mixture: Heat the mixture on low until hot and thickened, adjusting taste if necessary. Cool to room temperature and refrigerate if not using immediately.
Combine
- Prepare Dough: Divide the dough into 2-3 parts. Roll out one part on a floured surface until thin yet stretchable. Keep remaining dough wrapped to avoid drying.
- Cut Circles: Cut dough into palm-sized circles using a round object. Re-form remaining dough into a ball.
- Pierogi Filling: Hold a dough circle in your cupped hand, add the blueberry filling, and seal edges to form a pocket. Ensure filling is evenly distributed by giving a gentle side-to-side shake. Place each pierogi on a flour-dusted cookie sheet and cover with a damp towel to prevent drying. If pierogi need to touch, dust the contact points with flour.
Cook
- Boil Water: Bring a large pot of salted water to a boil. I typically use one teaspoon of salt per quart of water but feel free to adjust the amount to your preferences.salt
- Cook: Boil pierogi in batches, stirring to avoid sticking. Once floating, simmer gently for an additional 1-2 minutes. Avoid overcrowding to prevent clumping and uneven cooking.
- Serve: Use a slotted spoon to remove cooked pierogi from water. Serve and enjoy your homemade blueberry pierogi.
Looking for More?
If you’re still reading this, you probably want to make some pierogi. Here are other popular pierogi recipes:
- Apple pierogi
- Farmer’s cheese pierogi
- Spinach pierogi
- Lentil pierogi
- Plum dumplings. These aren’t pierogi, but they’re close enough.
- Pierogi fillings. This is a must-read if you’re only starting out with pierogi.
- Blueberry eclairs. If you love all things blueberries, you’ll love these eclairs.