Chocolate Madeleines With a Chocolate Shell
Soft madeleines with a melt-in-your-mouth chocolate shell.
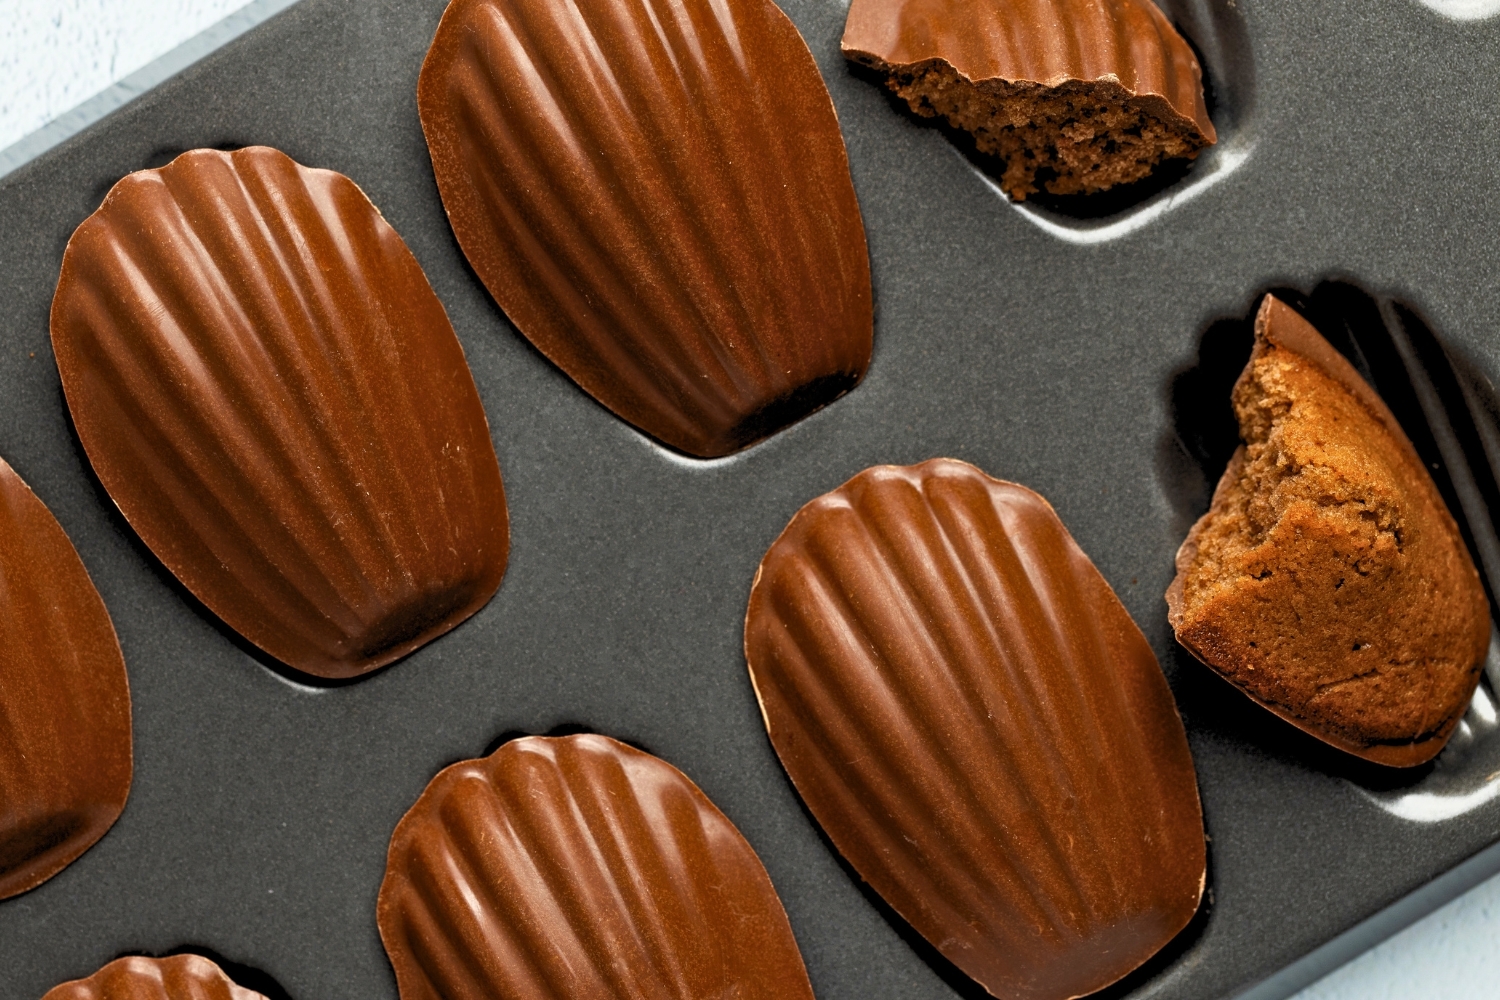
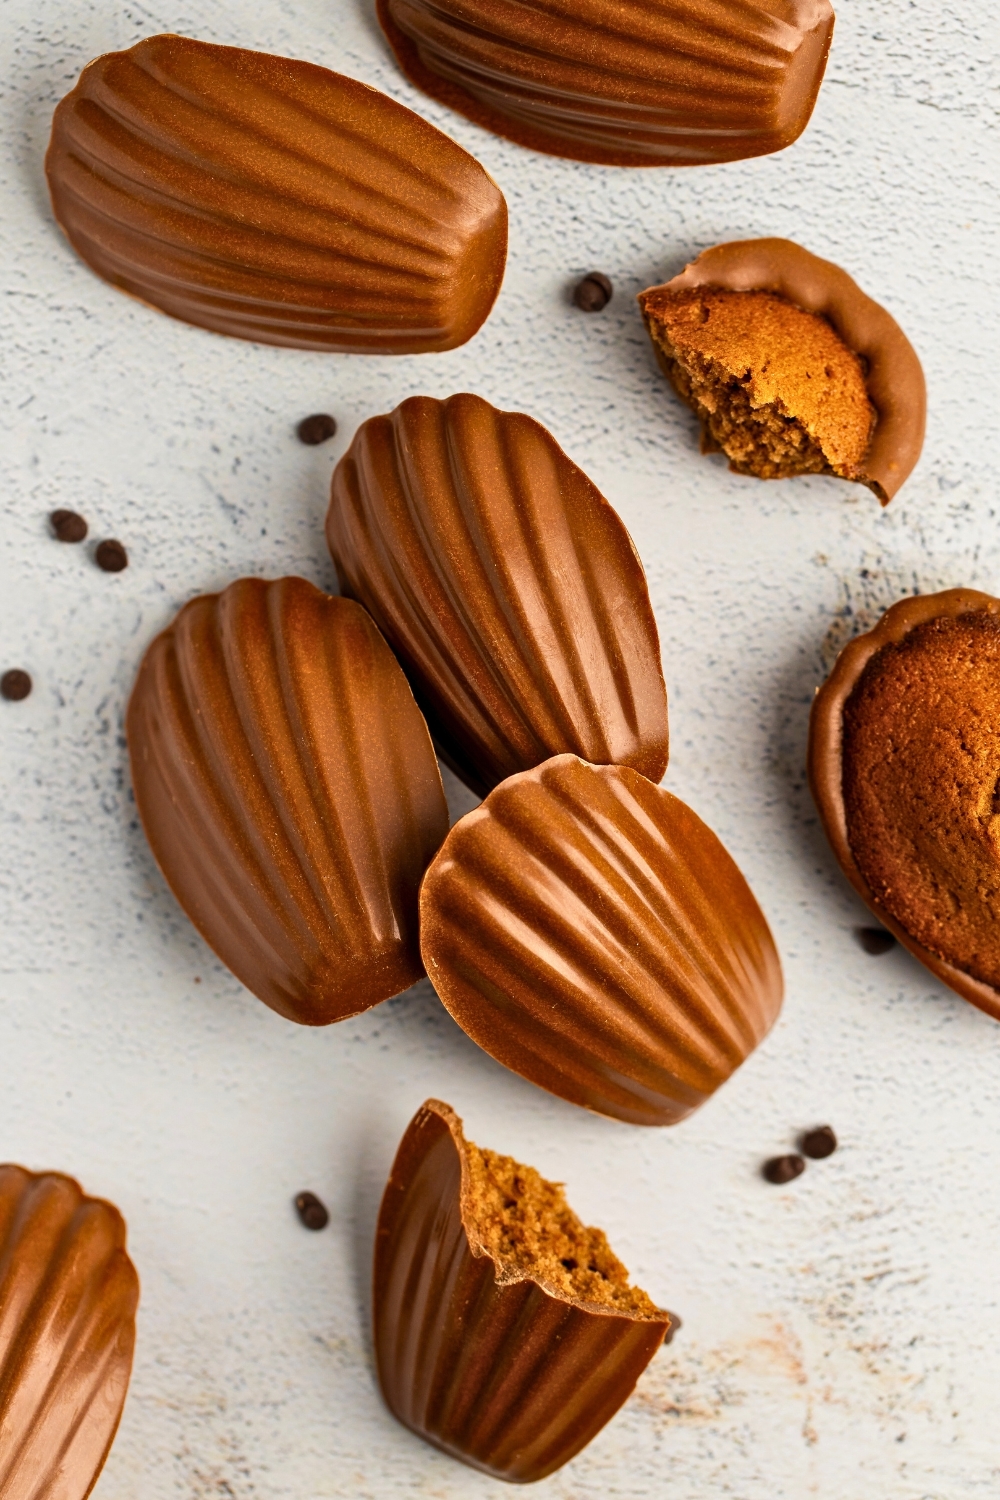
These chocolate madeleines are just as delicious as they look. They’re soft, slightly springy mini cakes wrapped in a crispy chocolate shell that’s shiny and snappy—just like your favorite chocolate bar.
The only catch? That gorgeous shell requires tempered chocolate, which isn’t the easiest thing in the world, especially if you’ve never done it before.
Recipe Info
Here’s what you need to know:
- Madeleines are easy. The chocolate shell is not. Making the madeleines is a breeze—just mix the ingredients, pour the batter into a madeleine pan, and bake. On the other hand, the chocolate shell takes some precision and patience since it involves tempering chocolate. That part is totally optional, so feel free to skip it if you want to keep things simple.
- You need a madeleine pan and a food thermometer. To get that signature shell shape, you’ll need a madeleine pan. And if you’re making the chocolate shell, a non-stick madeleine pan (like carbon steel or silicone) is best. You’ll also need a food thermometer to temper the chocolate properly.
Making chocolate madeleines for the first time? Read the ingredients notes, step-by-step instructions, and tips. If you’re familiar with the recipe, feel free to jump to the recipe card.

Extra Learning
Before we jump in, here are a few handy resources to help you nail this recipe:
- Tempering chocolate. My guide to tempering chocolate at home. If you want to make those beautiful shiny chocolate shells and you’ve never tempered chocolate, it’s a must-read.
Ingredients and Substitutes

Chocolate Madeleines
- Egg.
- Sugar. Caster sugar (superfine) is best because it melts more easily in a room-temperature egg, but regular sugar should do, too.
- Honey. Honey makes these cakes moist and adds extra sweetness. If you don’t have honey on hand, substitute it with extra sugar.
- Salt.
- Unsalted butter.
- Cake flour. Cake flour is best for these, but regular all-purpose flour should do, too. The texture will be slightly different, but that’s not the end of the world.
- Vanilla extract. A splash of vanilla adds a bit of extra flavor. Optional, but recommended.
- Baking powder. Baking powder helps the madeleines rise and develop their signature hump. Some traditional recipes skip baking powder and rely only on temperature shock, but we’re not taking any chances—or waiting an hour or two before baking.
- Milk. A bit of full-fat milk for extra moisture.
- Cocoa powder. The ingredient that makes our madeleines taste chocolatey.
Chocolate Shell
- Chocolate. Couverture milk chocolate is the best option, but if you’re a beginner, stick with a good quality bar of milk chocolate with cocoa butter and no vegetable oils in the ingredients list. It’s cheaper, and you can always progress to couverture chocolate later on.
Step-by-Step: How to Make Chocolate Madeleines
Step 1: Make Madeleines
- Preheat the oven to 390°F (200°C).
- Melt the butter. Melt the butter on the stove and set it aside to cool down.
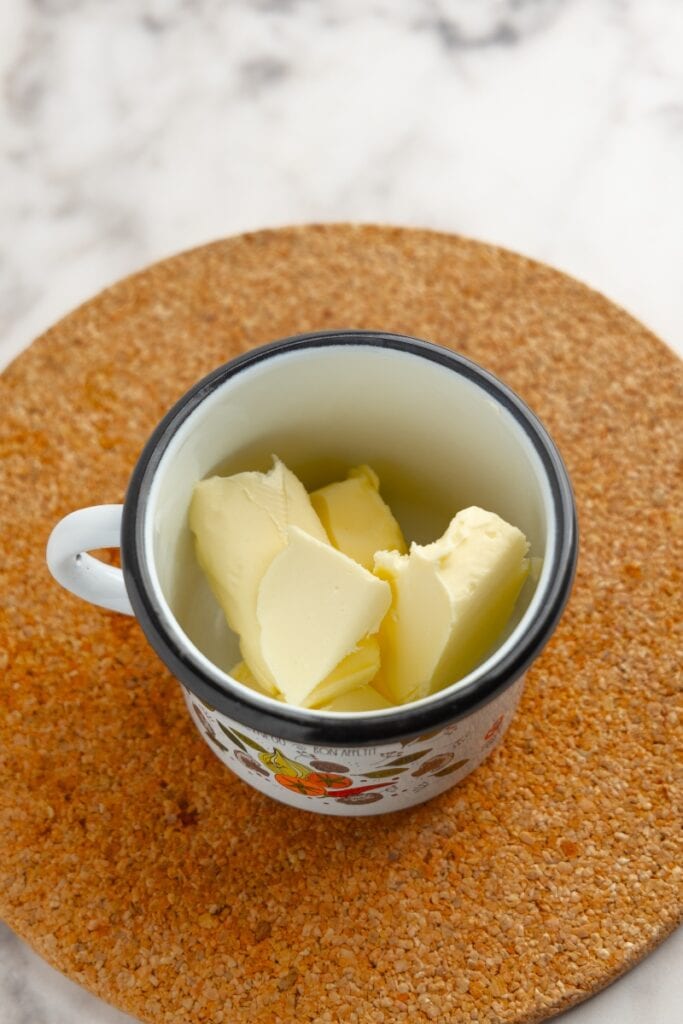 Place butter in a saucepan
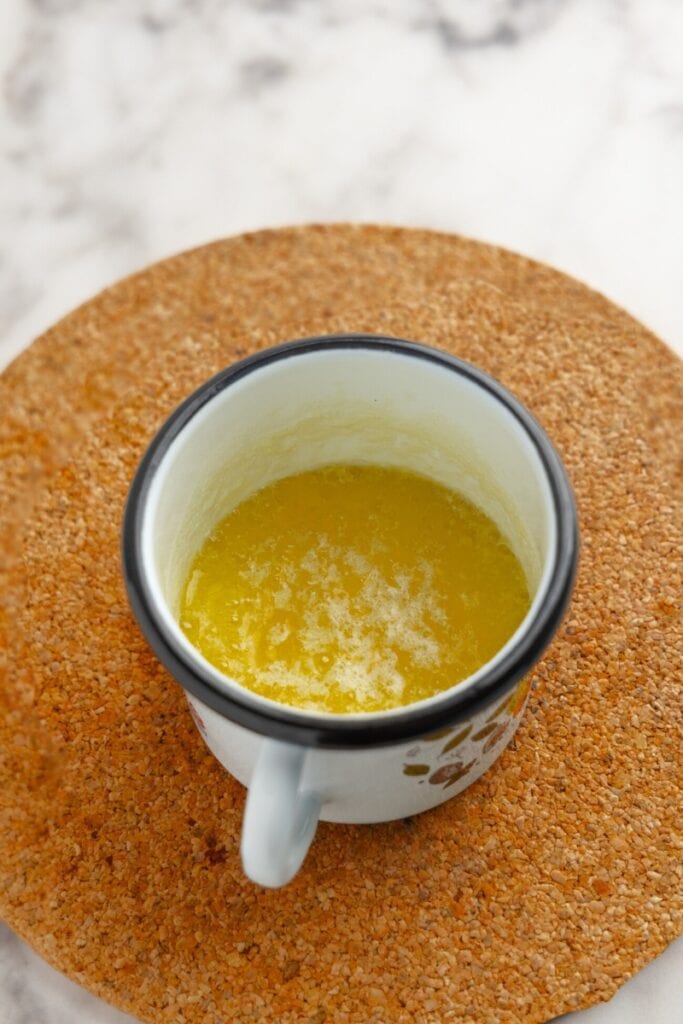 Melt butter over medium heat
- Mix egg, sugar, and wet ingredients. In a bowl, combine the egg, salt, vanilla extract, sugar, milk, and honey. Mix until smooth.
 Mix together the egg, salt, vanilla
 extract, sugar, honey, and milk
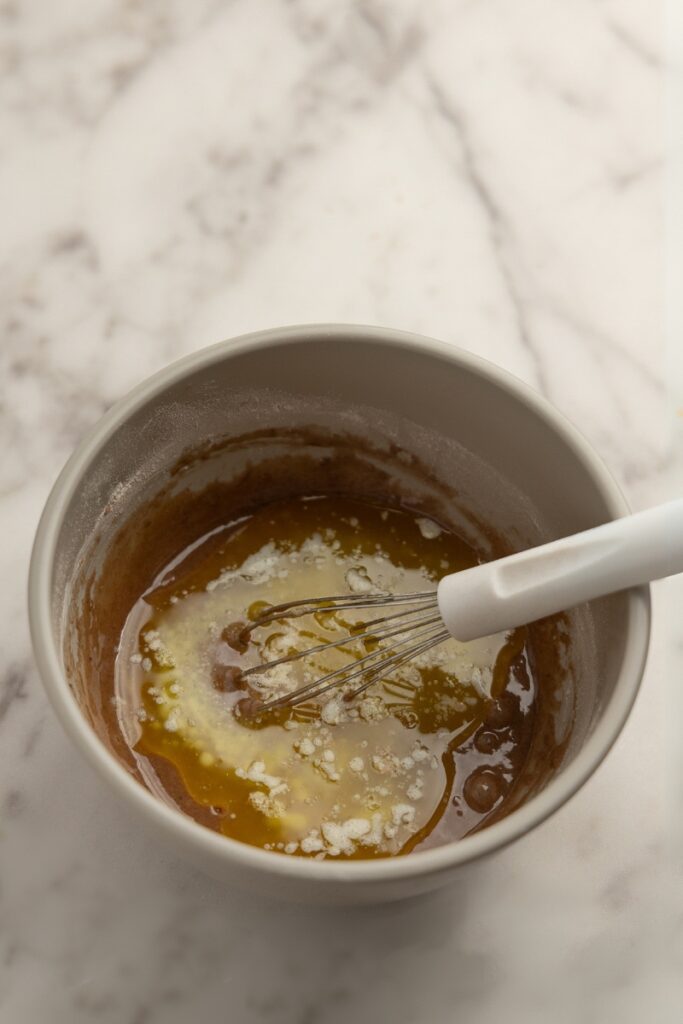
- Add dry ingredients. Sift in the flour, cocoa powder, and baking powder, then mix until fully incorporated.
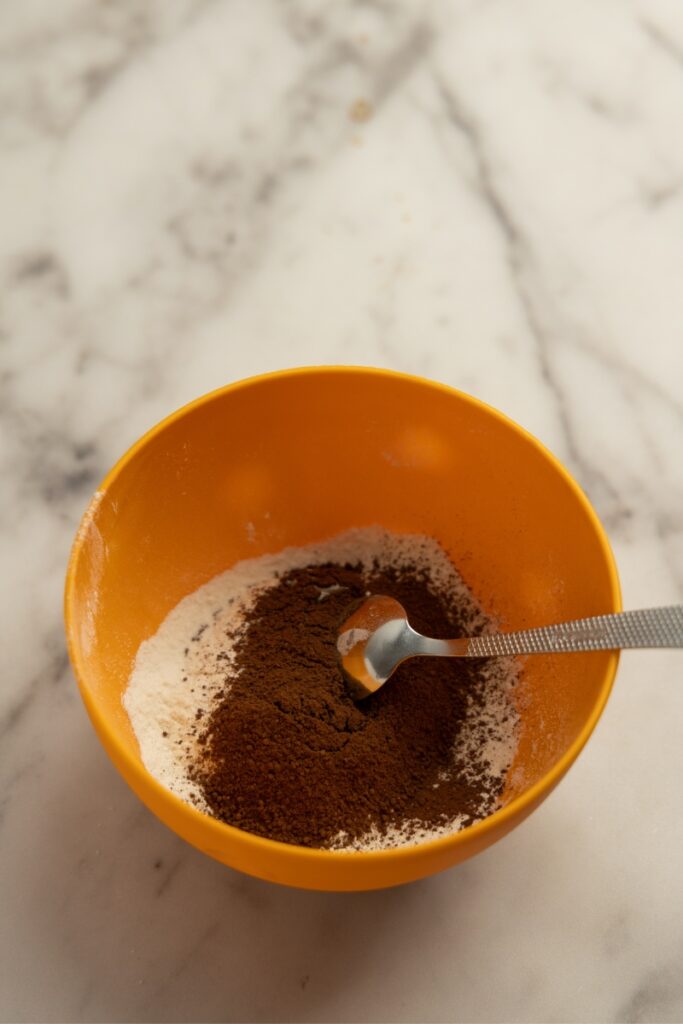
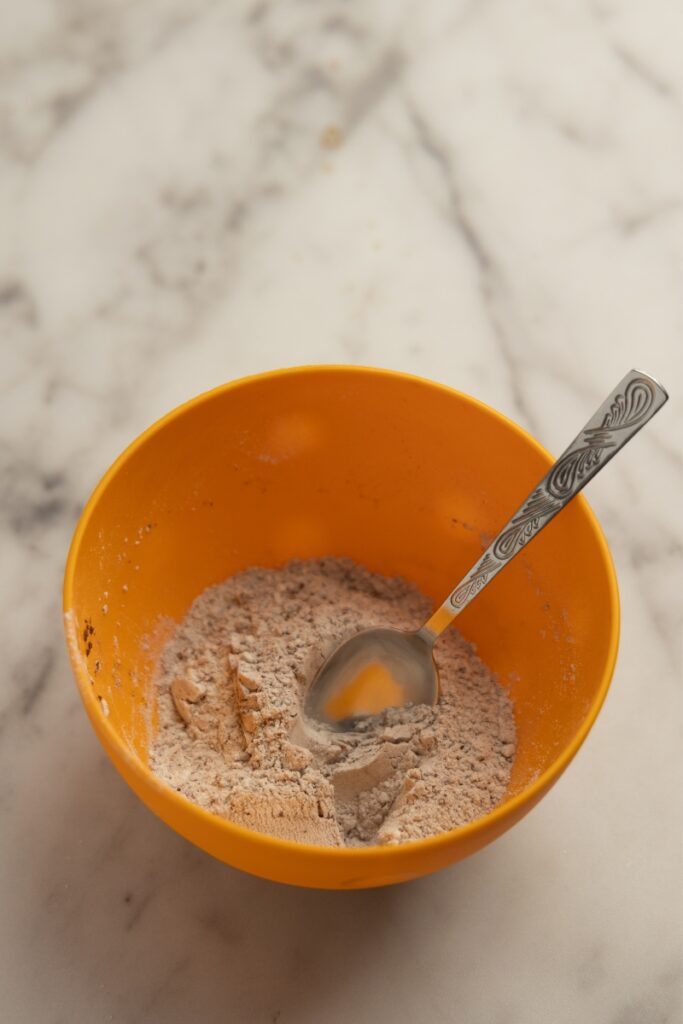
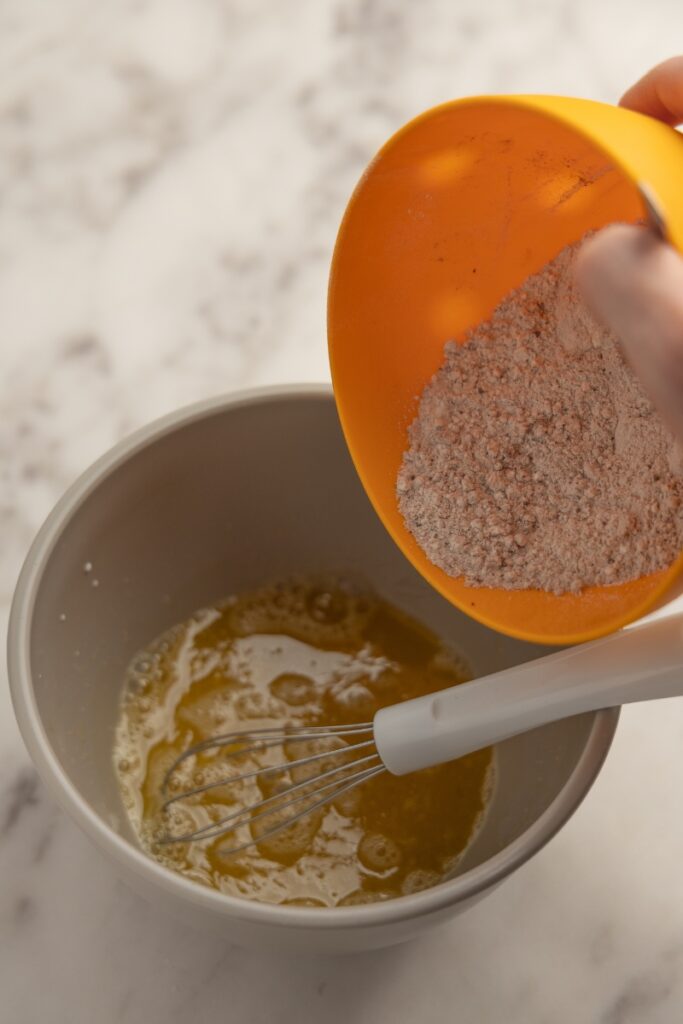
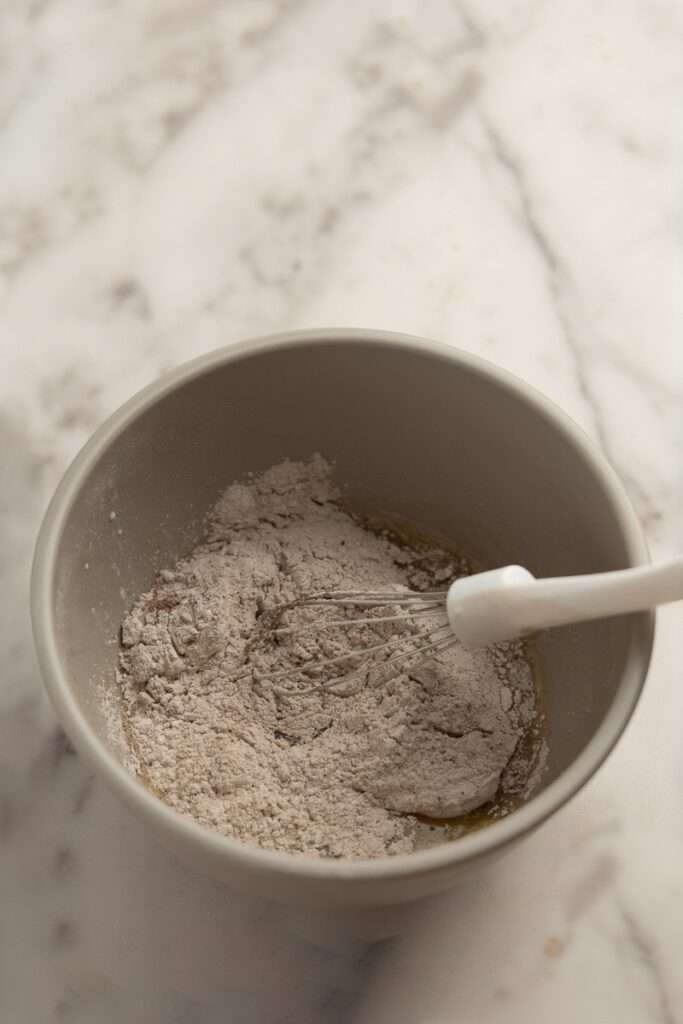 Sift the dry ingredients, add to the
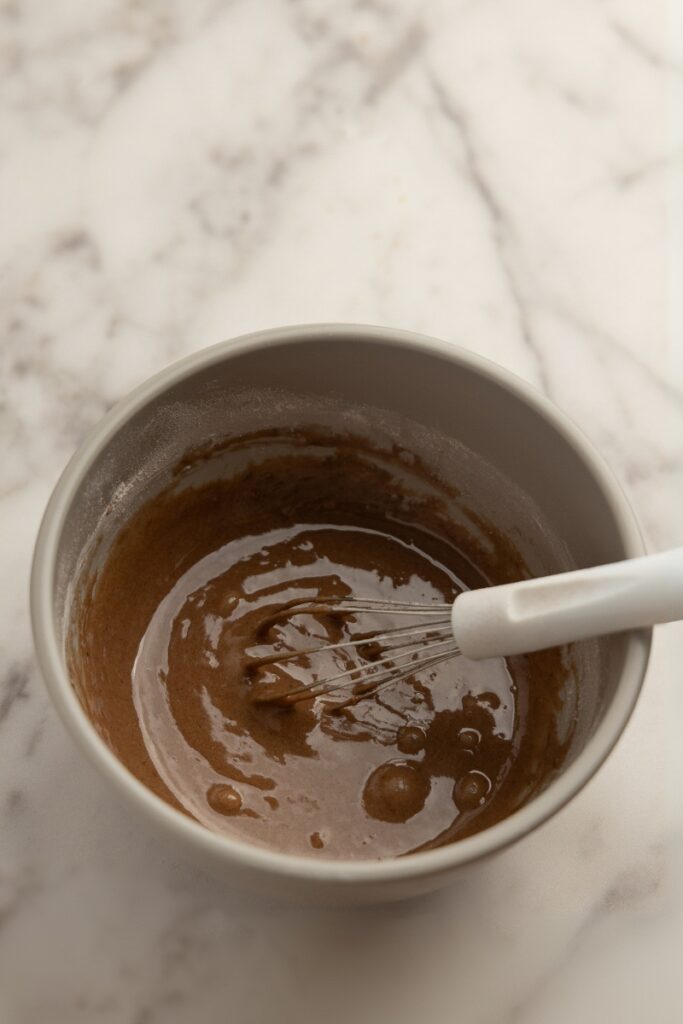 mixture and mix well until combined
- Add the melted butter. Ensure the butter is warm but not hot before adding it. If it’s too hot, let it cool by placing the pot in cold water for 2 to 3 minutes, stirring occasionally. Pour the warm butter into the bowl and stir until the batter is smooth.
 Pour the melted butter
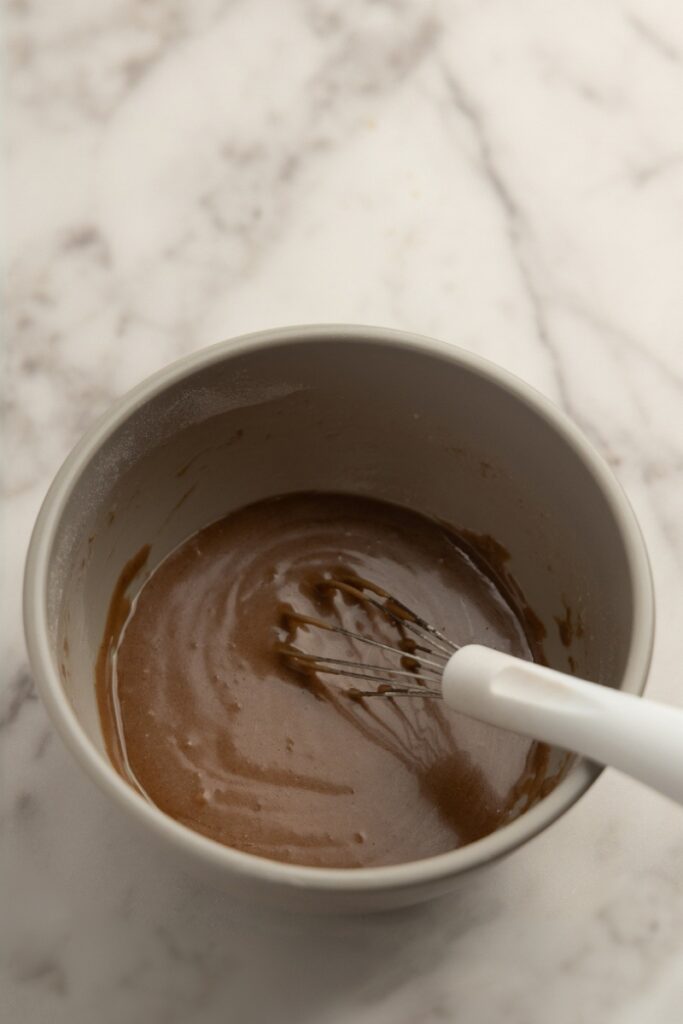 and stir until smooth
- Prepare the pan. Grease the madeleine molds with butter. I usually cut a small slice of butter and spread it with my finger. Make sure all surfaces are well-buttered. If your pan isn’t non-stick, dust it with all-purpose flour, then tap out any excess flour that doesn’t stick.
 Grease the madeleine
 molds with butter
- Pour the batter. Fill the molds about 3/4 full with the batter.
- Bake. Place the pan in the preheated oven and immediately lower the temperature to 360°F (180°C). Bake for 9 to 10 minutes, until the tops are set and the edges start to darken. Keep an eye on them after the 8-minute mark when baking for the first time, adjusting the baking time based on how they look.
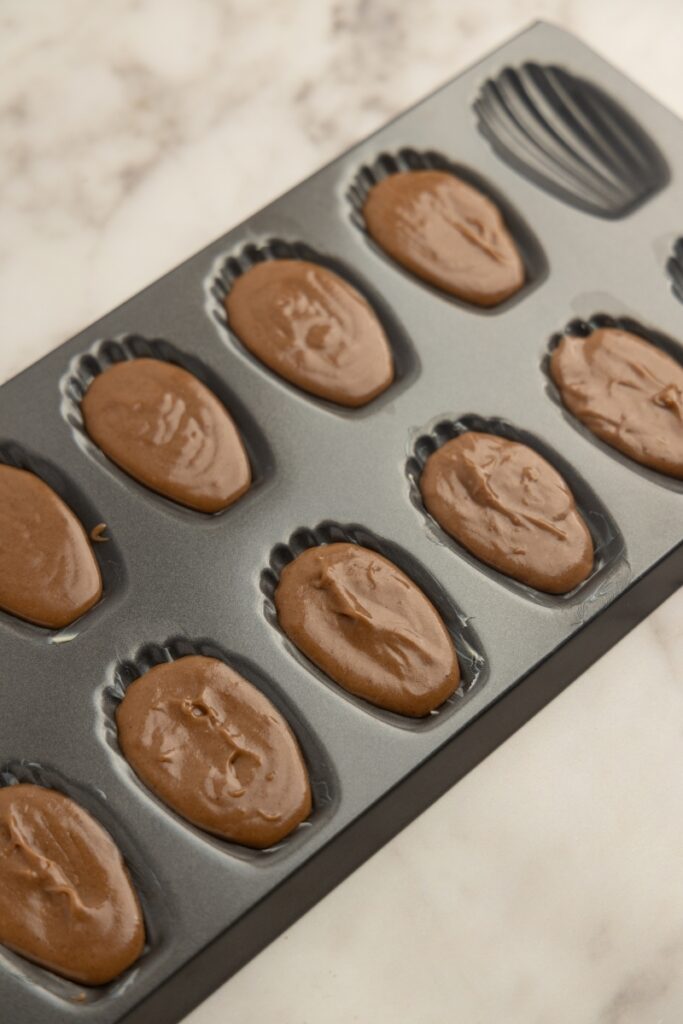 Fill to about three-quarters full
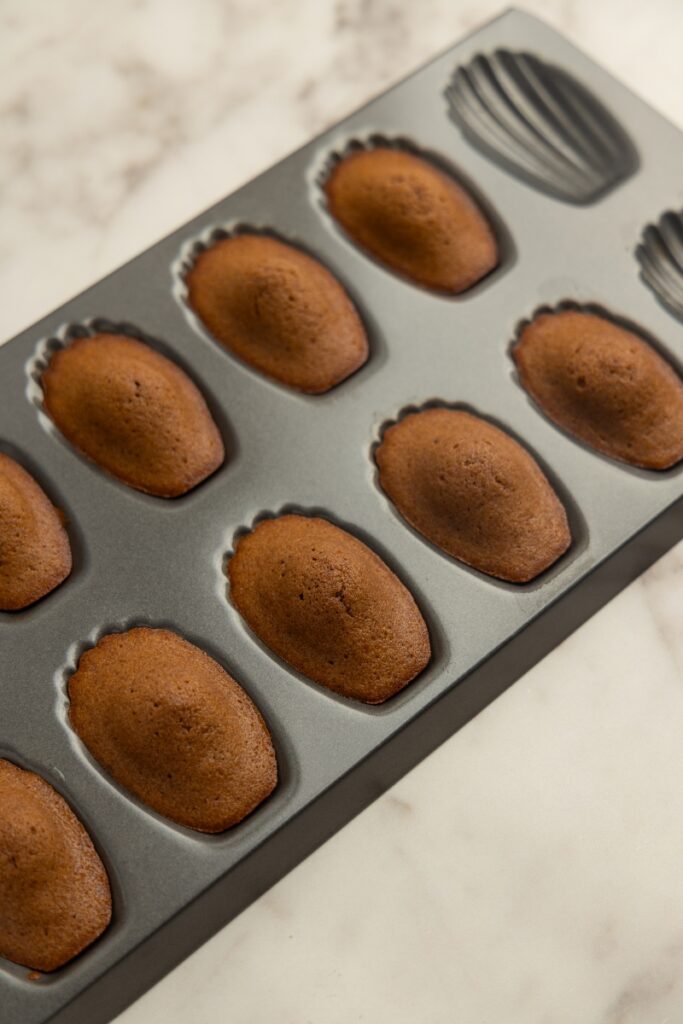 Bake for 9 to 10 minutes
- Cool. Once baked, remove the pan from the oven and let the madeleines sit for a couple of minutes before releasing them from the pan. They should come out easily, but if needed, gently run a silicone spatula around the edges. Place the mini cakes on a cooling rack so they cool more quickly.
- Prep for making shells. Wash the madeleine pan and wipe it dry. Then, grab a pastry bag, place it inside a large cup, folding the top of the bag over the rim of the cup. This holds the bag steady while you fill it with chocolate, keeping things mess-free. We want to have everything prepped in advance because once the chocolate is nice and tempered, we need to move fast.
Step 2: Temper Chocolate
(Make sure to read my guide to tempering chocolate if you haven’t already.)
- Prep milk chocolate. If you’re working with a chocolate bar, chop it into tiny pieces. The smaller the pieces, the more easily they’ll melt. If you’re using couverture chocolate, it often comes in discs or callets, so that part’s done for you.

- Prep double boiler. Set up a double boiler by placing a heatproof bowl over a saucepan with about 1 inch of water. Make sure the water doesn’t touch the bottom of the bowl. Set it over medium heat, and add about 2/3 of your chopped chocolate into the bowl. Reserve the rest. Lower the heat to a minimum once the water starts to boil.

- Melt the chocolate. Stir the chocolate every minute or so with a silicone spatula. When it begins to melt, stir more frequently. Keep an eye on the temperature so it doesn’t exceed the 113°F (45°C) – 122°F (50°C). If it starts to get close to that temperature, turn off the heat or lift the bowl from the double boiler briefly to cool it slightly. When about 90 percent of the chocolate has melted, turn off the heat, remove the bowl from the double boiler, and wipe the bottom dry.

- Seed. Stir until the remaining bits disappear, then add about 2/3 of the unmelted chocolate you set aside. This process is called seeding, as you add tempered chocolate to help your melted chocolate form the same type of crystals. Keep stirring until everything melts. Check the temperature. If it’s above 95°F (or 35°C), add half of the remaining chocolate and stir it in. If it’s still above 95°F, stir in the other half.


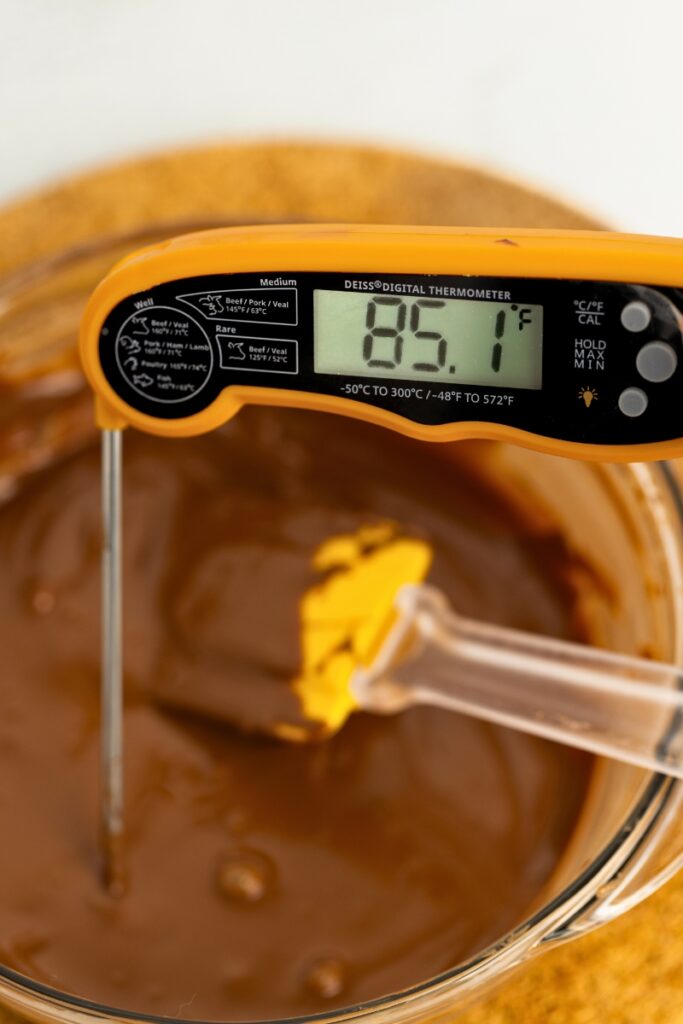
- Temper. Now, it’s time to bring your chocolate down to the tempering temperature, which for milk chocolate is 81°F (27°C) – 82°F (28°C). The easiest way is to submerge the bowl in cold tap water (in a larger bowl or soup plate) and keep stirring, making sure to scrape the bottom and sides. Check the temperature often. When it enters the tempering temperature range, remove it from the cold water immediately, wipe it dry, and stir once or twice. At this point, the chocolate is tempered; all that’s left is to warm it slightly so it’s easier to pour.

- Warm up. Bring your chocolate to its working temperature (84°F (29°C) – 86°F (30°C) for milk chocolate) so it’s more fluid. You can submerge the bowl in warm water (either warm tap water or water from the double boiler) and stir, scraping the bottom and sides, or place the bowl back on top of the double boiler over low heat for a minute or two. Keep checking the temperature. When it reaches the working range, remove it from the heat, wipe it dry, and stir again. Your chocolate is now ready to use. If you accidentally exceed the working temperature, go back to the seeding step and repeat.
- (Optional) Test for temper. To double-check if your chocolate is tempered, dip a knife or offset spatula in the chocolate, then stick it in the fridge for 2 to 3 minutes. If it sets firm and glossy without streaks, you’re good to go.
Step 3: Make Chocolate Shells
- Prep pastry bag. Fill the pastry bag with tempered chocolate. Cut a small hole at the tip – about 1/8 to 2/8 inch wide – so you’ve got good control.
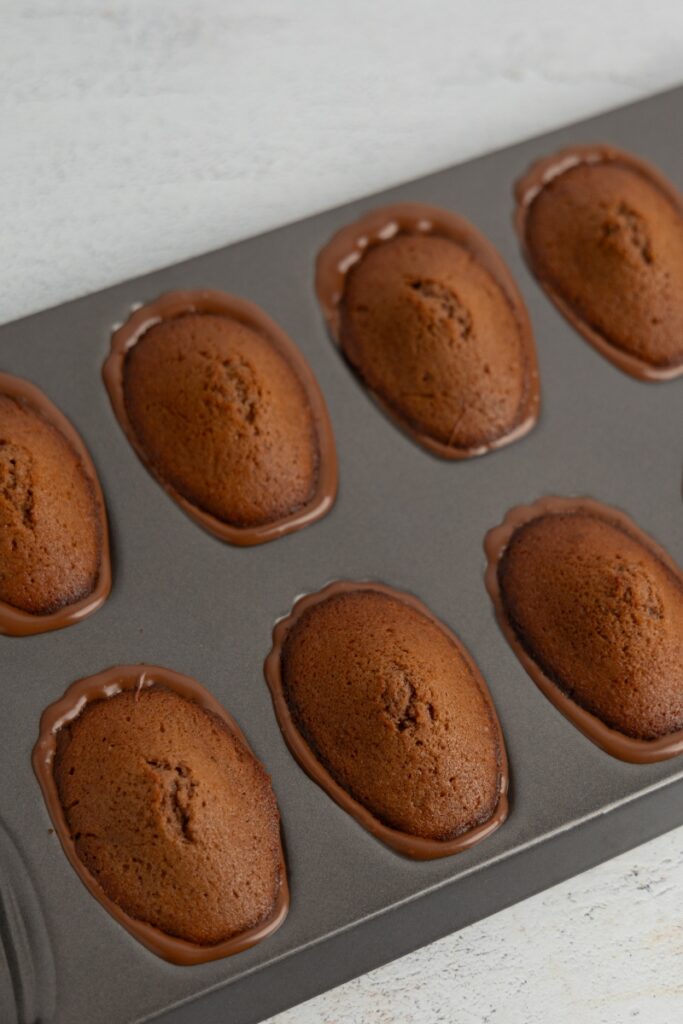
- Pipe and mold. Pipe a thin, even layer of chocolate into a single mold cavity. Start from the center and swirl outwards until you’ve coated the whole bottom. Now, grab a madeleine and gently press it (shell side down) into the chocolate. Push just enough so that the chocolate creeps up around the edges of the cookie. You should see a little chocolate coming up the sides – that’s how you know it’ll cover the edges properly. If there’s not enough chocolate in the cavity, try piping a little extra around the edges. Repeat for all the madeleines you’ve got.
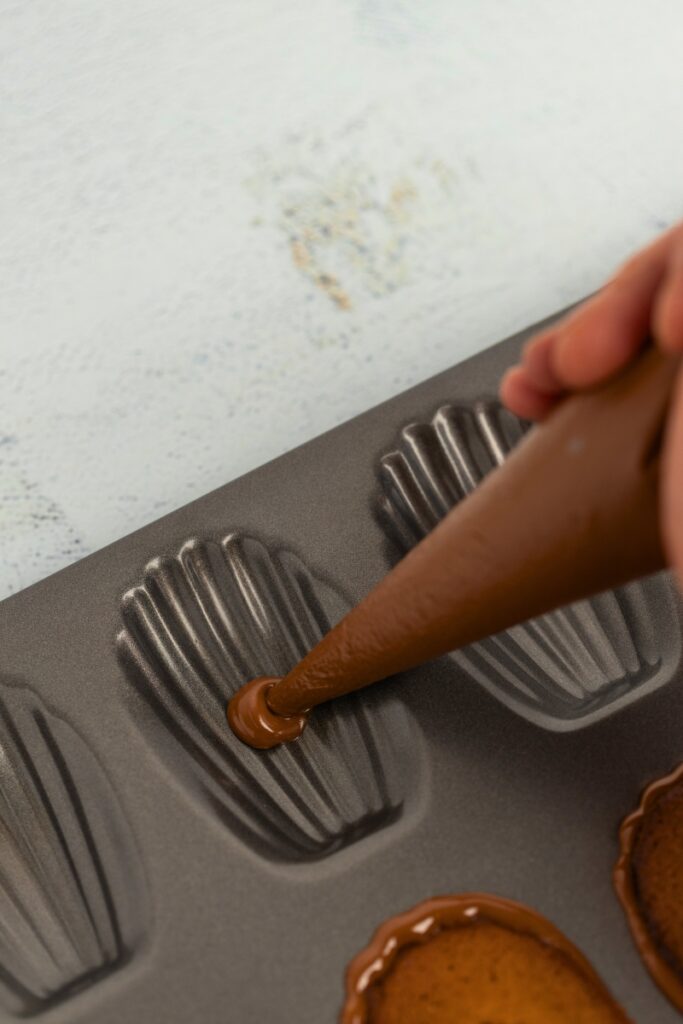 Pipe chocolate into the mold
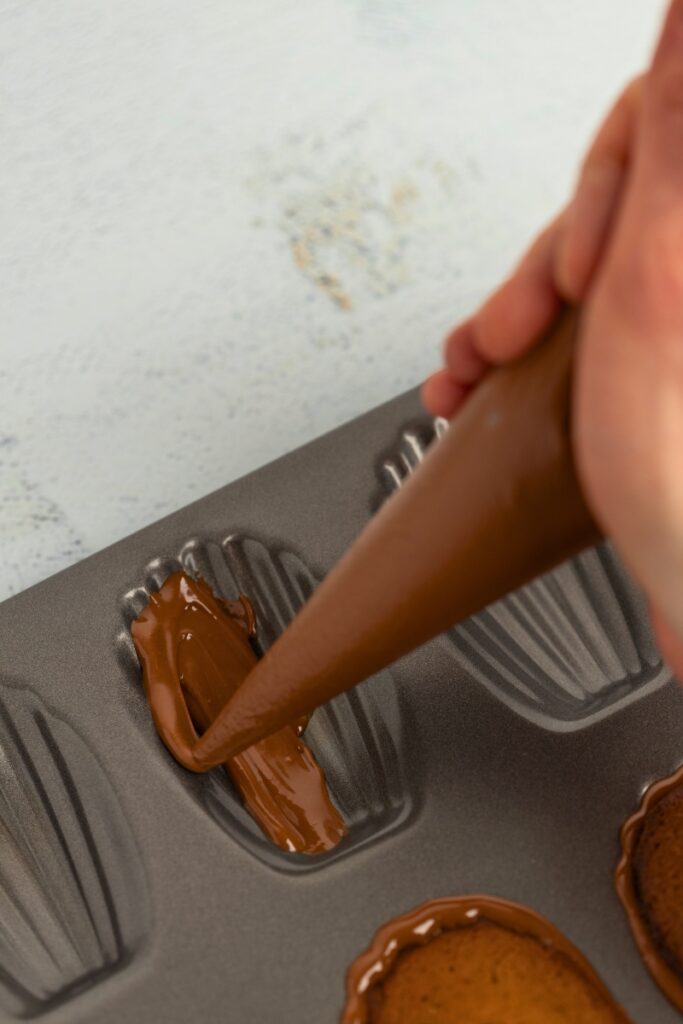 Swirl chocolate from the center out
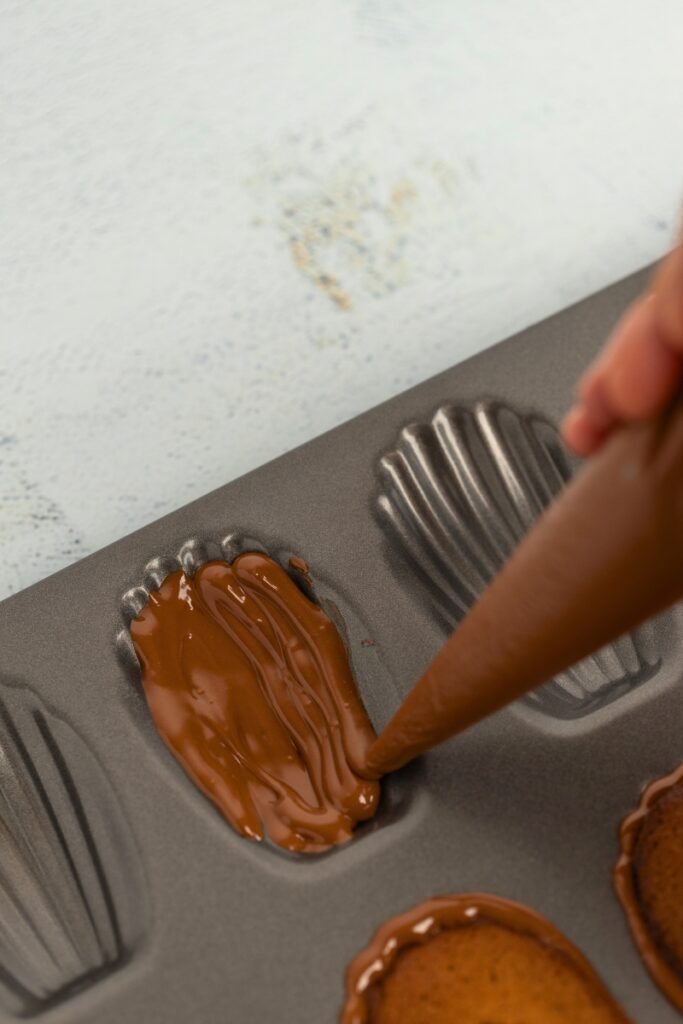 Press the madeleine in, ensuring
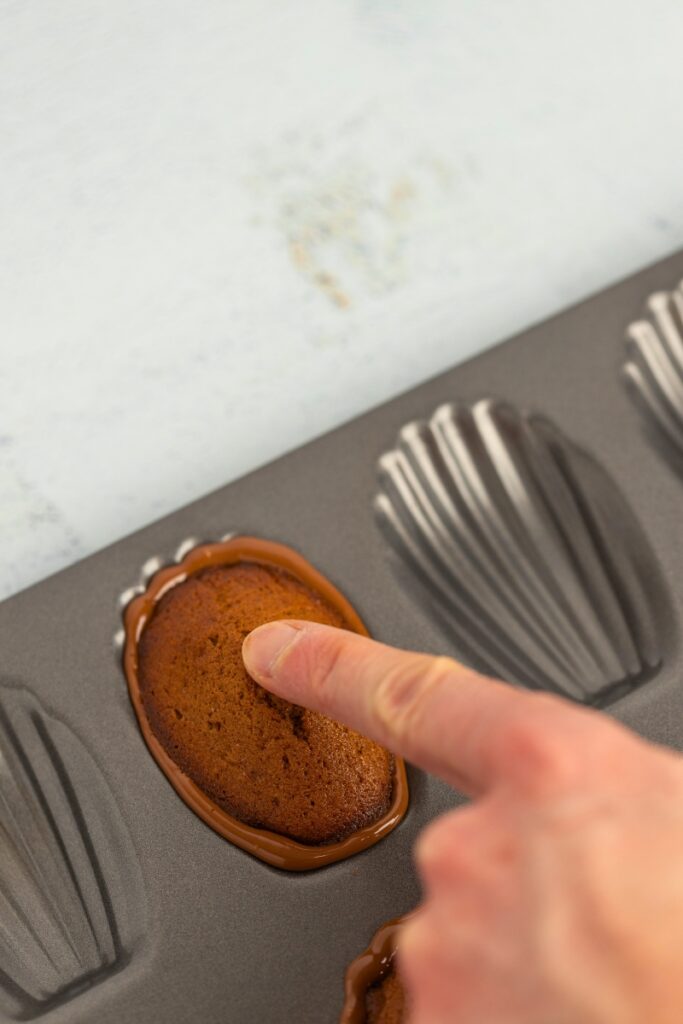 it rises slightly around the edges
- Chill and set. Pop the whole tray in the fridge for about 20 minutes so that the chocolate firms up. Then, transfer it to the freezer for 8 to 10 minutes to make unmolding easier. Don’t exceed freezing time – we just want to make everything cold enough so the madeleines unmold easily.
 Chill in the fridge for 20 minutes
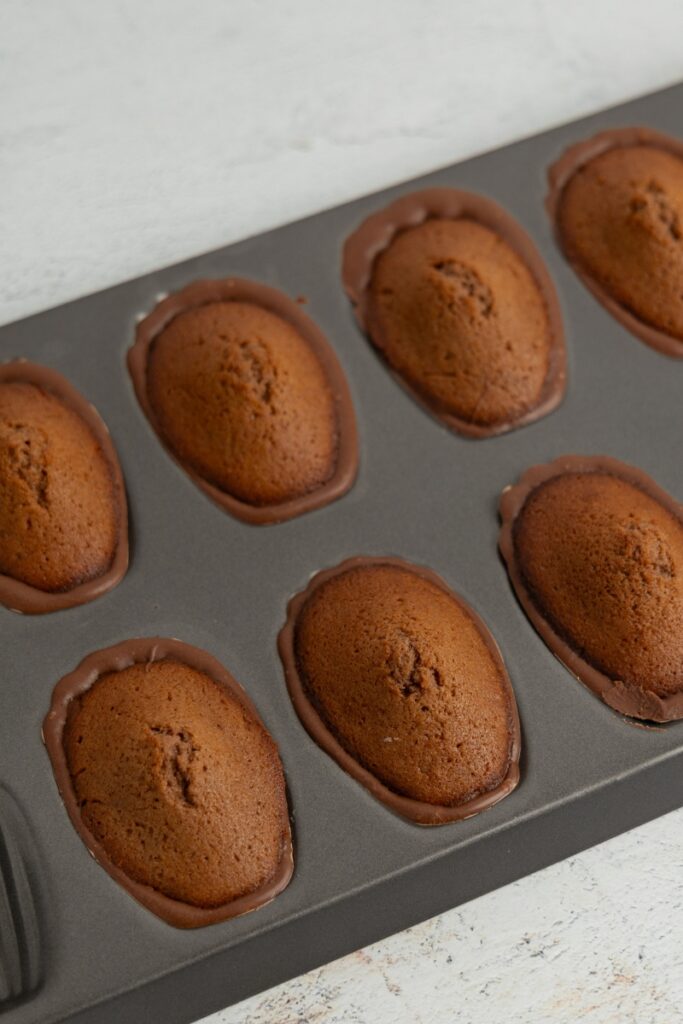 Transfer to freezer for 8-10 minutes
- Unmold. Remove the madeleine pan from the freezer and unmold the madeleines. If you’re using a silicone mold, that should be super easy. If it’s a non-stick metal mold, drop it from about 4 to 5 inches onto a firm surface like a kitchen table. The impact should make the madeleines pop right out. You might need to do a couple of drops to release the more stubborn ones, but they’ll come out beautifully if your chocolate is properly tempered. You can also try removing the madeleines from the pan using a silicone spatula or by placing the pan upside down and tapping the bottom, but that doesn’t always work, even if the chocolate is properly tempered. Dropping my non-stick metal mold onto a firm surface works every time (at least for me).
- Serve. Once unmolded, the madeleines are ready to be served. They’re delicious right away, but if you prefer, you can leave them on the counter for 30 minutes, so they come to room temperature.

Tips
- Experiment with different chocolates. I like milk chocolate best for these madeleines, but dark or white chocolate works too. Just be sure to use the right tempering temperatures for the type of chocolate you choose. You can find them in my guide to tempering chocolate.
- Substitute a pastry bag with a zip-top. If you don’t have a pastry bag, use a zip-top bag instead. Fill the bag with chocolate, then snip a small hole in one corner to pipe. It’s an easy alternative that works just as well.
- Adjust the amount of chocolate. The amount of chocolate mentioned in the recipe card works well for my madeleine pan, but I cannot guarantee it’ll be enough for yours. If you want to make sure you have enough, temper 20 percent more chocolate. Or go with my recommendation and adjust the amount next time around once you know how much you need.

Storage
Store these chocolate madeleines in an airtight container at room temperature for about 3 to 4 days—just keep them away from heat and direct sunlight.
That said, they’re at their best for a day or two before the chocolate shell starts to soften slightly. I don’t have an exact science on why (if you do, drop a comment!), but my best guess is that the chocolate slowly absorbs moisture from the madeleine.
If you want to keep the shells crisp, store them in the fridge instead.

Similar Recipes to Try
Looking for more? Check these out:
- Lemon madeleines – A super simple recipe with a quick glaze you can whip up in five minutes. Perfect if you love lemony sweets. Or try orange madeleines or a slightly different twist.
- Earl Grey madeleines – If you’re into tea-flavored desserts, this one won’t disappoint.
- Brown butter madeleines – Made with nutty brown butter and finished with a brown butter glaze. A simple but flavorful upgrade.
- Chocolate financiers – Financiers are moist mini cakes made with brown butter and egg whites. Traditionally, they use a fancy mold, but a muffin tin works just as well. Quick, simple, and delicious.
This post may contain affiliate links. Read our privacy policy.
Equipment
- Food thermometer
Ingredients
Chocolate Madeleines:
- 1 medium egg room temperature, about 50g
- 1/8 teaspoon salt
- 1/4 teaspoon baking powder
- 1/2 teaspoon vanilla extract optional
- 2 teaspoon milk 10g
- 4 tablespoon butter 56g
- 2 oz cake flour 56g
- 1.5 oz sugar 42g
- 1 teaspoon honey 7g
- 2 teaspoons cocoa powder 5 g
Chocolate Shells:
- 5 oz milk chocolate ~140 g
Instructions
Make Madeleines:
- Preheat the Oven. Preheat your oven to 390°F (200°C).
- Melt Butter. Melt the butter and let it cool.
- Mix Wet Ingredients. Combine egg, salt, vanilla extract, sugar, milk, and honey in a bowl; mix until smooth.1 medium egg, 1/8 teaspoon salt, 1/2 teaspoon vanilla extract, 2 teaspoon milk, 1.5 oz sugar, 1 teaspoon honey
- Add Dry Ingredients. Sift in flour, cocoa powder, and baking powder; mix until fully incorporated.2 oz cake flour, 2 teaspoons cocoa powder, 1/4 teaspoon baking powder
- Incorporate Butter. Add the cooled, melted butter to the batter and stir until smooth.4 tablespoon butter
- Prepare Pan. Grease the madeleine molds with butter; dust with flour if not using a non-stick pan.
- Fill Molds. Pour the batter into the molds, filling them about 3/4 full.
- Bake. Place the pan in the oven, reduce the temperature to 360°F (180°C), and bake for 9-10 minutes until the edges start to darken and the tops set.
- Cool. Let the madeleines cool in the pan for a few minutes before removing. Transfer to a cooling rack.
- Prep for Shells. Wash and dry the pan. Place a pastry bag inside a cup, folding the top of the bag over the rim of the cup.
Temper Chocolate:
- Prep. Chop chocolate into small pieces for even melting. No chopping needed if using couverture.5 oz milk chocolate
- Set up double boiler. Place a heatproof bowl over a saucepan with 1 inch of simmering water (not touching the bowl). Add 2/3 of the chocolate and lower heat to a minimum.
- Melt. Stir frequently until about 90% of the chocolate is melted. Remove from heat and dry the bowl’s bottom.
- Seed. Stir until fully melted, then add 2/3 of the reserved chocolate. Stir until melted. Check the temperature and if above 95°F (35°C), add half of the leftover chocolate. Stir until melted and repeat with the other half if temperature still above 95°F (35°C).
- Cool to tempering range. Stir while cooling the chocolate in a cold water bath, then remove once it reaches between 81°F (27°C) and 82°F (28°C). Dry the bowl and stir.
- Warm to working range. Gently warm in a warm water bath or in a double boiler over low heat, stirring, until it reaches between 84°F (29°C) and 86°F (30°C). It's now ready to use.
- (Optional) Test. Dip a knife or offset spatula in the chocolate and chill for 2–3 minutes. If it sets glossy and firm, it’s tempered.
Make Chocolate Shells:
- Fill Pastry Bag. Pour tempered chocolate into a pastry bag. Cut a small tip (1/8 to 2/8 inch).
- Pipe & Press. Pipe a thin, even layer of chocolate into a single mold cavity. Start from the center and swirl outwards until you’ve coated the whole bottom. Grab a madeleine and gently press it (shell side down) into the chocolate. Push just enough so that the chocolate creeps up around the edges of the cookie. Repeat for all madeleines.
- Chill & Set. Refrigerate for 20 minutes, then freeze for 8-10 minutes for easy unmolding.
- Unmold. Tap the bottom or drop the pan onto a firm surface to release madeleines. Silicone molds should release easily.
- Serve. Enjoy immediately or let them sit for 30 minutes to come to room temperature.