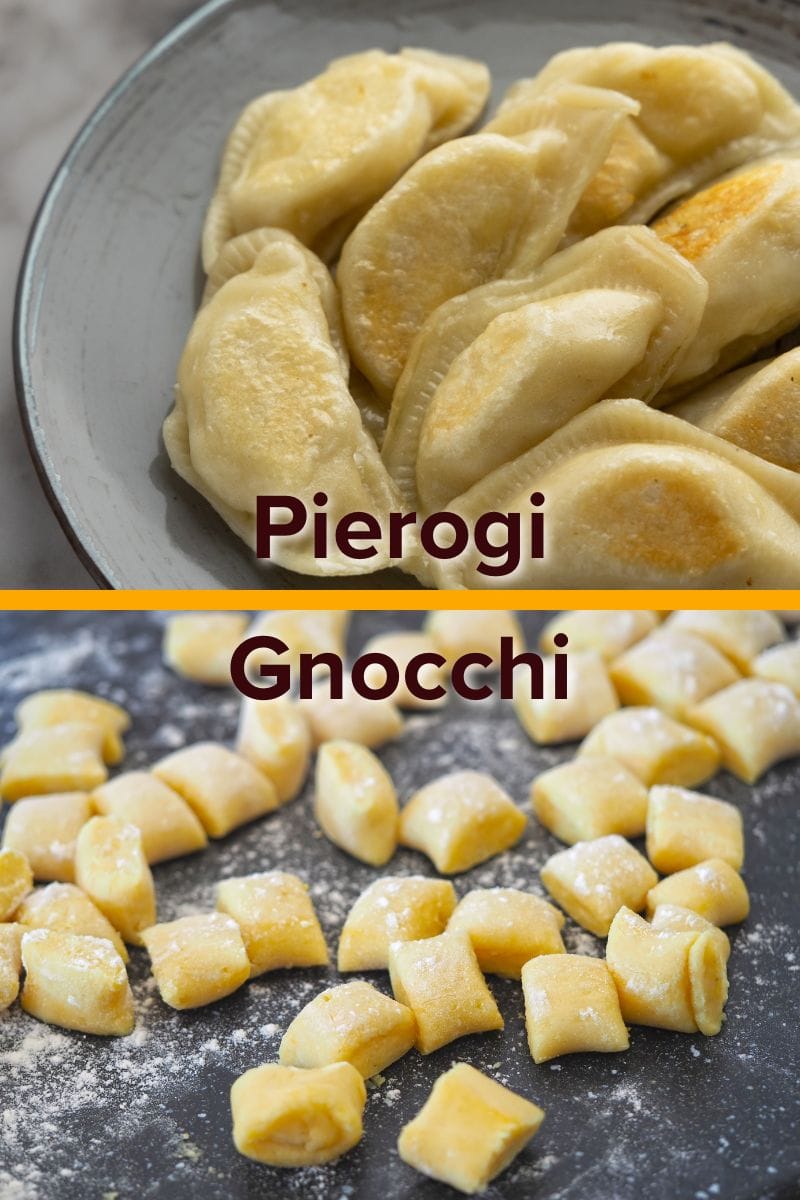
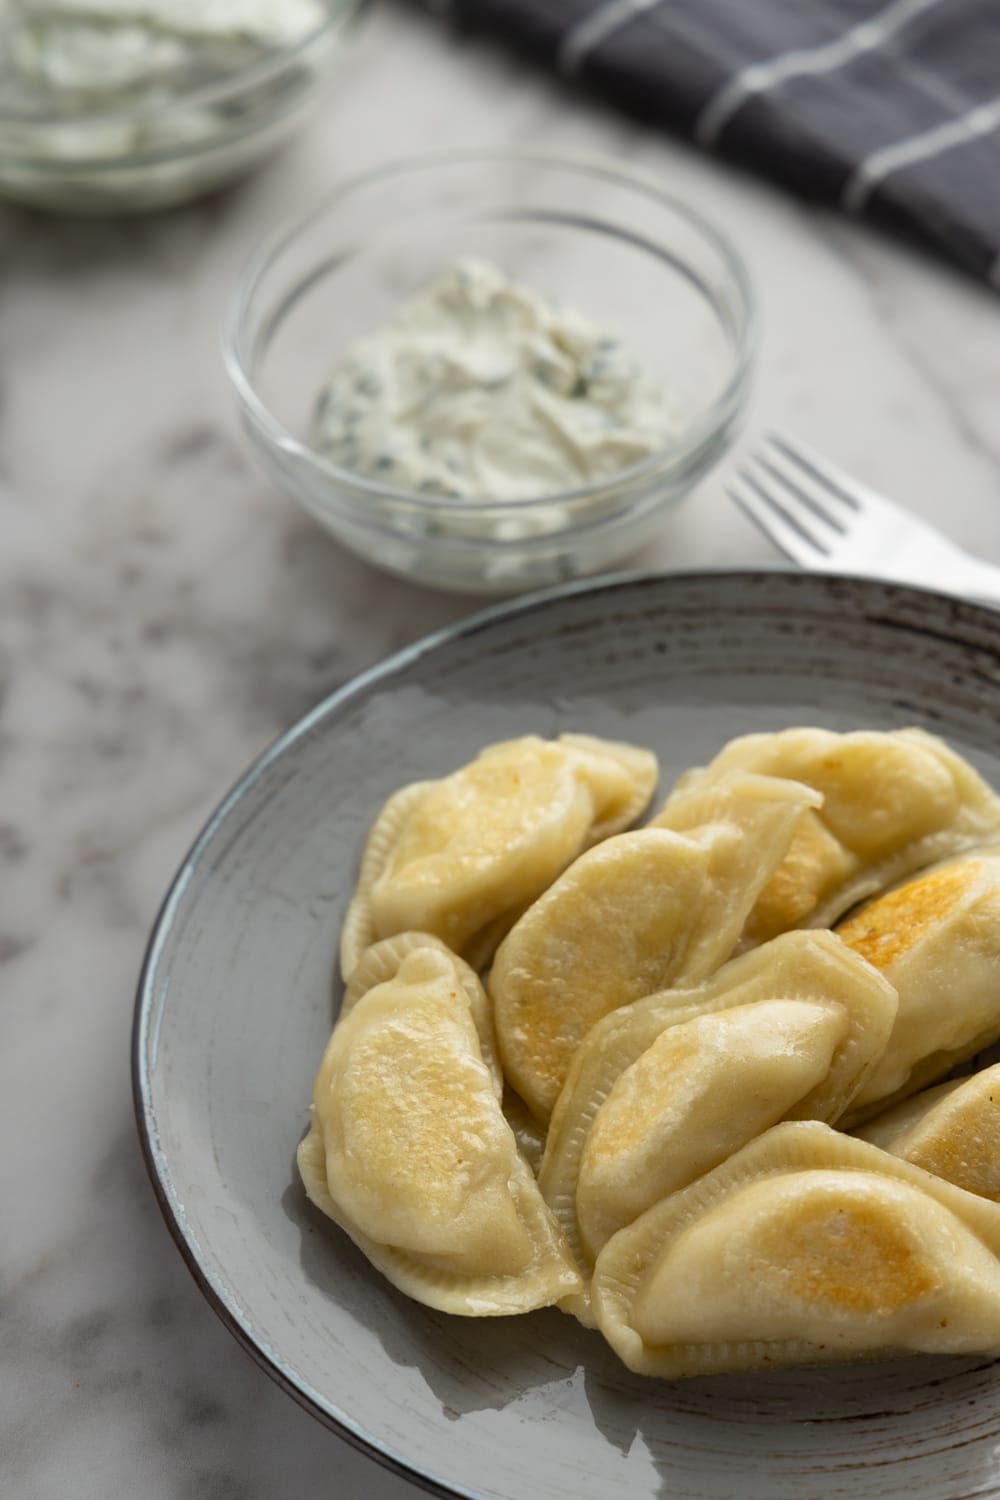
Sweet Cheese Pierogi Recipe [+2 Flavoring Options]
Are you craving the comforting taste of Poland’s sweet cheese pierogi, but can’t find the traditional farmer’s cheese? Don’t worry! In this guide, we’re taking a creative twist on the classic recipe by using everyday ingredients like cream cheese and rice.

In Poland, sweet cheese pierogi are traditionally crafted using farmer’s cheese, a variety that is characteristically dry, firm, and perfectly suited for this delectable dish.
If that’s what you’ve got in your fridge, you can find a recipe for farmer’s cheese pierogi here. If not, stick around, and I’ll show you a cool alternative.
One issue with farmer’s cheese (or quark) is its availability, as not everyone can find it at the local grocery store. That’s why I wanted to use something more readily available in this recipe.
Cream cheese is a pretty good stand-in, tasting a lot like farmer’s cheese (I use it in potato and cheese pierogi, too). The only hiccup is that it’s a bit too soft and creamy for pierogi.
To fix this, we add a generous amount of cooked rice to the mixture. When blended with the cream cheese—particularly if you overcook it—the rice lends the filling a firmer consistency, making it easier to work with.
Alright, ready to dive into the recipe? Let’s go!

Recipe At a Glance
Here’s why I think you’ll love this sweet cheese pierogi recipe:
- You probably have everything you need. By swapping out farmer’s cheese for cream cheese and tossing in some rice, you most likely have all the ingredients in your kitchen.
- You can have fun with it. Cream cheese and cooked rice make a super flexible base. I’ll share two simple ways to flavor it below, but feel free to go wild and use what you’ve got. Heck, a spoonful of sugar added to the base is enough to make it taste good.
- You can taste-test different flavors all at once. Split the cream cheese and rice into parts, add various flavorings, and try them all in one go.
So, are you convinced yet? Give it a try, and let’s make some pierogi together! It’s going to be delicious, I promise.
As usual, if you’re making sweet cheese pierogi for the first time, read the ingredients notes, step-by-step instructions, and tips. If you’re a veteran, feel free to jump to the recipe card.
First time making pierogi? Check out our epic guide to homemade pierogi to learn everything you need to know about making pierogi at home.
Ingredients Notes and Substitutes
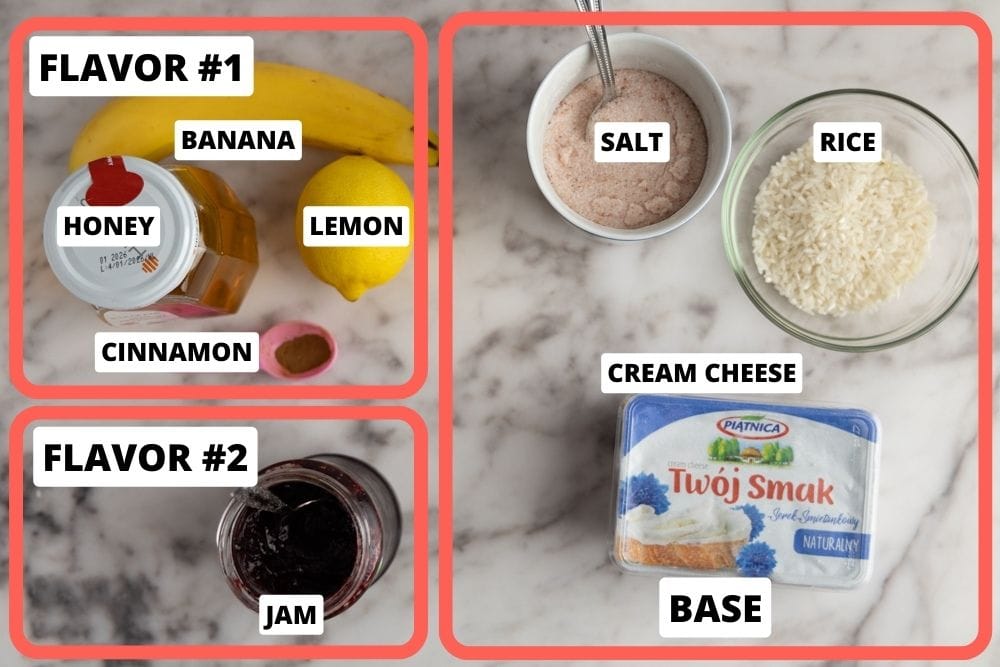
- Pierogi dough. You can use my go-to pierogi dough recipe or any other favorite of yours. Just make sure it uses around 2 cups of flour, so you have enough dough to form the pierogi.
- Cream cheese. You can use ricotta cheese instead, but it’s not a simple one-to-one substitution. I cover it in detail in the Subbing in ricotta section below.
- Rice. Plain white rice is best, but white jasmine or basmati should work in a pinch.
- #1 Flavoring option: jam. You can use any jam, jelly, or any other fruit preserve you like. In fact, you should try different ones to find which one you like best. Quick note: you might need to add extra sugar if your preserve of choice is on the tangy side.
- #2 Flavoring option: mashed banana, honey, cinnamon, and lemon juice. You can replace honey with any other sweetener but don’t skip the lemon (or lime) juice. Without it, the filling lacks the tanginess it needs to shine. Now, don’t get me wrong, if you skip the lemon juice, the filling will still be okayish, but that extra kick of freshness the juice provides takes it to the next level.
Step-By-Step Instructions
- Prepare the Pierogi Dough: Use your favorite pierogi dough recipe or go with my favorite one. Once you finish kneading the dough, wrap it in plastic wrap and let it rest for at least 30 minutes before rolling.
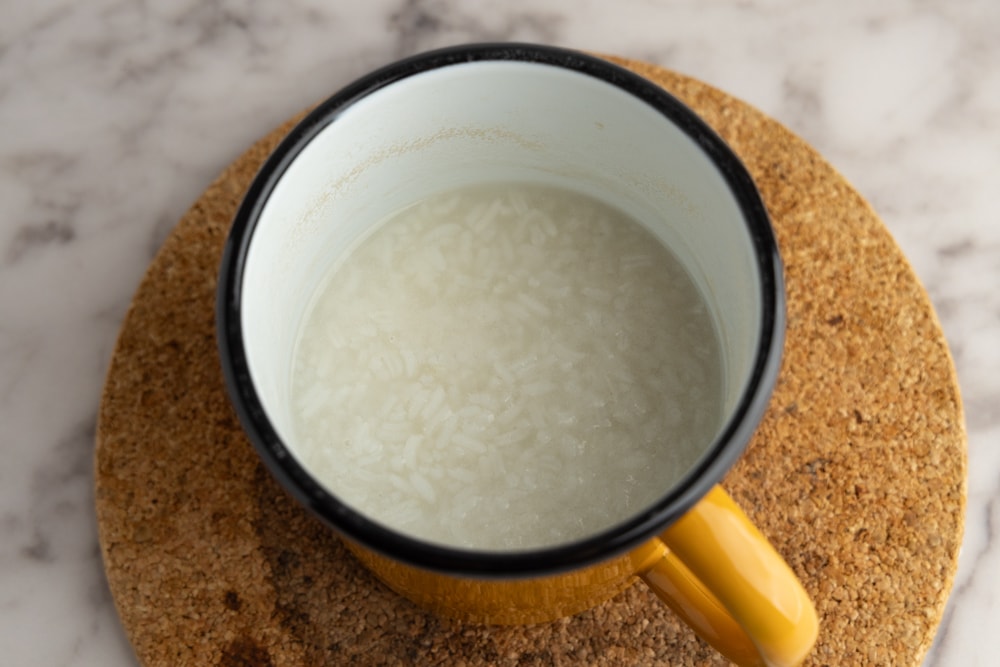
- Cook the Rice: Cooked the usual way, rice triples in weight, but if you leave it for a couple of extra minutes and add plenty of water, it can get up to 4x its initial weight. So for 12 oz of cooked rice, take 3 to 4 oz (about half a cup) and cook it with plenty of water (5x the rice volume) and your usual pinch of salt. Let it go for a few minutes longer than the package says—around 20 to 22 minutes—so it’s sticky and creamy. Taste and add more salt if you think it needs it.
- Prepare the Filling: Grab the cream cheese, overcooked rice, and your favorite flavoring, and stir them all together. Taste and tweak as you like. More sweetness? Add sugar or honey. Needs a zing? A dash of lemon juice should do the trick.
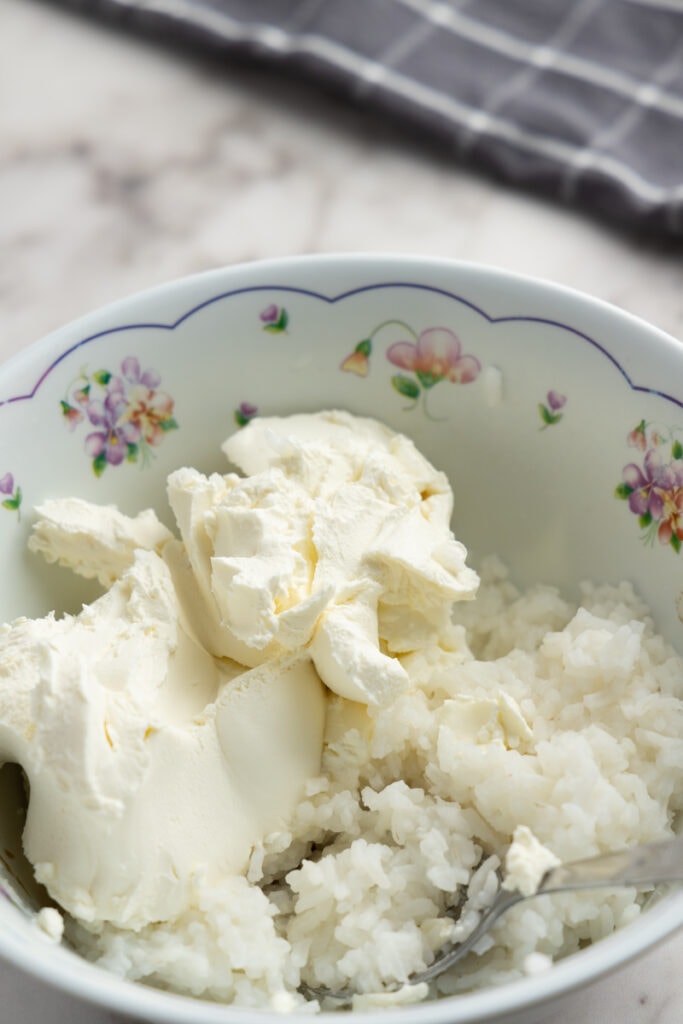 Add cheese to rice
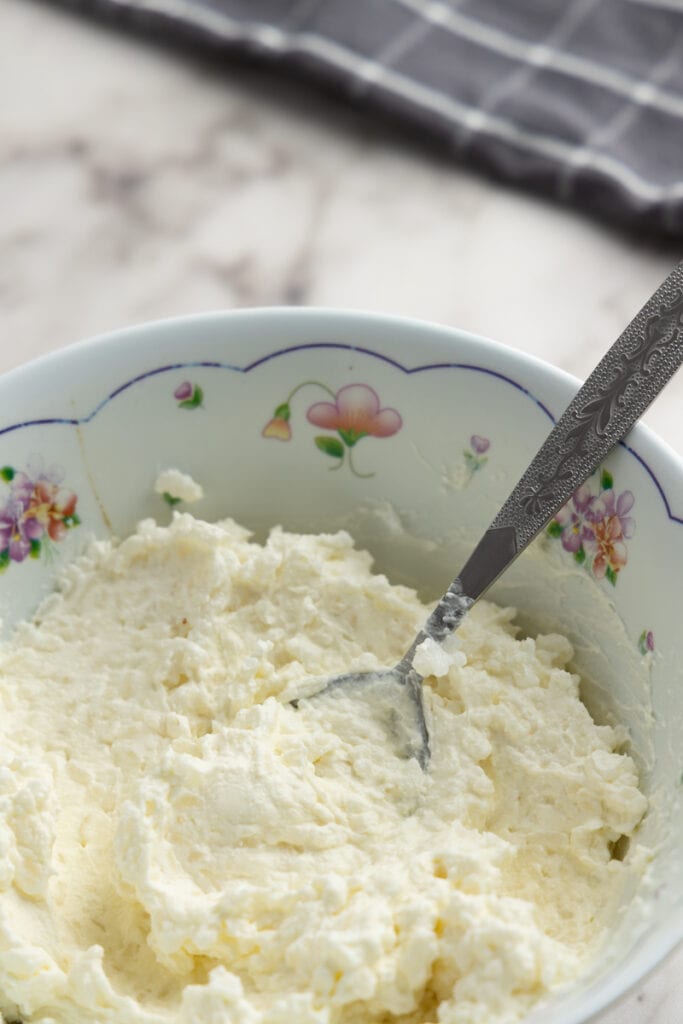 Base is ready
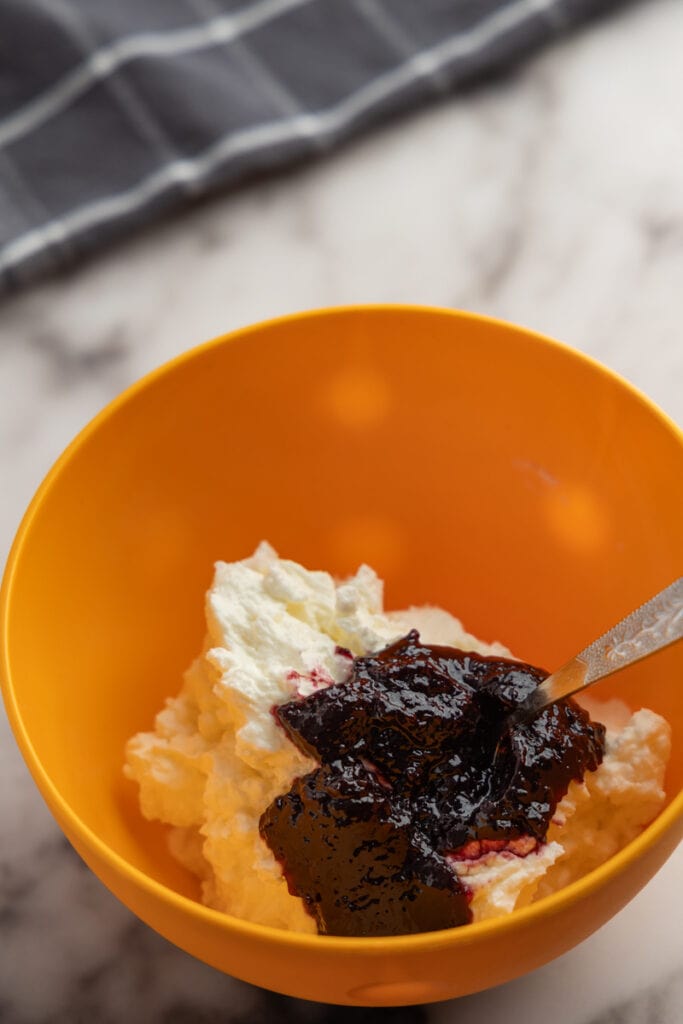 Adding jam to base
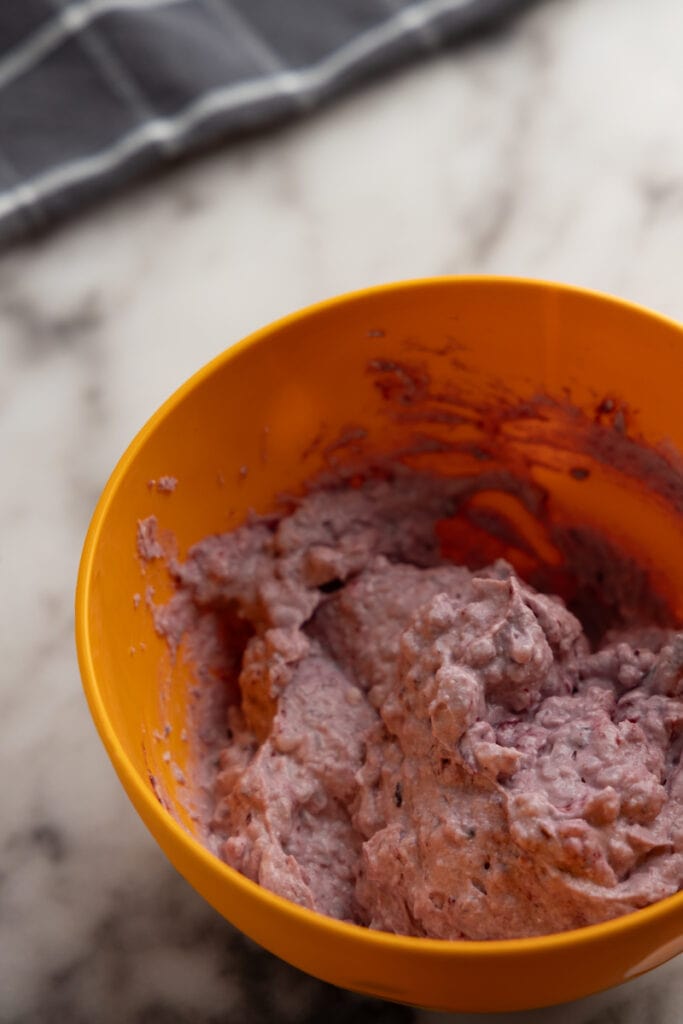 Jam flavoring ready
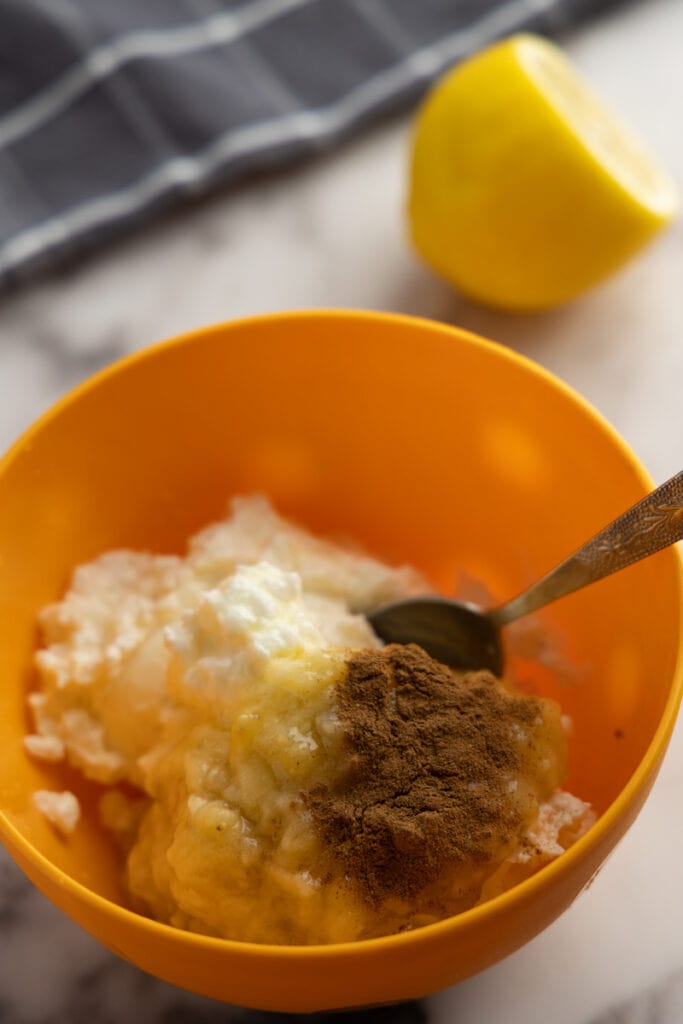 Adding mashed banana & the rest to base
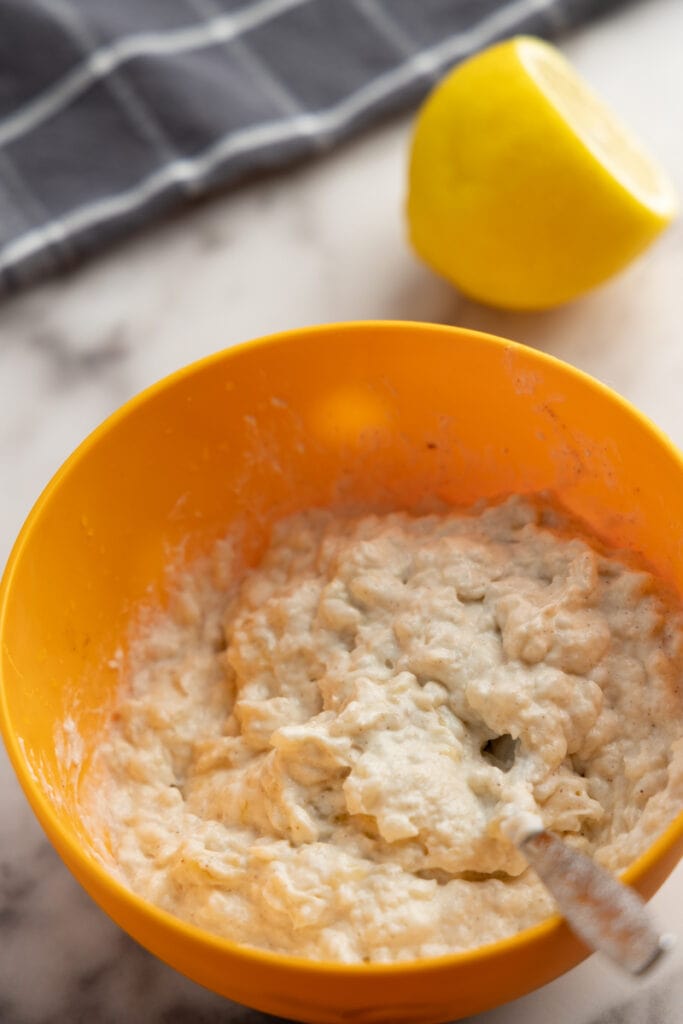 Mashed banana flavor ready
- Divide and Roll the Dough: Split the rested dough into two or three sections. Roll out the first portion on a well-floured surface until it’s thin and even, keeping the remaining dough wrapped. Make sure the dough is thick enough to stretch without tearing.
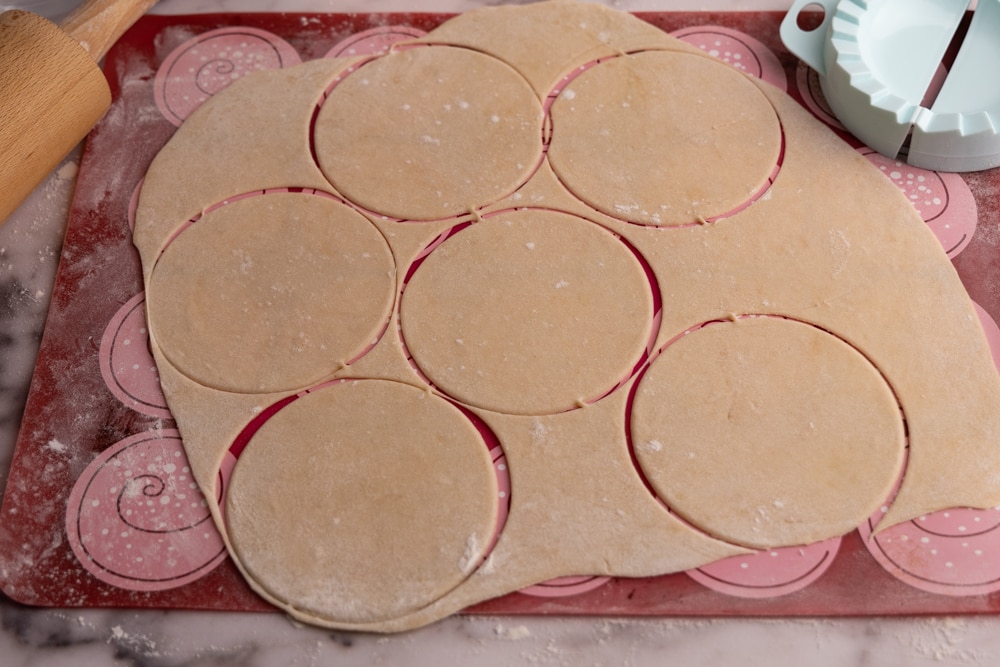
- Cut Circles: Use a round cutter or glass to cut circles from the rolled-out dough. Take any leftover dough scraps and form a ball for extra pierogi.
- Shape the Pierogi: Place a spoonful of sweet cheese filling onto a dough circle, fold it over, and press the edges together. Make sure to squeeze out any air that may be trapped. If it doesn’t seal, moisten the edges with a damp finger.
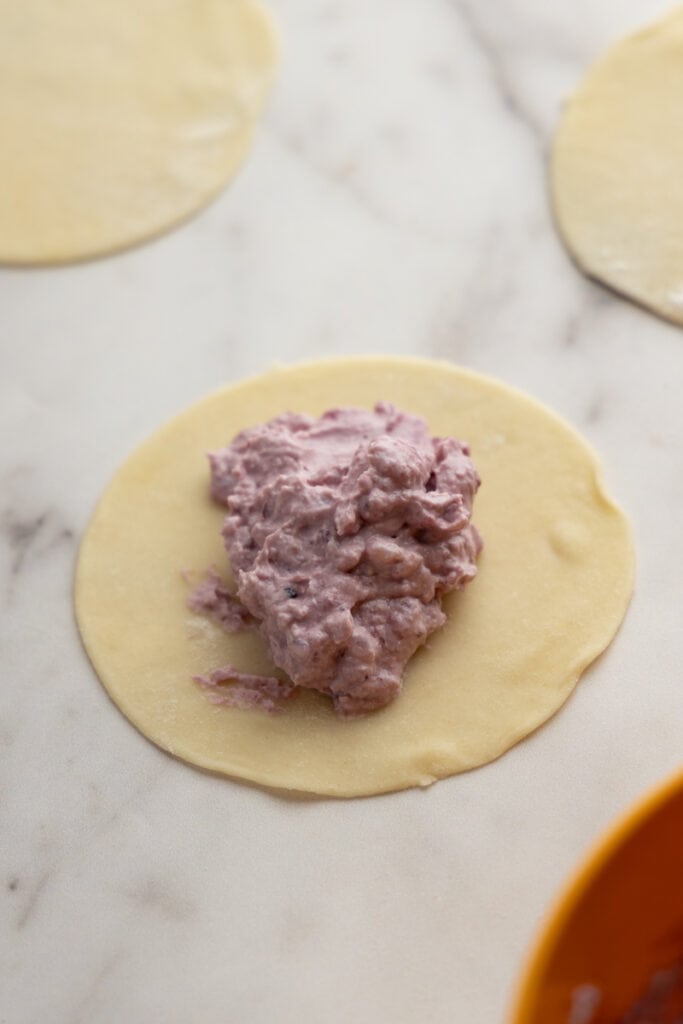 Add filling
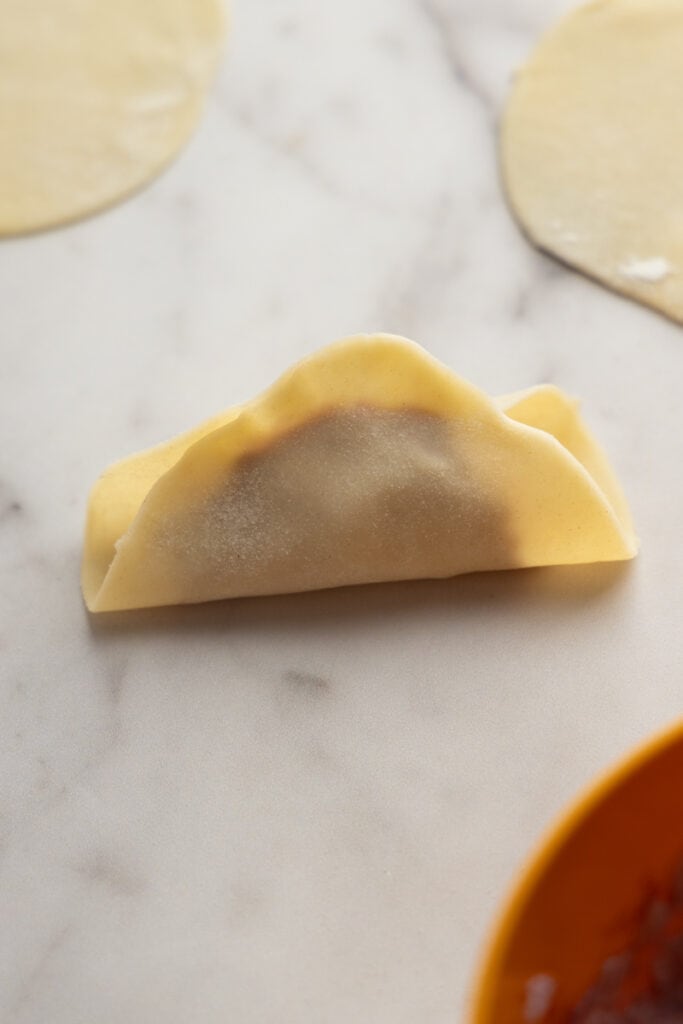 Squeeze together in the middle
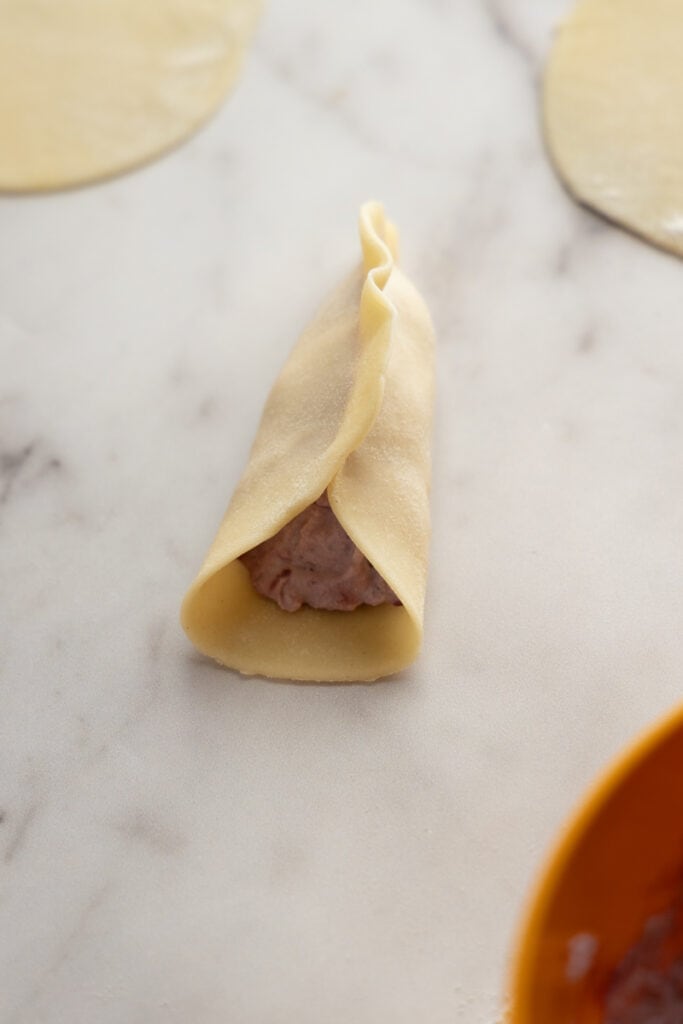 Squeeze one side
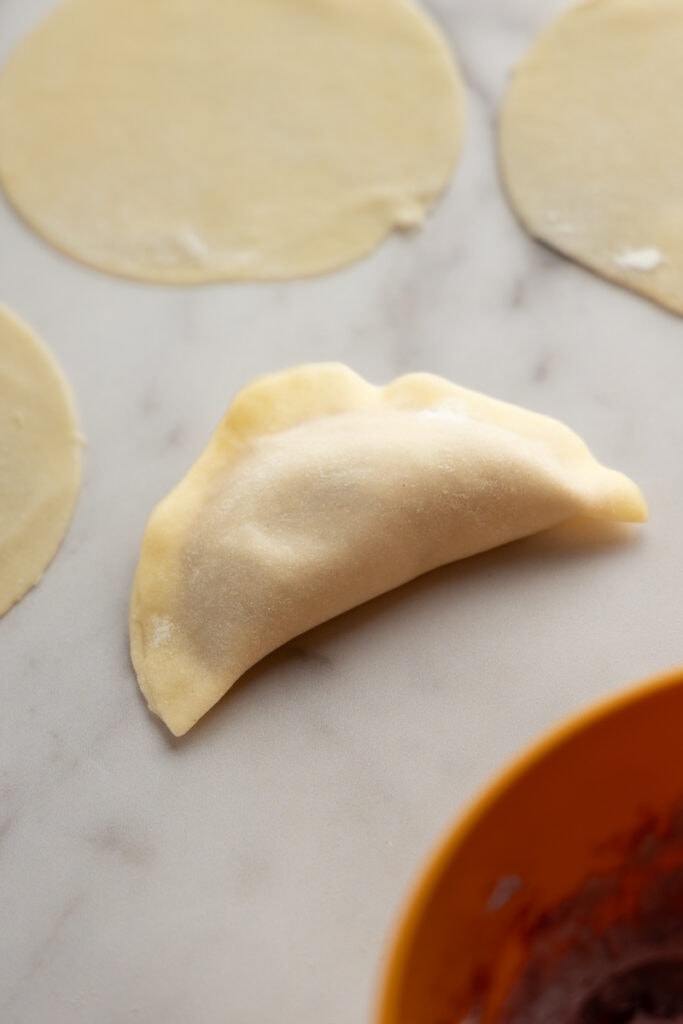 Finish the other
- Transfer: Move the shaped pierogi onto a floured surface and cover them with a damp kitchen towel so they don’t dry. Dust any touching areas with flour to prevent sticking.
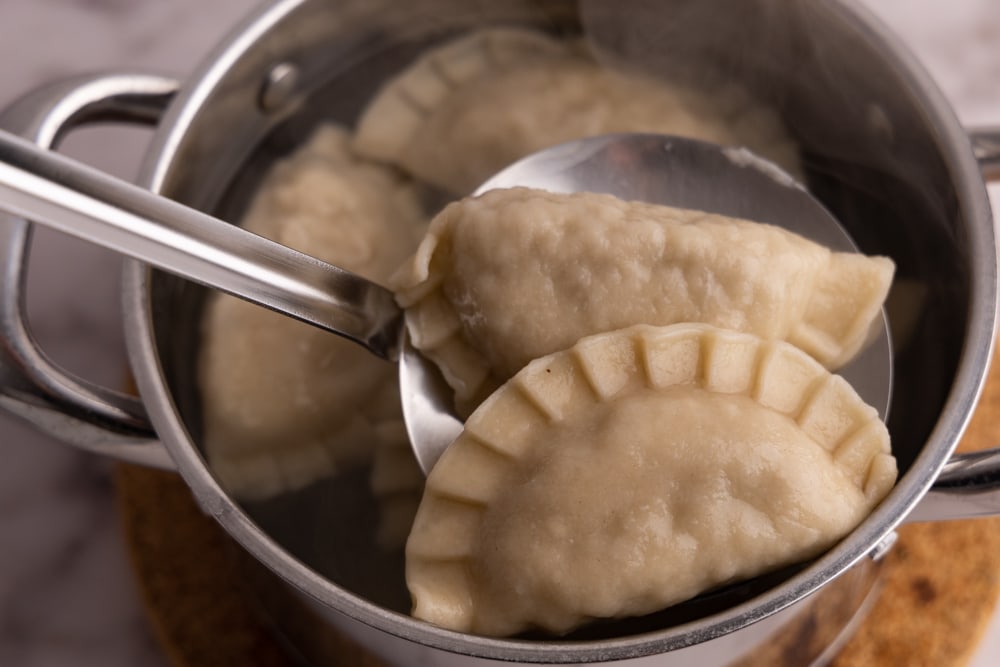
- Boil the Pierogi: Bring a pot of salted water to a boil (I use one teaspoon salt per quart of water, but adjust salt to your liking), and carefully drop a few pierogi into the water. Give them a quick stir so they don’t stick to the bottom, then simmer until they float. Once they resurface, let them cook for 1 to 2 minutes.
- Scoop: Scoop the pierogi out using a slotted spoon and serve.
Recipe Tips
Here are some tips for making sweet cheese pierogi:
- Keep a small bowl of water nearby. When making the pierogi dough, it’s common to add flour gradually to achieve the right consistency. However, if you accidentally add too much flour and find that the dough edges don’t want to stick together, don’t worry. Simply keep a small bowl of water nearby. If needed, moisten your finger with water and run it along the edges of the dough. This will help seal the pierogi and prevent them from opening during cooking.
- Start boiling water halfway through. Start the water boiling about halfway through your pierogi-making process. Once it reaches a boil, you can cook the already-prepped pierogi while forming new ones. This saves about 10 to 15 minutes. Of course, you can start cooking the pierogi once you’re done forming the pockets and clean up your kitchen while they cook. It’s up to you.
- Simmer, don’t scald. A gentle simmer is all you need to cook these delicate delights. Cranking up the heat to a rolling boil might make your pierogi feel too much pressure, and they might tear. Let’s keep them whole and happy, shall we?
- Filling texture is key. When flavoring the filling, we’re aiming for one that’s firm enough to stay put, so hold off on tossing in a couple of eggs or half a cup of heavy cream. Those will just make the filling too soft and tricky to handle. That’s why little additions like jams and jellies are your culinary BFFs here. They pack a flavor punch without turning your filling into a gooey mess, and a couple of teaspoons will do the trick nicely.

Subbing in Ricotta
Got some ricotta cheese sitting in your fridge? Well, you’re in luck! You can totally use it in place of cream cheese for these sweet cheese pierogi. Just keep a couple of things in mind:
- Ricotta is softer. It’s softer than cream cheese, so you’ll need a bit more rice to get that nice, firm filling. Instead of the usual 15 oz of cream cheese mixed with 12 oz of overcooked rice, shift the balance toward rice. Think something like 14 oz of rice and 13 oz of ricotta. And hey, these are just rough guidelines, so if you use a bit more rice and less ricotta, that’s A-OK.
- Ricotta tastes pretty neutral. Unlike the tangy farmer’s cheese and cream cheese, ricotta’s flavor profile is more on the neutral side. But don’t worry; you can jazz it up with a teaspoon or two of lemon or lime juice. Just enough to give it a little kick without puckering up your taste buds.
And there you have it! A little tweak here and there, and your ricotta’s ready to roll into some scrumptious pierogi.
How to Serve
To serve sweet cheese pierogi, you have a few delicious options:
- Enjoy them as they are. Sometimes, less is more! You can absolutely enjoy these pierogi straight out of the pot. Trust me, the soft dough paired with the creamy cheese filling is a winning combo all on its own.
- Pan-fry them. Melt a little butter in a non-stick skillet and pan-fry the pierogi until golden brown and crispy. Oh, and don’t be shy about drizzling that melted butter right on top when you plate them. Butter makes everything better!
- Top with sour cream. Thinking about an extra touch of creaminess? Spoon some sour cream on top of your pierogi. The cool tang of the sour cream plays so nicely with the warm, cheesy filling. You’ve got to try it!
- Sprinkle with powdered sugar. If your taste buds crave a bit more sweetness or want to impress with your presentation, dust your pierogi with a sprinkle of powdered sugar.
Those are only some of the choices you have. Check out my article on pierogi toppings for more options.
Storage
To store sweet cheese pierogi, dry the cooked pierogi on large plates. This helps to remove any excess moisture and prevent them from sticking together. Once they are dry, transfer the pierogi into a container with a tight-fitting lid to prevent them from drying out or absorbing any odors.
Once done, move the container to the refrigerator, where the pierogi will last 3 to 4 days. If that’s not long enough, you can always freeze your leftover pierogi.
How to Reheat
The easiest and most delicious way to reheat sweet cheese pierogi is to pan-fry them. Here’s a step-by-step guide:
- Start by heating a non-stick skillet or frying pan over medium heat. Add a small amount of oil or butter to the pan and allow it to melt and coat the surface evenly.
- Place the pierogi in the pan, ensuring that they are not overcrowded. You want to give them enough space to cook evenly and get that perfect golden brown crust.
- Cook the pierogi for about 4 – 6 minutes on each side or until they are heated through, and the exterior becomes crispy and golden. Flip them gently with a spatula to avoid any filling leakage.
- Once they are cooked, transfer the pierogi to a serving plate and enjoy.
Sweet Cheese Pierogi

Ingredients
- 1 pierogi dough
- 15 oz cream cheese ~425g
- 12 oz cooked rice ~340g
- salt for cooking
Flavoring Option #1: Jam
- 2-3 tablespoons jam
Flavoring Option #2: Mashed banana
- 1 large banana mashed
- ⅓ teaspoon cinnamon
- 2 teaspoons honey to taste
- 2 teaspoons lemon juice to taste
Instructions
- Prepare the Dough: Use your preferred pierogi dough recipe (or try the one I linked above). Knead, wrap in plastic, and let rest for 30 minutes.
- Cook the Rice: Start with 3 to 4 oz of rice, cook with ample water (5x the rice volume), and overcook by a few minutes for a creamy texture. Strain the remaining water.
- Mix the Filling: Combine cream cheese, overcooked rice, and your chosen flavoring. Adjust sweetness and tanginess to taste.
- Roll and Cut the Dough: Divide the rested dough into sections. Roll thin and cut into circles. Save leftover scraps for extra pierogi.
- Shape the Pierogi: Fill dough circles with cheese filling, fold, and seal the edges. If needed, use a damp finger to help seal.
- Transfer and Cover: Move shaped pierogi to a floured surface and cover with a damp towel.
- Boil the Pierogi: Boil in salted water until they float and then an additional 1-2 minutes. Stir the pierogi right after you submerge them in water, so they don't stick to the bottom.
- Scoop and Serve: Use a slotted spoon to remove pierogi and serve as desired.
Notes
To reheat the pierogi, pan-fry them in butter until golden brown and crispy on both sides.

