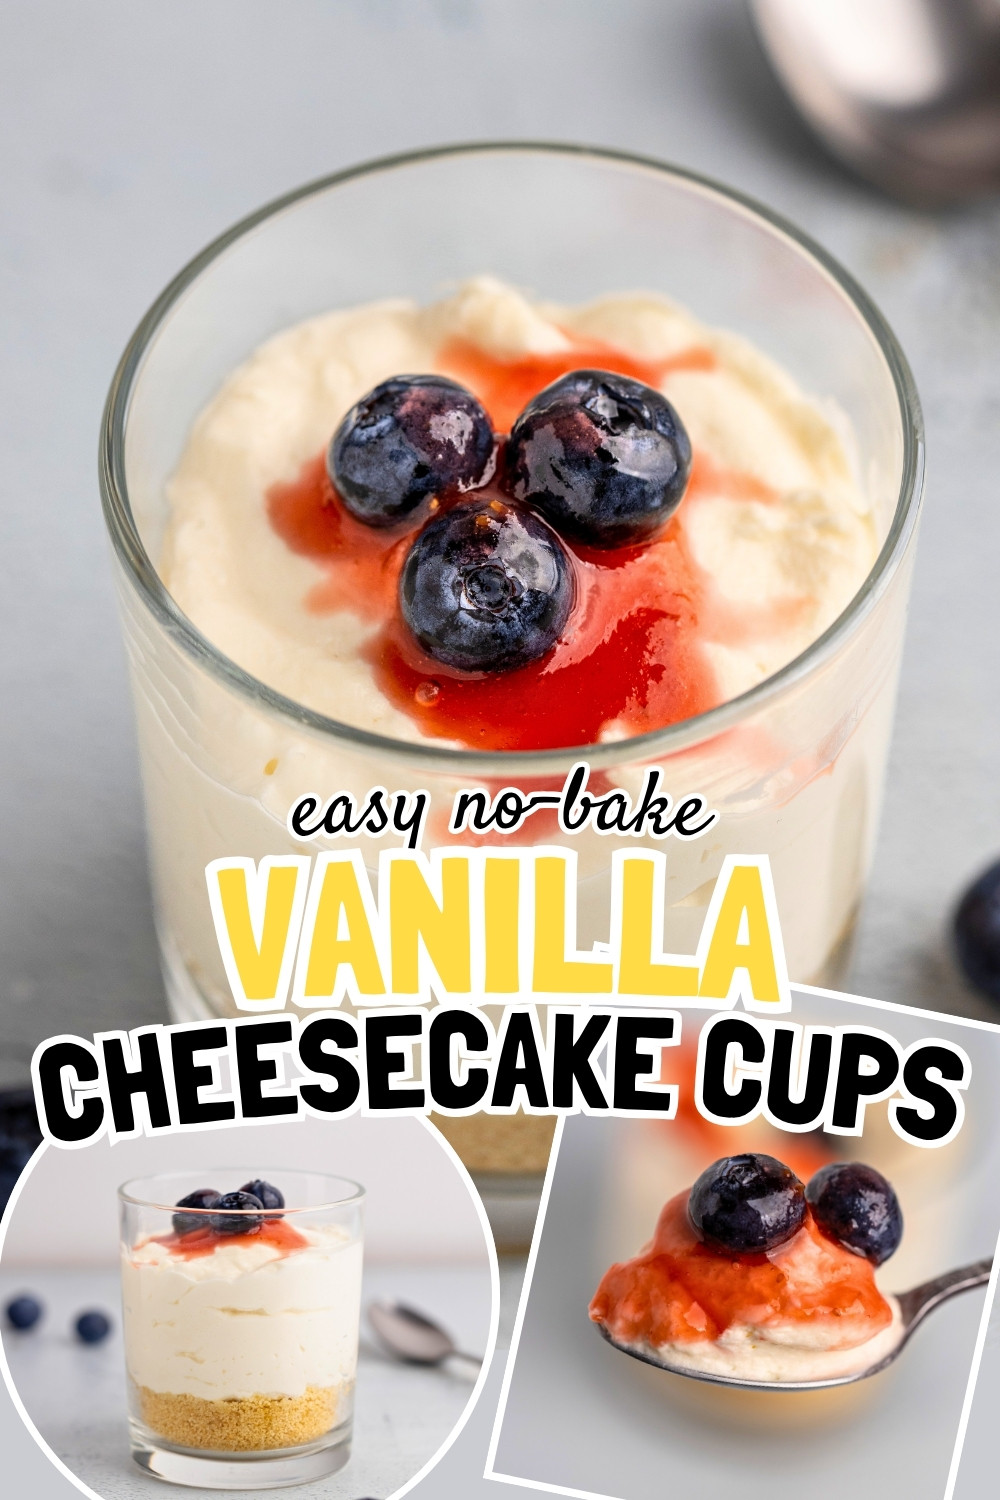
Easy No-Bake Vanilla Cheesecake Cups
A simple, make-ahead dessert you can throw together in 20 minutes and chill until you need it.
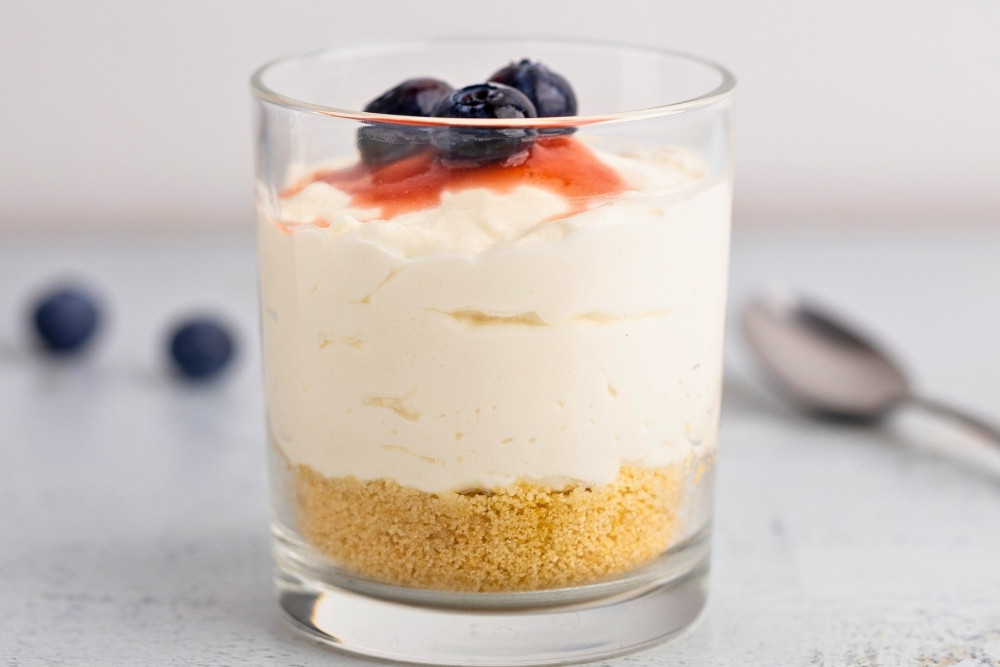
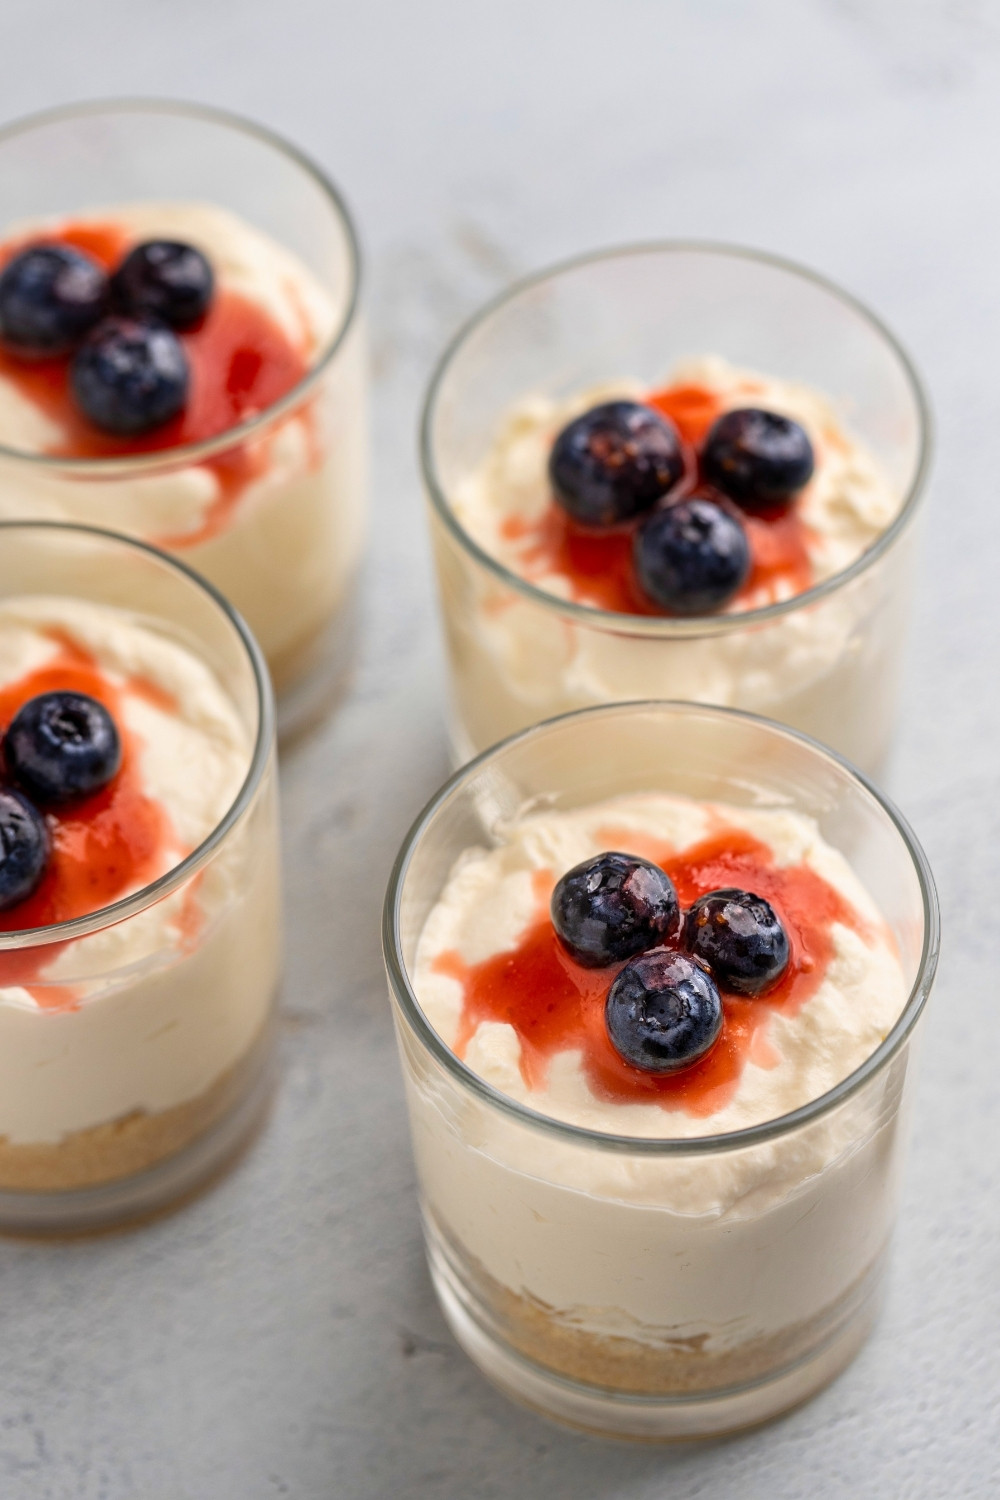
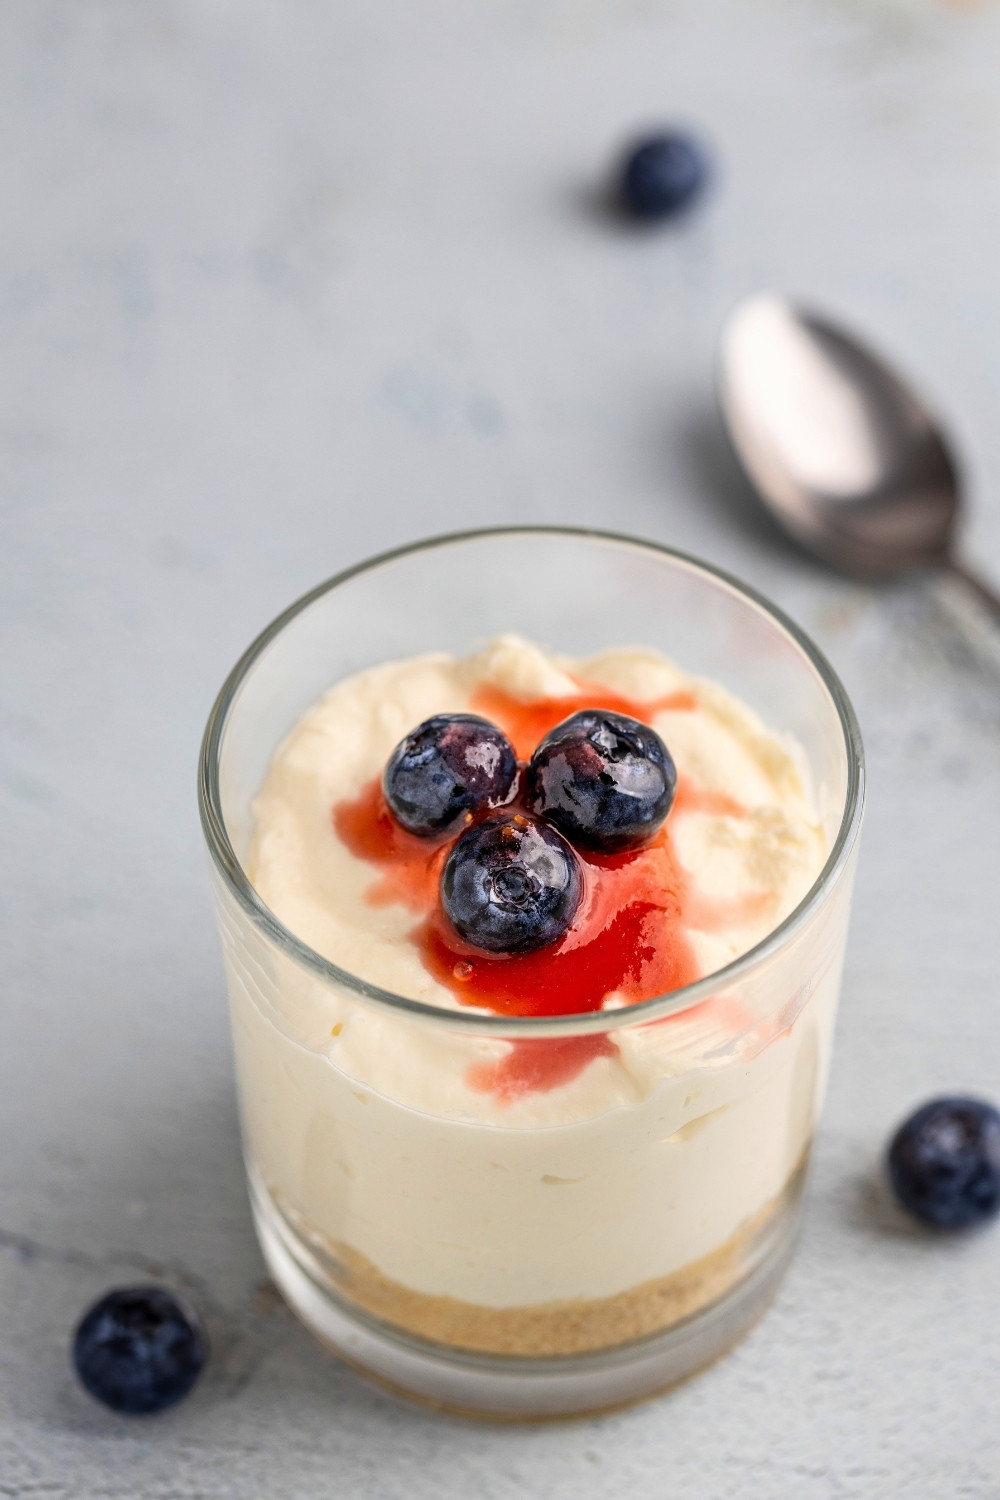
Vanilla cheesecake cups are the dessert you make when you want something to chill in the fridge and forget about until people show up. Four little jars, a graham crust pressed in the bottom, and a light vanilla cream cheese filling on top. No oven, no springform, no water bath.
It’s one of those easy cheesecake recipes that actually earns the “easy” label. You’ll spend about 20 minutes on it, then it sits in the fridge for at least two hours. Good for weeknight dessert, dinner parties where you want one less thing to worry about, or a small treat for the weekend. It’s also the kind of no bake cheesecake you can riff on — swap the topping, change the crust, layer in fruit or chocolate.
This is one of those simple dessert recipes you make on autopilot: soft, creamy, sweet, and properly vanilla. It’s a great base that fits right in alongside other no bake desserts when you want something cold and quick.
Why You’ll Love This Recipe
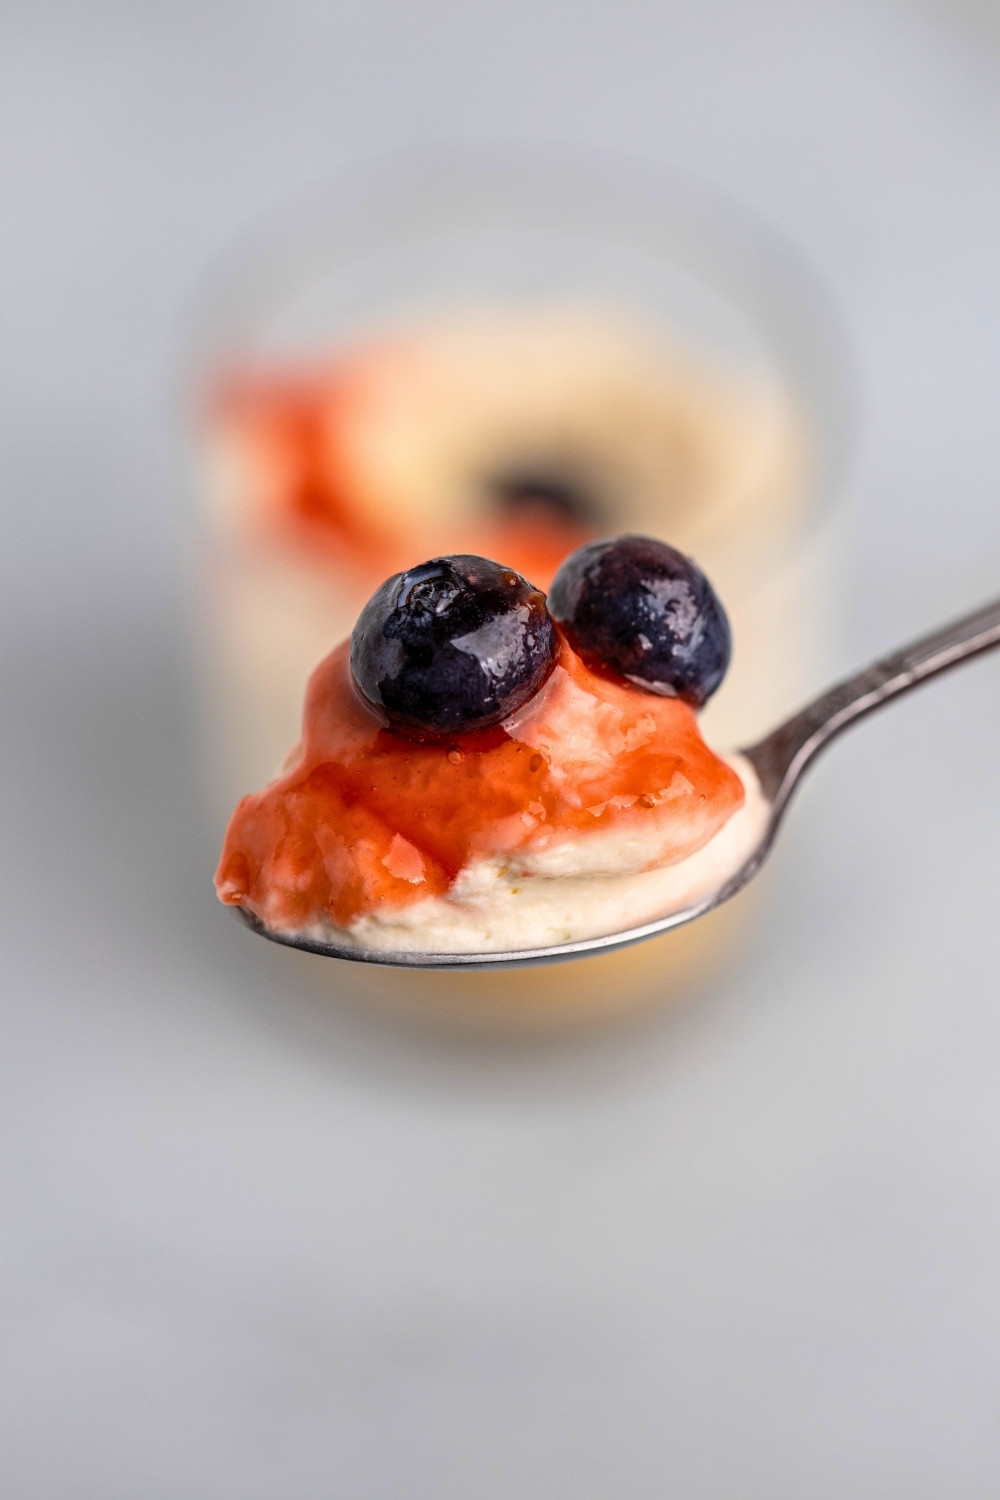
- The texture is right. Light and creamy from the folded-in whipped cream, but still set enough to hold its shape on the spoon.
- No special equipment. A hand mixer and a bowl are enough. No springform, no water bath, no food processor required.
- Scales up or down easily. Make four for tonight or double the batch for a dinner party.
Ingredients and Substitutes
Crust

- Graham crackers. The base of the crust — crush them fine so they pack down evenly. Any plain crunchy biscuit works as a swap.
- Unsalted butter. Binds the crumbs together. Melt it fully before mixing.
Filling
- Cream cheese. Use full-fat block cream cheese (not the spreadable tub kind) and let it come fully to room temperature. Philadelphia is the standard.
- Powdered sugar. Dissolves cleanly into the cream cheese without any graininess. Sift it if it’s clumpy. Granulated sugar wroks in a pinch but you have to whip it until it dissolves or it stays gritty.
- Vanilla extract. The headline flavor — use a good one. Vanilla bean paste is even better if you want visible flecks.
- Lemon juice. A small amount sharpens the filling and stops it from tasting flat. Fresh is best.
- Heavy cream. This is what makes the filling light instead of dense. Use cream with at least 30% fat so it whips properly. Keep it cold.
- Salt. A pinch lifts the vanilla and balances the sweetness.
Step-by-Step: How to Make No-Bake Vanilla Cheesecake Cups
Crust
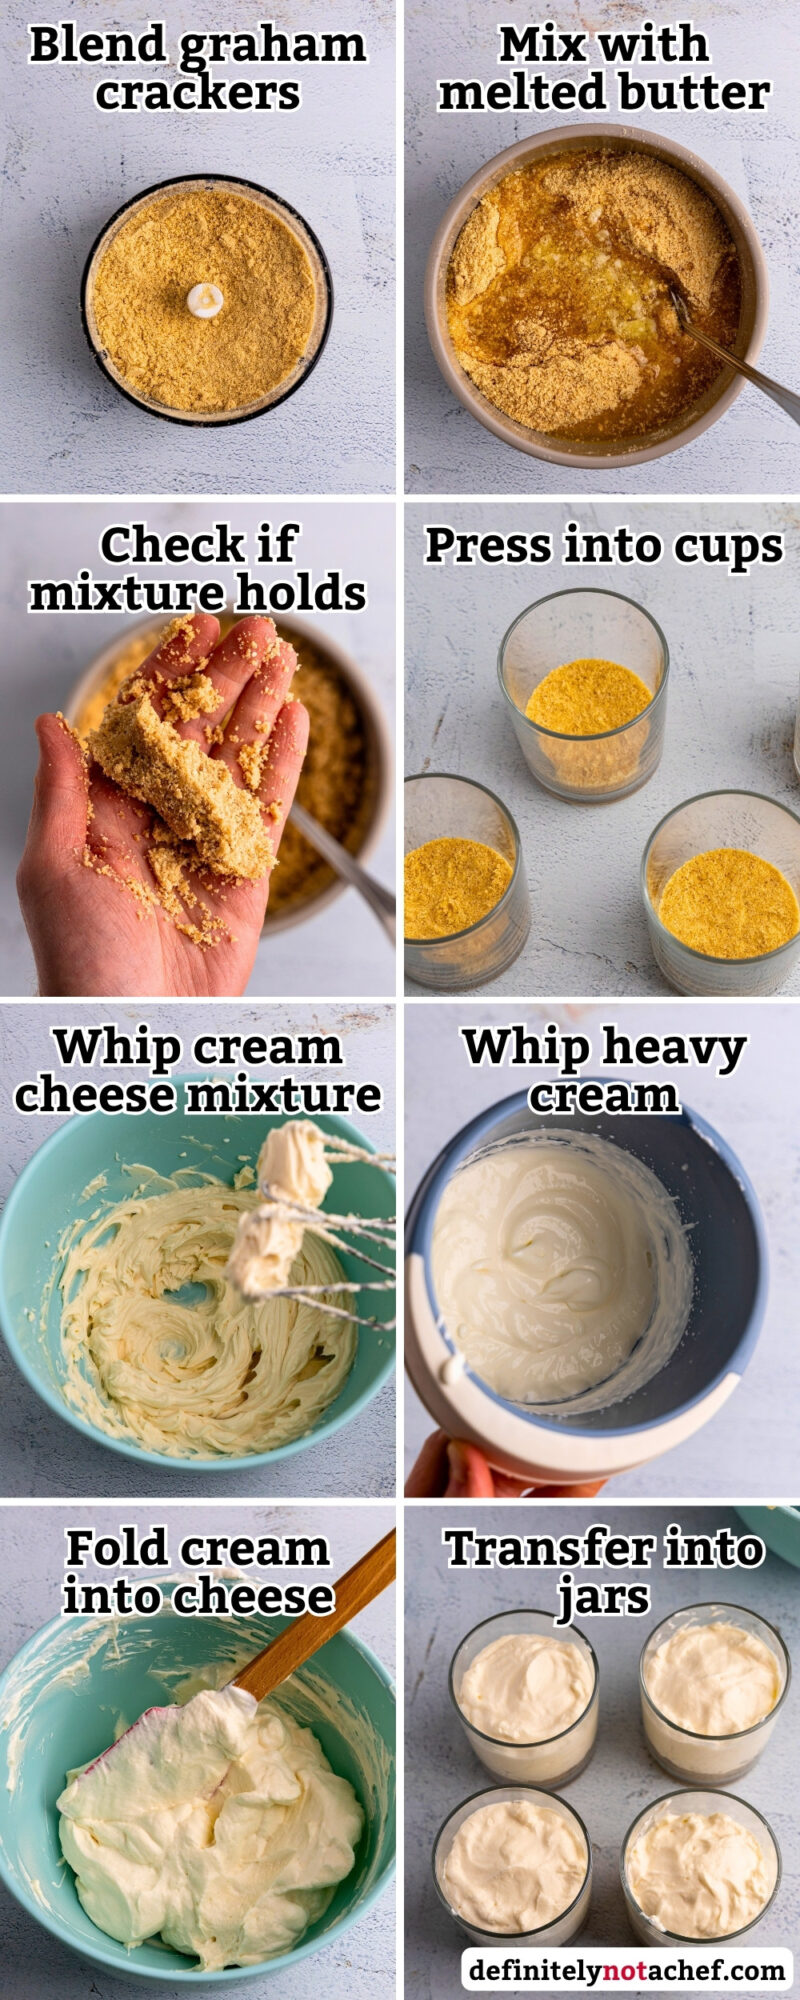
- Mix the crumbs. In a small bowl, stir the crushed graham crackers with about 90% of the melted butter until evenly damp and sandy. Squeeze a small handful in your palm — if it holds its shape, you’re done. If it falls apart, add butter until it doesn’t.
- Press into cups. Divide the mixture between 4 small glasses or jars (about 30g per cup) and press down lightly with the back of a spoon. Chill while you make the filling.
Filling
- Beat the cream cheese. In a medium bowl, beat the room-temperature cream cheese with the powdered sugar, vanilla, salt, and lemon juice until completely smooth, about 1 minute. Scrape down the sides of the bowl.
- Whip the cream. In a separate bowl, whip the cold heavy cream to medium peaks — when you lift the whisk, the peak should hold but gently flop over at the tip.
- Lighten the base. Add about a third of the whipped cream to the cream cheese mixture and stir it in to loosen the base.
- Fold in the rest. Add the remaining whipped cream and fold gently with a spatula until no white streaks remain. The mixture should be smooth and pipeable.
- Taste and adjust. Taste the filling and fold in more powdered sugar or lemon juice if needed, using a spatula so you don’t deflate it.
- Fill the cups. Spoon or pipe the filling over the chilled crusts, dividing evenly between the 4 cups. Smooth the tops or leave them swirled.
- Chill. Refrigerate for at least 2 hours so the filling firms up and the flavors come together. Overnight is even better.
- Top and serve. Finish with fresh berries, fruit compote, lemon curd, crushed biscuit dust, or a drizzle of dark chocolate ganache.
Tips for Success
- Muffin liner setup. To make these unmoldable instead of served-in-jars, use 8 standard muffin liners (paper or silicon) in a muffin tin. Press the crust down firmly so it holds together when you peel the liner off, and chill for at least 6 hours (overnight is safer) so the filling sets enough to un-mold cleanly.
- Cream cheese has to be properly soft. Cold cream cheese will leave small lumps that won’t smooth out no matter how long you beat it. If you forgot to take it out, cube it and let it sit at room temp for 30–45 minutes.
Storage
Keep the cheesecake cups covered tightly in the fridge for up to 3–4 days.
If you’ve already added toppings like fresh fruit or compote, they’re best eaten within a day or two — the topping releases liquid over time and softens the filling. For longer storage, hold off on topping until just before serving.
Ingredients
Crust
- 3 oz graham crackers, crushed 85 g
- 3 tbsp unsalted butter, melted 42 g
Filling
- 8 oz full-fat cream cheese, room temperature 226 g
- 1/3 cup powdered sugar, sifted 40 g, more to taste
- 1 tsp vanilla extract or vanilla bean paste
- 1 tsp lemon juice
- 1/2 cup cold heavy cream 120 g
- 1 pinch salt
Instructions
Crust
- Mix the crumbs. In a small bowl, stir the crushed graham crackers with about 90% of the melted butter until evenly damp and sandy. Squeeze a small handful in your palm — if it holds its shape, you're done. If it falls apart, add butter until it doesn't.3 oz graham crackers, crushed, 3 tbsp unsalted butter, melted
- Press into cups. Divide the mixture between 4 small glasses or jars (about 30g per cup) and press down lightly with the back of a spoon. Chill while you make the filling.
Filling
- Beat the cream cheese. In a medium bowl, beat the room-temperature cream cheese with the powdered sugar, vanilla, salt, and lemon juice until completely smooth, about 1 minute. Scrape down the sides of the bowl.8 oz full-fat cream cheese, room temperature, 1/3 cup powdered sugar, sifted, 1 tsp vanilla extract, 1 tsp lemon juice, 1 pinch salt
- Whip the cream. In a separate bowl, whip the cold heavy cream to medium peaks — when you lift the whisk, the peak should hold but gently flop over at the tip.1/2 cup cold heavy cream
- Lighten the base. Add about a third of the whipped cream to the cream cheese mixture and stir it in to loosen the base.
- Fold in the rest. Add the remaining whipped cream and fold gently with a spatula until no white streaks remain. The mixture should be smooth and pipeable.
- Taste and adjust. Taste the filling and fold in more powdered sugar or lemon juice if needed, using a spatula so you don’t deflate it.
- Fill the cups. Spoon or pipe the filling over the chilled crusts, dividing evenly between the 4 cups. Smooth the tops or leave them swirled.
- Chill. Refrigerate for at least 2 hours so the filling firms up and the flavors come together. Overnight is even better.
- Top and serve. Finish with fresh berries, fruit compote, lemon curd, crushed biscuit dust, or a drizzle of dark chocolate ganache.
Notes
- Makes four 1/2 cup portions or 8 standard muffin liners. For the muffin liner version, press the crust down firmly and chill for at least 6 hours (overnight is safer) so the filling sets enough to un-mold cleanly.
- Macros calculated on full ingredient list, no toppings included.
Nutrition
Recipes You Might Like
- Other cheesecake cup flavors. Same cups, different flavor — try them in chocolate, strawberry, pistachio, Oreo, Biscoff, PB & jelly, or lemon flavors.
- Full-sized no-bake cheesecake. Same idea, scaled up — make this if you want a sliceable cheesecake to bring to a party instead of individual cups.
- Vanilla panna cotta. Another no-bake, make-ahead base recipe you can riff on with different flavors and toppings — set with gelatin instead of whipped cream, so the texture is silkier and the prep is even faster.
- Lemon posset. If you liked the individual-cups format, this is the 3-ingredient version — bright, tangy, sets on its own from cream and lemon juice.
- For toppings. My fruit compote guide covers every fruit topping you’d want to spoon over these, and my chocolate ganache guide covers chocolate-based topping options.