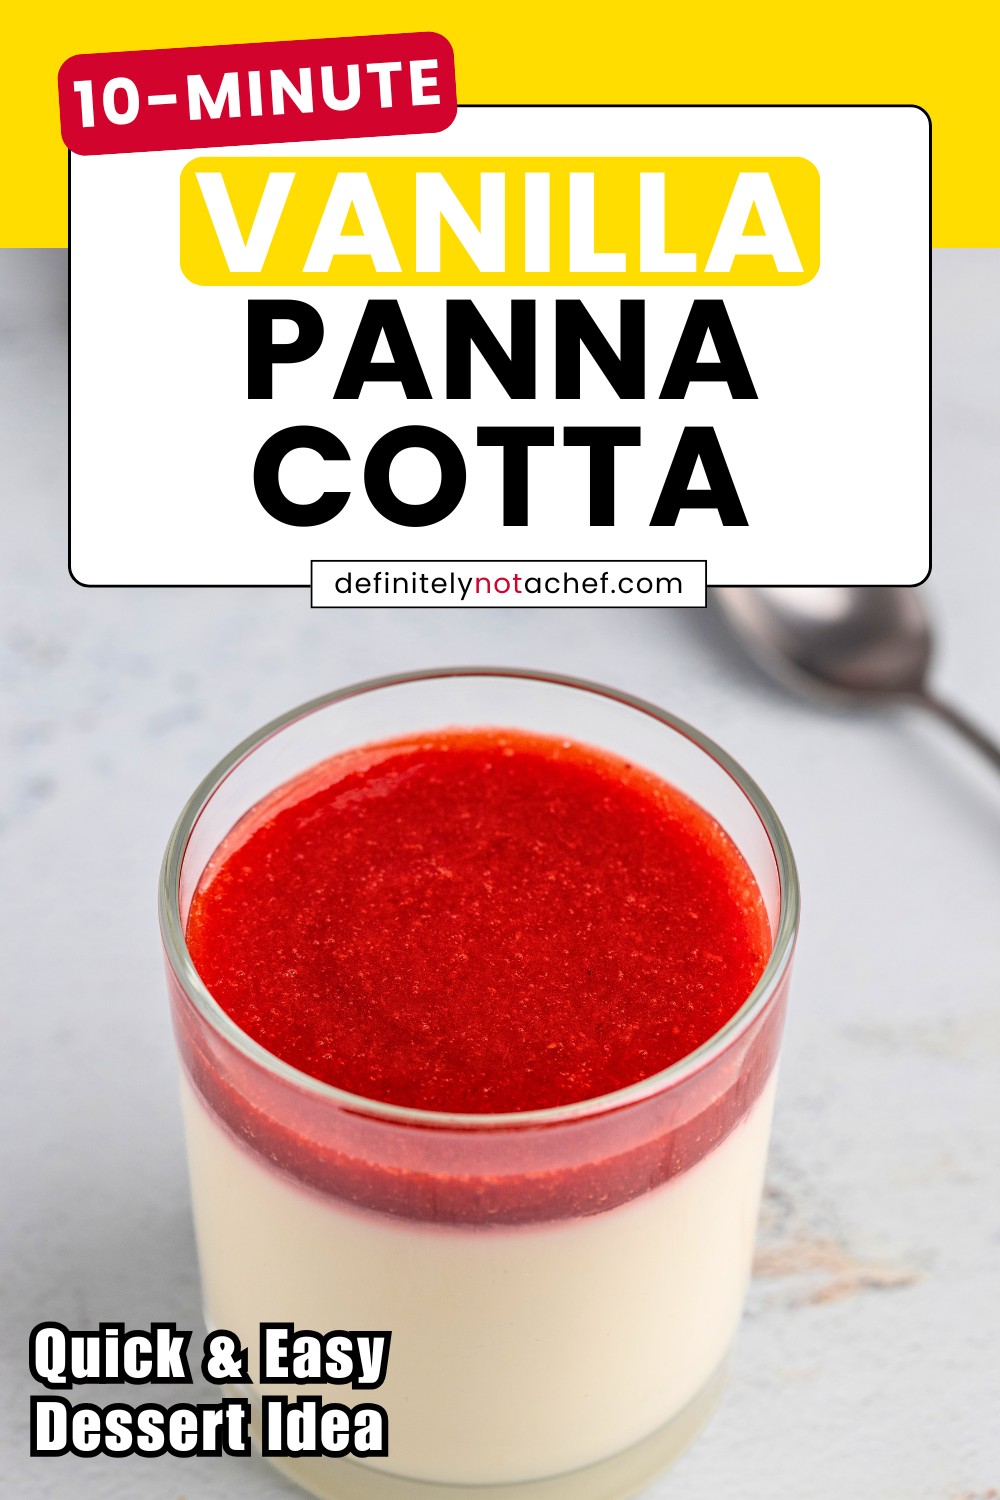
Silky Vanilla Panna Cotta (The Base Recipe for Every Flavor)
A simple, foolproof base you can flavor any way you like — no baking, no fuss.
Vanilla panna cotta — cool, silky, just barely set, and maybe ten minutes of real work. This version is the one I keep coming back to: clean vanilla flavor, a soft wobble, and a gelatin ratio that sets without going rubbery.
The reason to bookmark it is what comes after. Once you’ve got the base dialed in, you can flavor it pretty much any way you want — chocolate, coffee, berry, citrus. It’s one of those Italian desserts that ends up being a launchpad.
It’s also one of the easier make ahead desserts to pull off. Stir a few things in a saucepan, pour, chill overnight, done. No oven, no fuss — about as low-effort as no bake dessert recipes get.

Why You’ll Love This Recipe
- Reliable set, every time. The ratio is dialed in for a clean wobble — firm enough to hold, soft enough to melt on the spoon.
- Ten minutes of active work. The fridge does the rest while you do anything else.
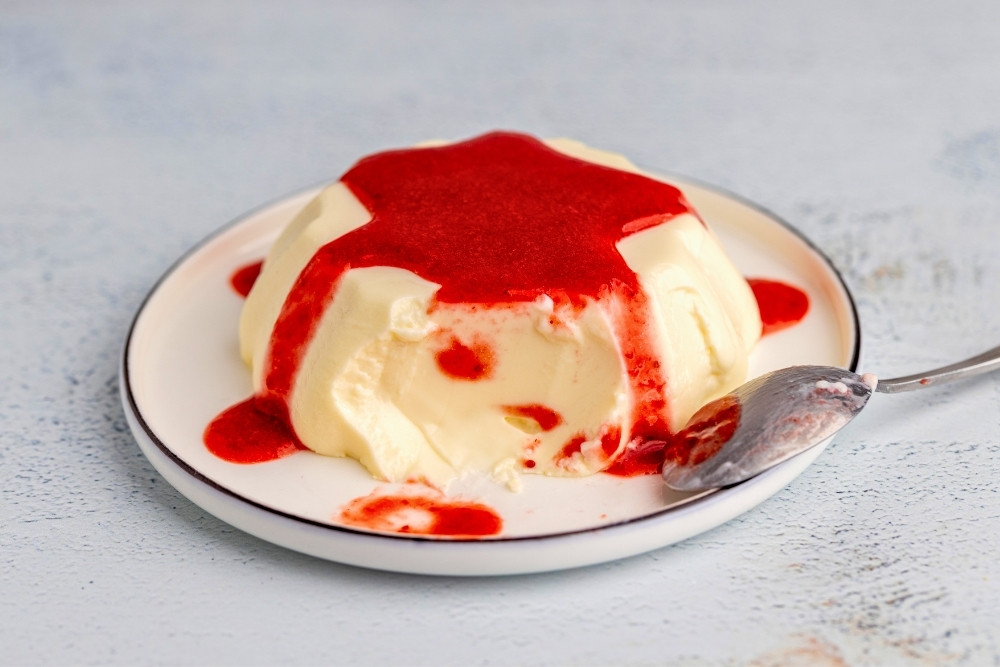
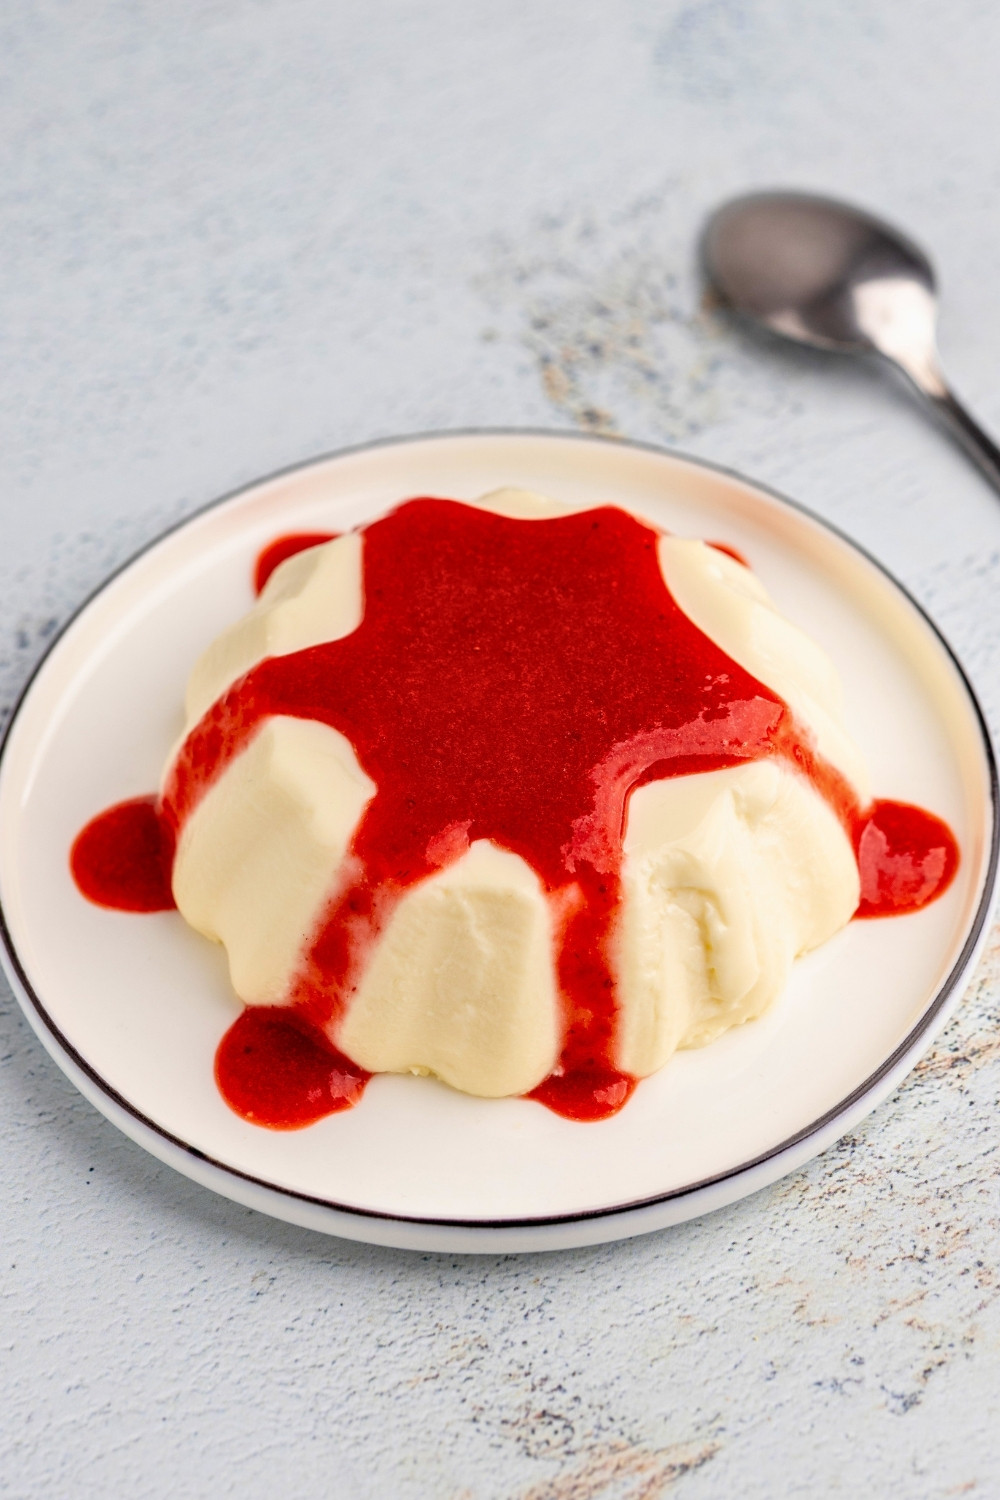
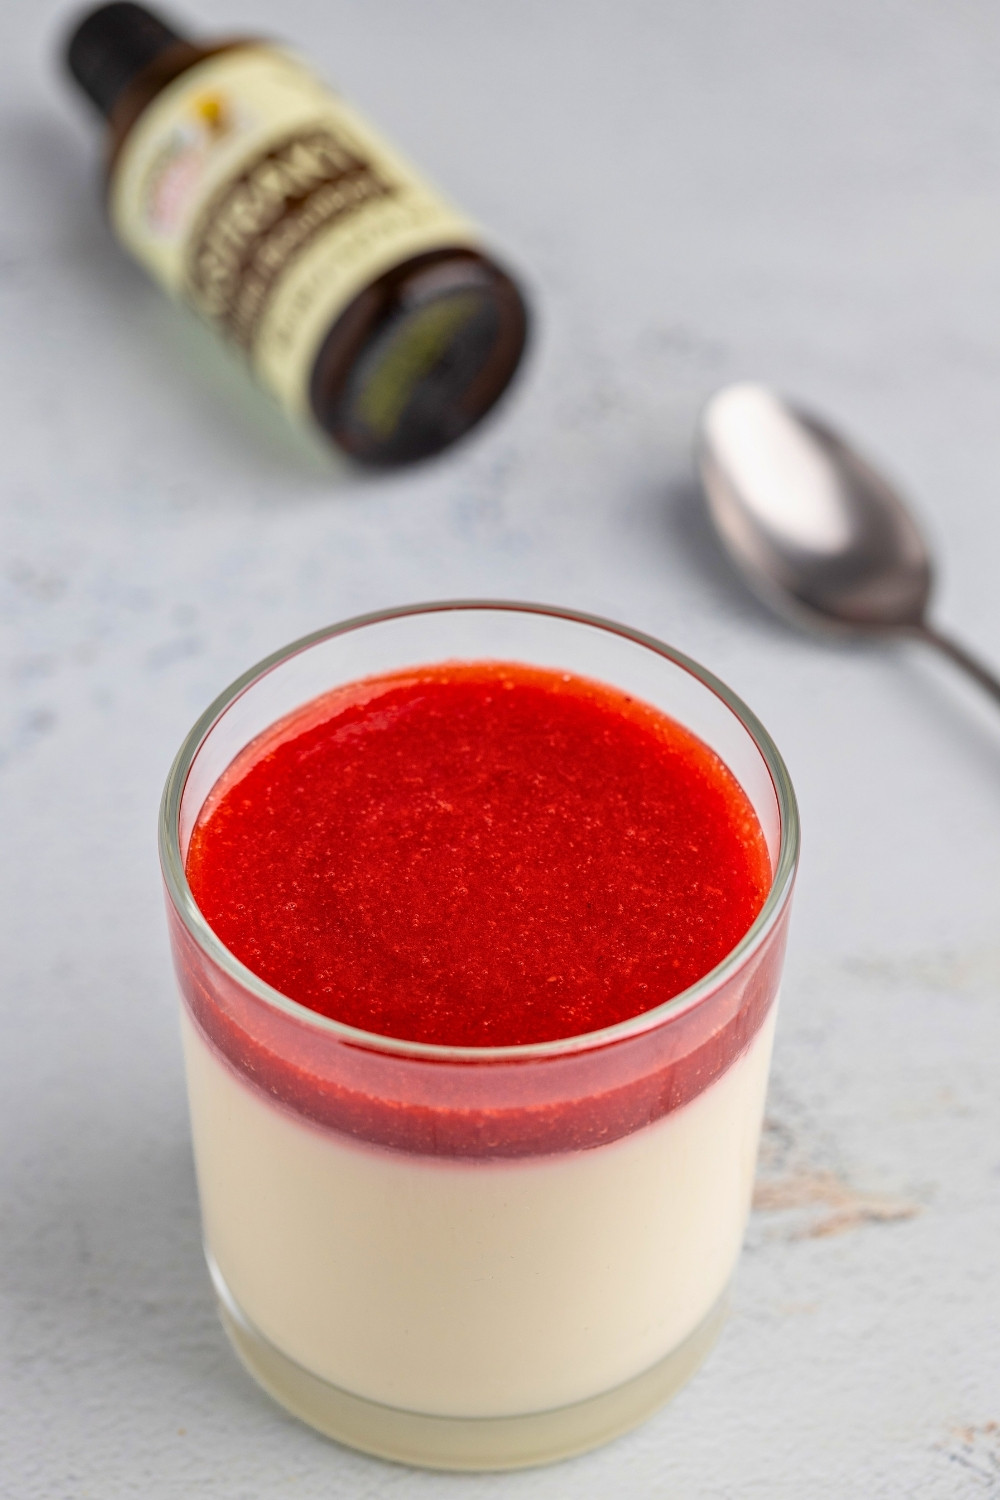
- Unmolds cleanly if you want it to. Serve it in a glass for easy mode, or flip it onto a plate for the proper restaurant look.
Ingredients and Substitutes
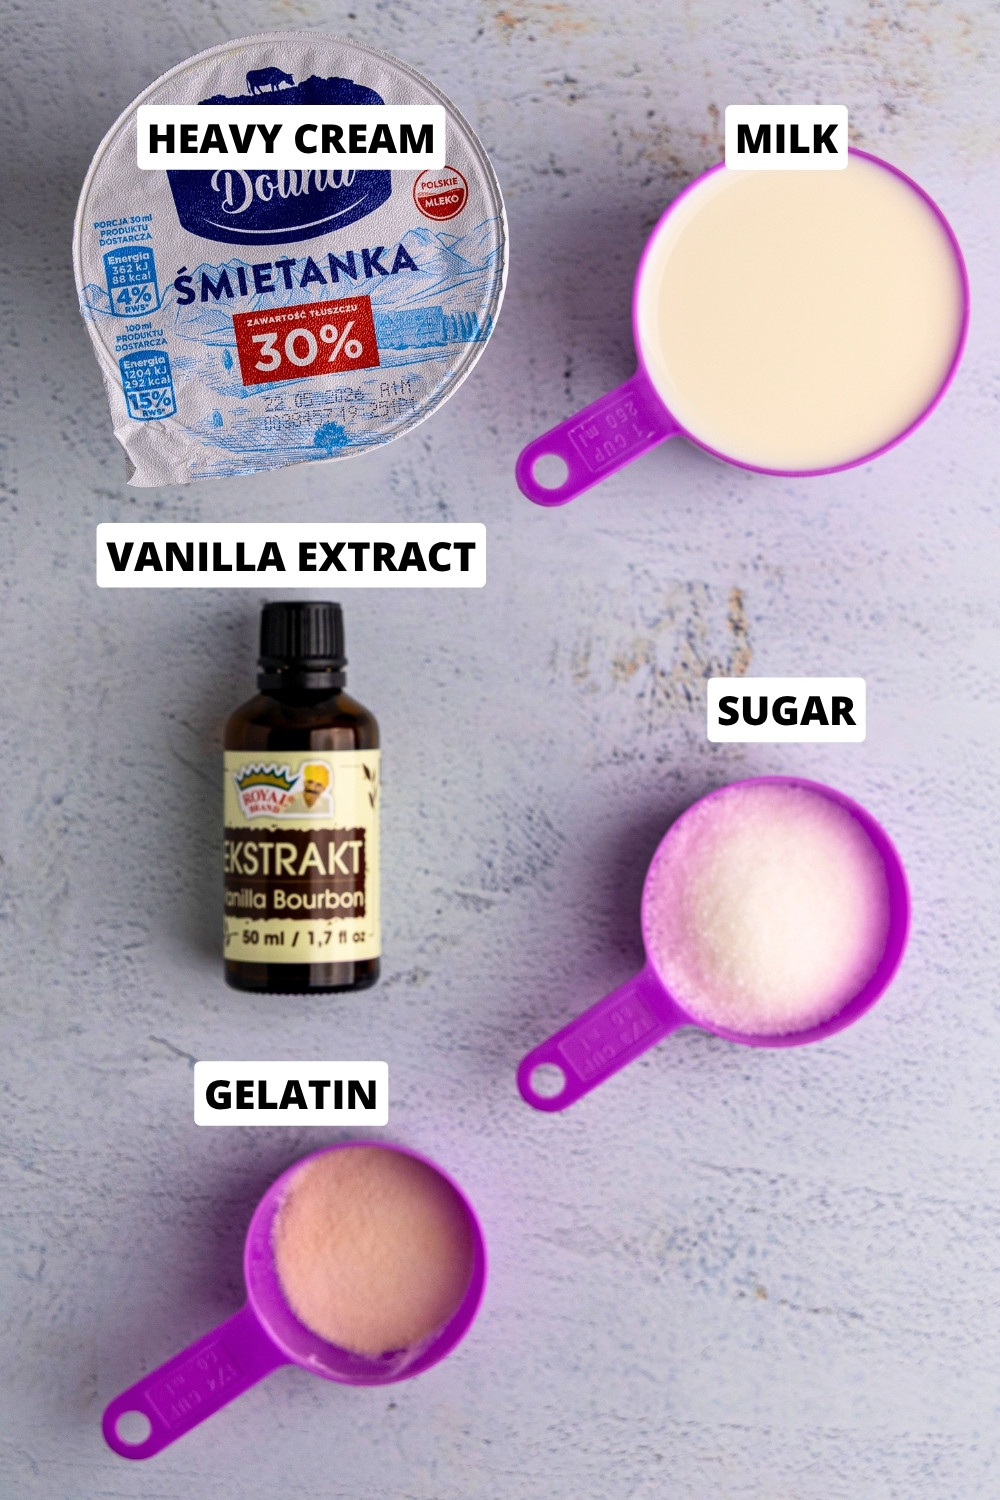
- Heavy cream. The main body — gives panna cotta its richness and silky mouthfeel. Use full-fat (30%+).
- Whole milk. Lightens the cream so the texture stays delicate instead of heavy. You can use 2% in a pinch.
- Granulated sugar. Just enough to sweeten without overpowering the vanilla. Caster sugar works the same.
- Powdered gelatin. The setting agent. One envelope (7 g) is the magic number for this volume — enough for a clean wobble, not enough to go rubbery.
- Cold water. For blooming the gelatin. Must be cold — hot water will dissolve the gelatin before it has a chance to hydrate properly.
- Vanilla extract. The whole flavor of the recipe, so use something you actually like the taste of.
- Salt. A pinch lifts the vanilla and keeps the dairy from tasting flat. Don’t skip it.
Step-by-Step: How to Make Silky Vanilla Panna Cotta
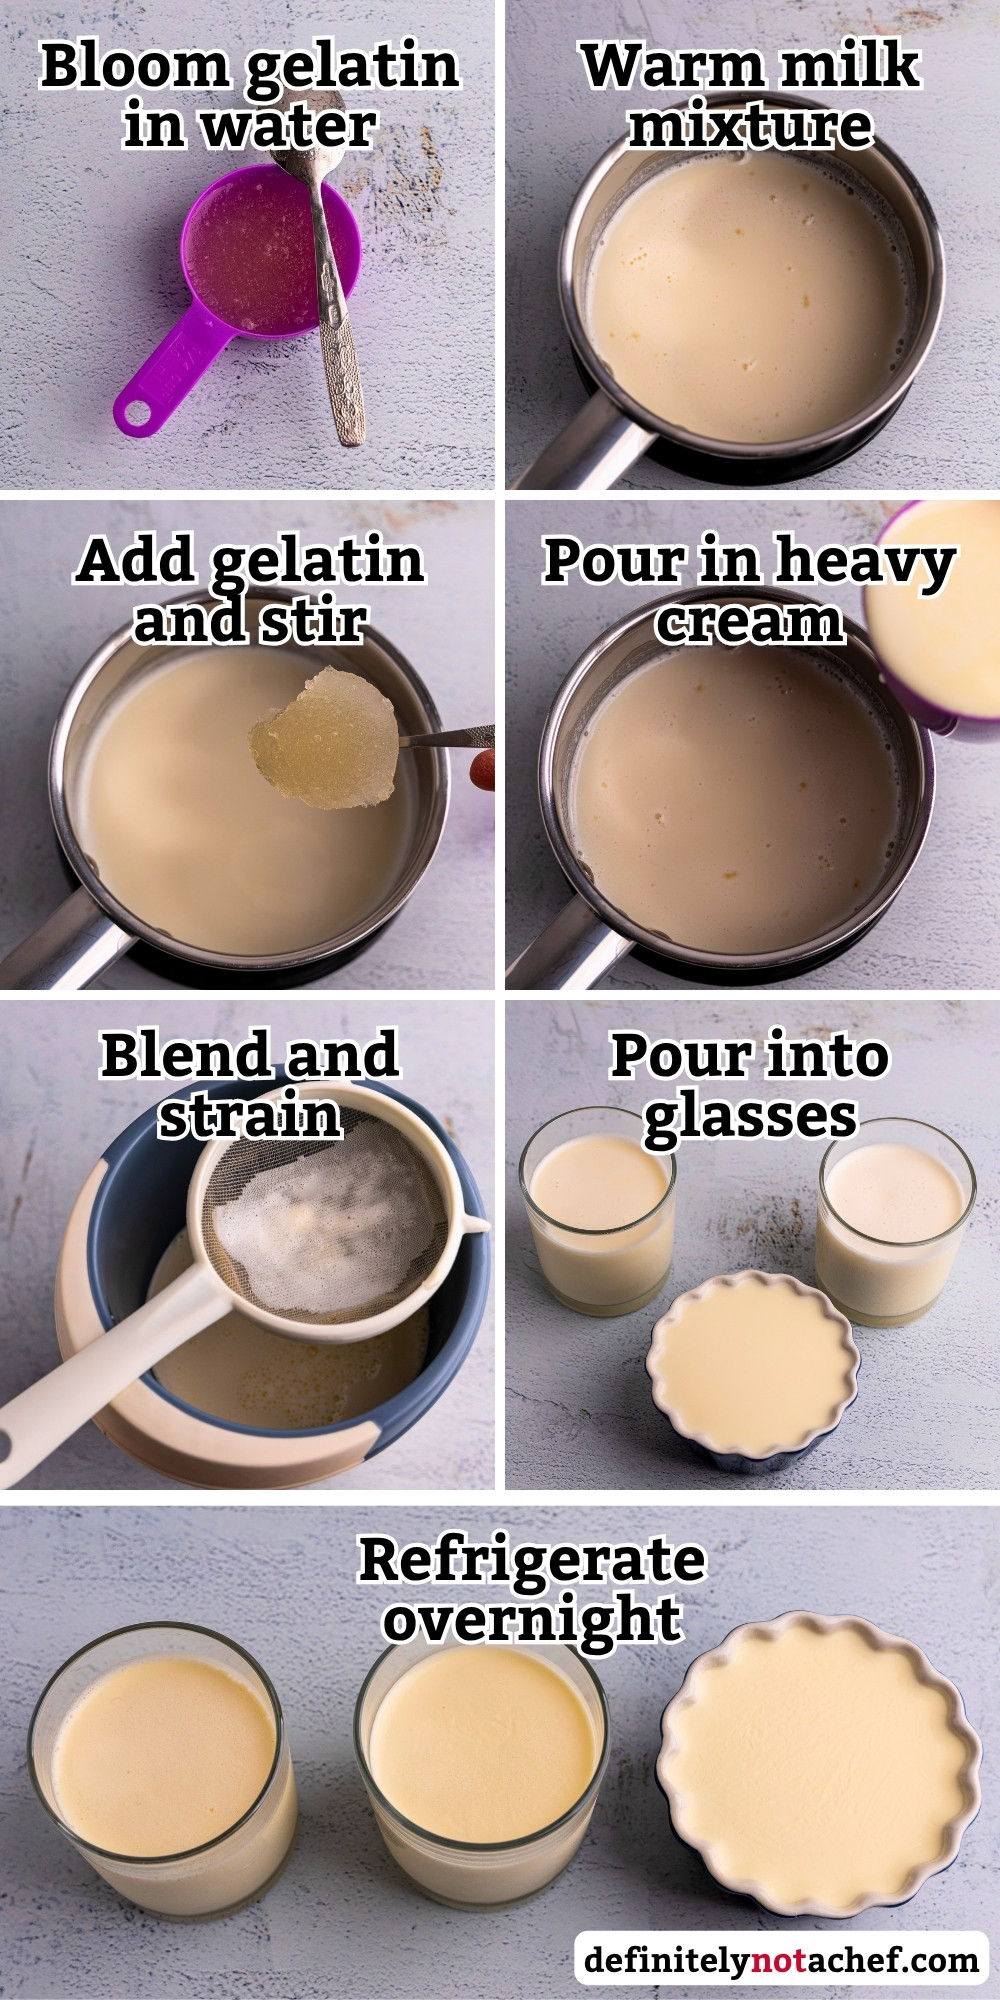
- Bloom the gelatin. Sprinkle the gelatin evenly over the cold water in a small bowl, give it a quick stir, then let it sit for 5–10 minutes until it absorbs the water and looks like wet, wrinkled sand. This step rehydrates the gelatin so it dissolves smoothly instead of clumping.
- Heat the milk mixture. Combine the milk, sugar, vanilla, and salt in a small saucepan. Warm over medium-low heat, stirring now and then, until it’s steaming and the sugar has fully dissolved (around 75°C / 165°F). A brief boil is fine — nothing bad happens, just take it off the heat once it gets there.
- Add the gelatin. Take the saucepan off the heat and scrape in the bloomed gelatin. Stir until it’s completely melted and the mixture looks smooth — no visible specks or strands.
- Add the cream. Pour in the cold cream and stir to combine. Adding it now (instead of heating it with the milk) cools the mixture down fast so you can get it into the fridge sooner.
- Blend and strain. Blend briefly with an immersion blender to make sure everything is fully integrated, then strain through a fine mesh sieve into a measuring cup or pitcher. The strain catches any undissolved gelatin and gives you a cleaner pour.
- Pour into molds. Divide between 4 small ramekins, glasses, or silicone molds (around 120 ml each), or 3 larger vessels if you want bigger portions.
- Chill. Let them cool on the counter for 15–20 minutes, then cover and refrigerate for 6–8 hours, ideally overnight. They need that full time to set properly — undershooting will give you a soft, sloppy center.
- Serve. Eat straight from the glass with a spoon, or unmold onto a plate (see below). Top with whatever you like — fresh berries, a fruit compote, a drizzle of ganache, caramel, honey.
How to Unmold Panna Cotta
Unmolding panna cotta isn’t tricky, but it does reward a bit of patience. The whole game is loosening the edge and warming just the very outside of the mold so the panna cotta slides out cleanly without melting on the surface.
- Loosen the edge. Run a thin, sharp knife around the edge of the mold to break the seal between the panna cotta and the wall. Go all the way around, keeping the blade flush against the side.
- Warm the mold in hot water. Dip the bottom of the mold into a bowl of hot tap water for a short count — about 10-15 seconds for a thick ceramic ramekin, 3–5 seconds for a thin metal one, even less for silicone (which usually doesn’t need a dip at all). You’re warming the outside surface, not melting the panna cotta.
- Wipe and flip. Dry the bottom of the mold with a towel. Set a serving plate upside down on top of the mold, then grip both together and flip the whole thing over so the plate is right-side up and the mold is upside down on the plate.
- Give it a bump. Tap the bottom of the mold a couple of times and wait a few seconds. You should feel or hear it drop. If it does, lift the mold straight up.
- If it doesn’t release, repeat — briefly. Lift the mold back off the plate (panna cotta still inside) and dip the bottom in the hot water again for half the original time, or even less. Try again. Patience here pays off; short warm-up dips with a few attempts will give you a cleaner release than one long dip.

The thing to avoid: leaving the mold in hot water too long. The surface layer will start to melt, and what comes out onto the plate will look slumped and glossy instead of clean and matte. If you’re not sure, err on the side of too short — you can always go back for another dip.

Tips for Success
- Don’t skimp on the chill time. Six hours is the minimum, and overnight is better. A panna cotta that hasn’t fully set will taste fine but look sad — it’ll slump on the plate or refuse to hold a spoonful’s shape.
- Stir the gelatin, don’t dump it. When you sprinkle the gelatin over cold water, sprinkle evenly and stir once. A single dumped pile will hydrate on the outside and stay dry in the middle (unless you break up the clumps), leaving you with rubbery clumps you’ll have to strain out.
- Taste test. After adding the cream, give the mixture a taste — this is the moment to dial in the final flavor with everything in. If the vanilla feels weak, stir in a little more. If it needs a touch more salt or sugar, add it now.
- Use silicone molds if you want easy unmolding. Silicone releases panna cotta without the hot-water dip — you just peel the mold away. Worth it if you plan to flip every time.
Storage
Refrigerate covered for 3–4 days. If you plan on unmolding, do it just before serving — once flipped onto a plate, the surface starts to lose its clean look pretty quickly.
Ingredients
- 1 cup heavy cream ~240 g
- 1 cup whole milk ~240 g
- 3 tbsp granulated sugar ~38 g
- 1 envelope powdered gelatin ¼ oz / 7 g
- 2 1/2 tbsp cold water for blooming the gelatin, ~37 g
- 1 1/2 tsp vanilla extract
- 1 pinch salt
Instructions
- Bloom the gelatin. Sprinkle the gelatin evenly over the cold water in a small bowl, give it a quick stir, then let it sit for 5–10 minutes until it absorbs the water and looks like wet, wrinkled sand.1 envelope powdered gelatin, 2 1/2 tbsp cold water
- Heat the milk mixture. Combine the milk, sugar, vanilla, and salt in a small saucepan. Warm over medium-low heat, stirring now and then, until it’s steaming and the sugar has fully dissolved (around 75°C / 165°F). A brief boil is fine — just take it off the heat once it gets there.1 cup whole milk, 3 tbsp granulated sugar, 1 1/2 tsp vanilla extract, 1 pinch salt
- Add the gelatin. Take the saucepan off the heat and scrape in the bloomed gelatin. Stir until it’s completely melted and the mixture looks smooth — no visible specks or strands.
- Add the cream. Pour in the cold cream and stir to combine. Adding it now (instead of heating it with the milk) cools the mixture down fast so you can get it into the fridge sooner.1 cup heavy cream
- Taste test. Taste the mixture and dial in the final flavor — if the vanilla feels weak, stir in a little more. If it needs a touch more salt or sugar, add it now.
- Blend and strain. Blend briefly with an immersion blender to make sure everything is fully integrated, then strain through a fine mesh sieve into a measuring cup or pitcher.
- Pour into molds. Divide between 4 small ramekins, glasses, or silicone molds (around 120 ml each), or 3 larger vessels if you want bigger portions.
- Chill. Let them cool on the counter for 15–20 minutes, then cover and refrigerate for 6–8 hours, ideally overnight.
- Serve. Eat straight from the glass with a spoon, or unmold onto a plate. Top with whatever you like — fresh berries, fruit compote, a drizzle of ganache, caramel, or honey.
Notes
Nutrition
Recipes You Might Like
- Flavor variations. Bored of the original? Check these out: strawberry panna cotta, pistachio panna cotta, Biscoff panna cotta, and orange panna cotta.
- Lemon posset. If you liked the wobble and the make-ahead simplicity, posset is the same idea minus the gelatin — three ingredients, set by acid alone.
- Orange posset. Same shortcut as the lemon version, swapped for a softer, sweeter citrus.
- Vanilla cheesecake cups. Different texture, same chill-and-serve format — a no-bake cream cheese filling in individual jars if you want the cheesecake direction instead of the panna cotta one.
- Fruit compote guide. The easiest topping route for any panna cotta — apple, pear, berry, and seven more, all in one place.
- Chocolate ganache 101. If you want a richer finish, the ganache guide covers ratios and 11+ flavors you can pour, drizzle, or spoon over the top.