Plum Pierogi Recipe: Use Up Extra Plums
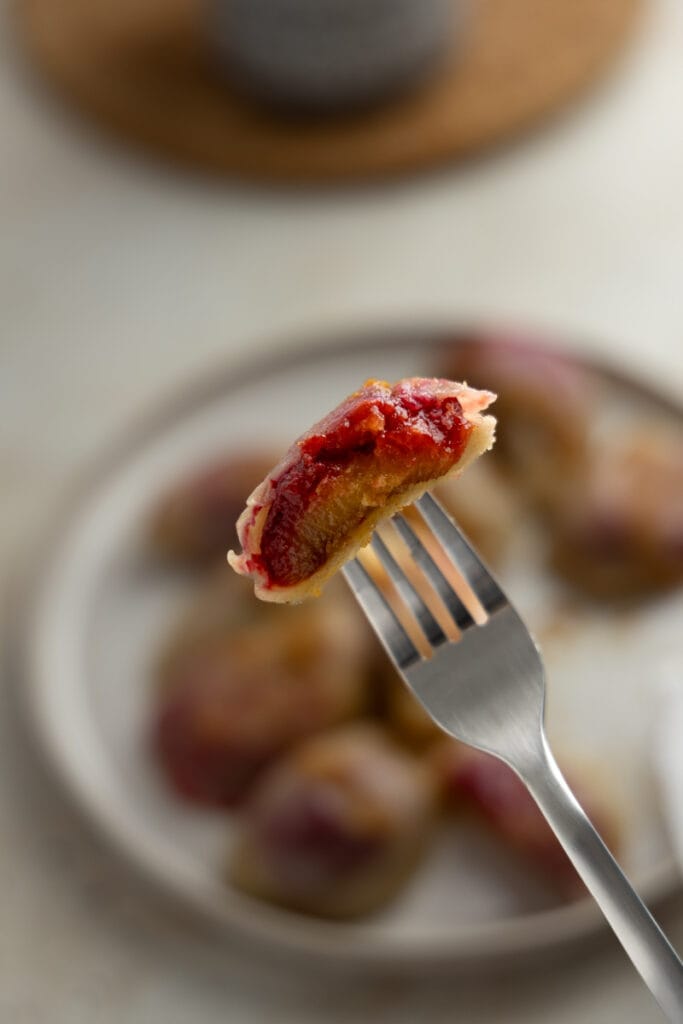
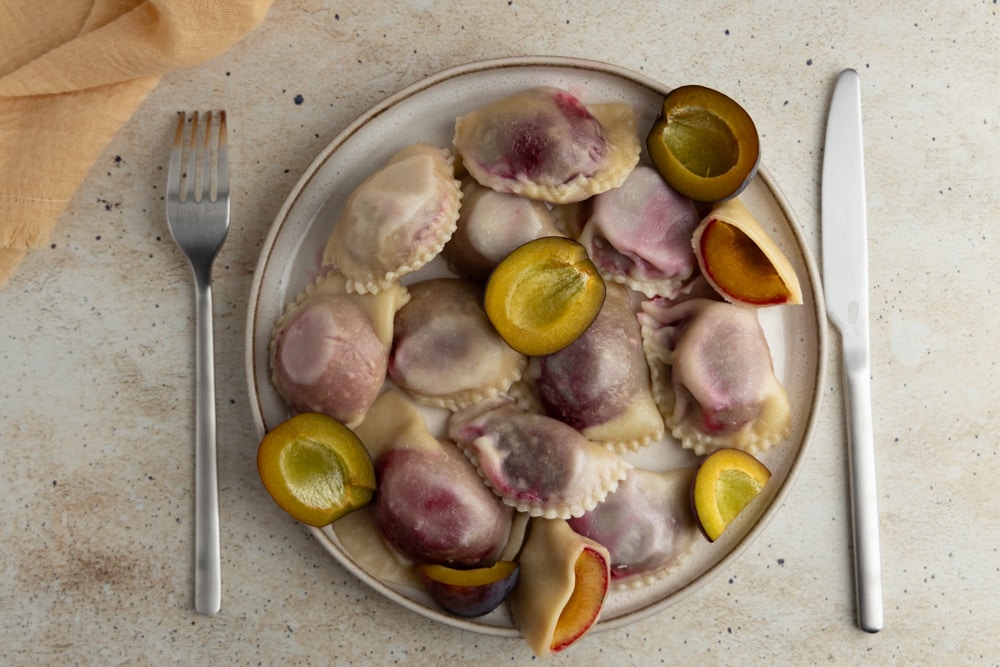
Embrace simplicity with this plum pierogi recipe. Just knead the dough, pit the plums, sprinkle some sugar, and you’re on your way to crafting delightful pierogi. It’s the perfect solution for turning an abundance of seasonal plums into a mouthwatering treat.

Plum pierogi, often overshadowed by their German counterpart, plum dumplings, offer a delightful twist on traditional recipes. The primary distinction lies in the dough: pierogi use a flour-based dough, while plum dumplings typically go with a potato-based one.
Both dishes are relatively simple to prepare. However, I’d argue that plum pierogi have a slight edge in ease of preparation. With pierogi, you sidestep the challenges of handling watery potatoes that can become sticky and tearing when attempting to encase a plum.
But if you’re on the hunt for a unique plum dish that isn’t baked, both pierogi and dumplings present excellent options to make the most of any surplus plums.
Recipe At a Glance
Here’s a quick overview of this recipe:
- Simple Dessert Pierogi. Dive into the world of sweet pierogi with this straightforward recipe. Simply knead the dough, prep the plums, and you’re set to shape your pierogi. For more variations on sweet fillings, see our guide on dessert pierogi options.
- Seasonal Delight. The quality of the plums can make or break this dish. Ensure you make these pierogi when plums are at their peak. Not only will they taste better, but they’ll also be plentiful and cheap.
- Got Extra Plums? If you find yourself with a surplus of plums, this is your solution. Prepare a larger batch of dough, make the pierogi, and freeze the extras for future enjoyment. You can also make a bunch of plum dumplings if you’re looking for variety.
For those new to making plum pierogi, read through the ingredient notes, detailed instructions, and other essential tips. The shaping method for these pierogi is slightly different from what you might be used to, so give it extra attention.
(Already familiar with the process? Feel free to skip ahead to the recipe card.)
Extra Learning
Before we jump in, here are a few handy resources to help you nail this recipe:
- Homemade Pierogi for Beginners. My pierogi guide that walks you through the pierogi making process, start to finish. Whether you’re new to pierogi or just need a refresher, this guide has you covered.
Ingredients Notes and Substitutes
Pierogi Dough
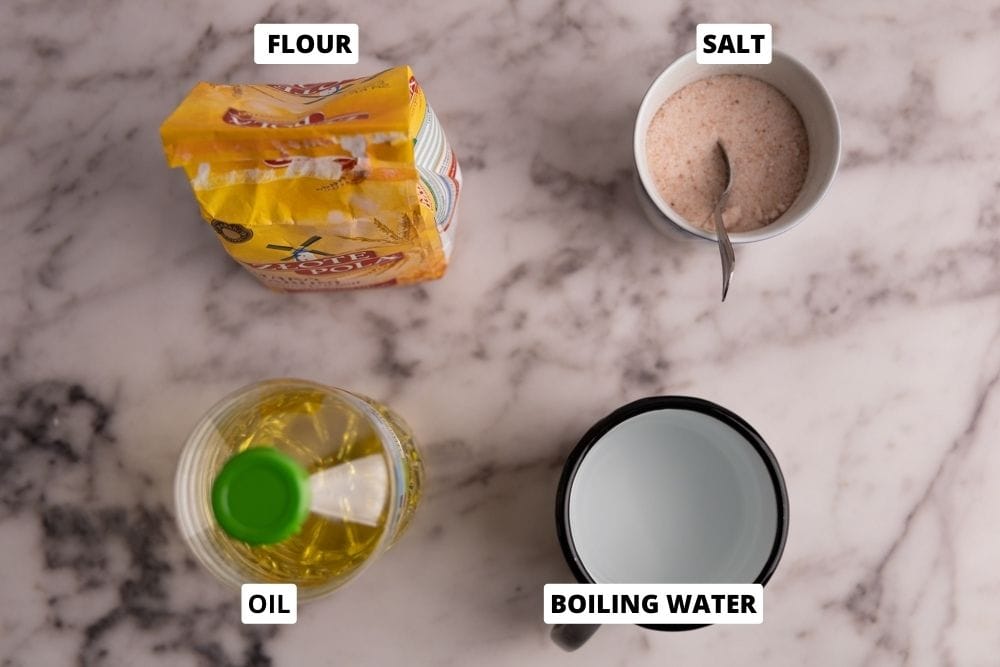
- Flour. Use all-purpose flour. If you use something like bread flour or whole wheat flour, you will need noticeably more liquid to achieve the right dough texture.
- Oil. Use a neutral-flavored oil, such as your regular cooking oil. Avoid olive oil as it can be bitter, which may affect the dough’s flavor.
- Salt. Use fine-grained salt for best results.
- Water. Plain boiled water is all you need; no need to be fancy here.
Plum Pierogi Filling

- Plums. Italian prune plums or damson plums are ideal, but other varieties are suitable as well. Opt for freestone plums since you’ll need to pit them before cooking. Even larger options, like Japanese or Chinese plums, are fine, as we use half a plum for each pierogi.
- Sugar. While I typically use white sugar, brown sugar or sugar substitutes like stevia are also viable options. If you choose an alternative, adjust the quantity to match the sweetness of 1/4 teaspoon of white sugar.
Step-By-Step: How to Make Plum Pierogi
Step 1: Make Dough
(Read more about this in our pierogi dough recipe.)
- Boil a pot of water.
- Sift flour into a large bowl. Sifting probably isn’t necessary, but I recommend it anyways. Plus, it’s something you can do while waiting for the water to boil.
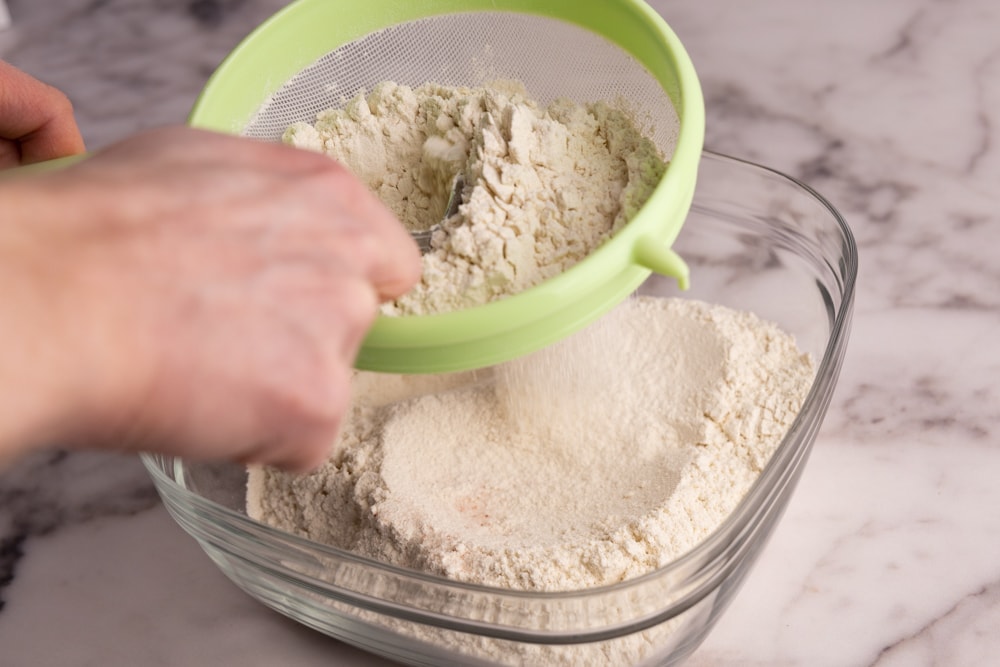
- Add salt and mix. Just a quick stir to spread the salt.
- Add oil and boiled water.
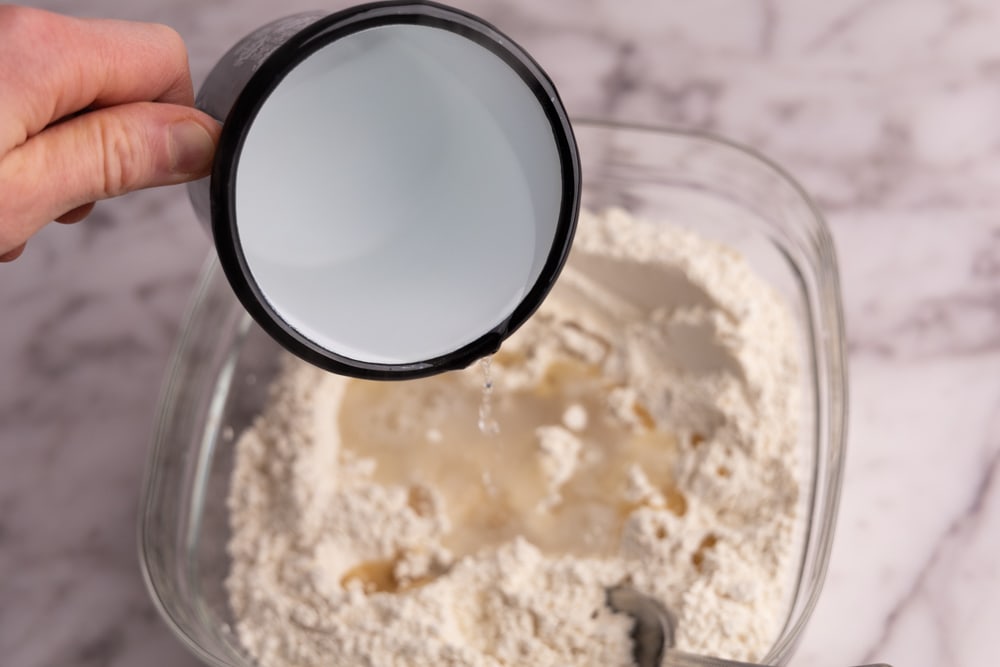
- Mix. Mix the ingredients by stirring with a regular tablespoon or a large wooden spoon. Be careful not to burn yourself, as you will be working with water that was boiling just a few moments ago. Stir until you reach the point where there is no visible water in the bowl, then switch to using your hands.
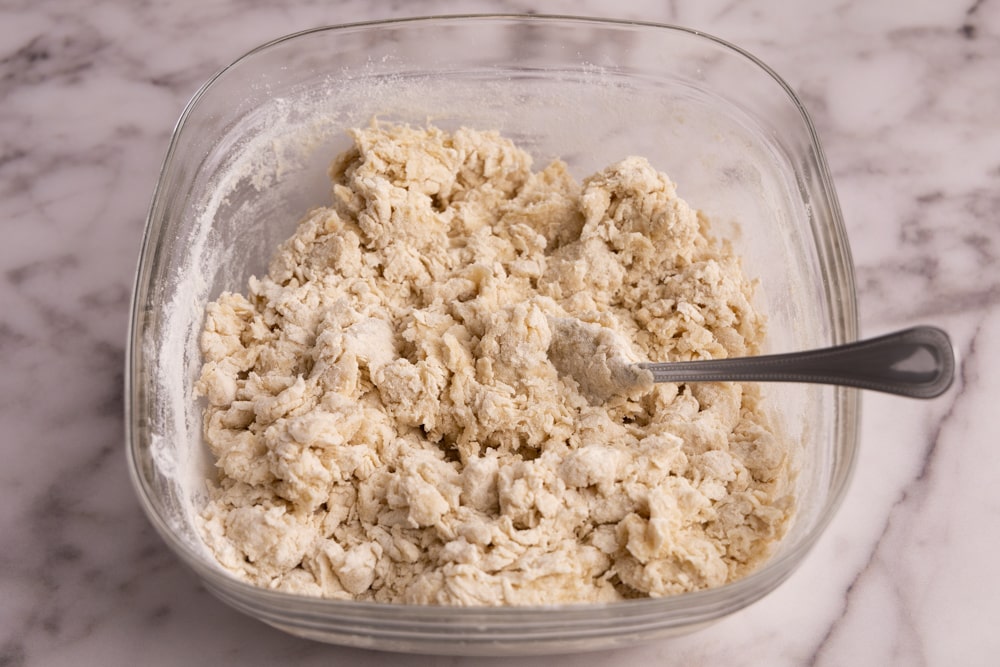
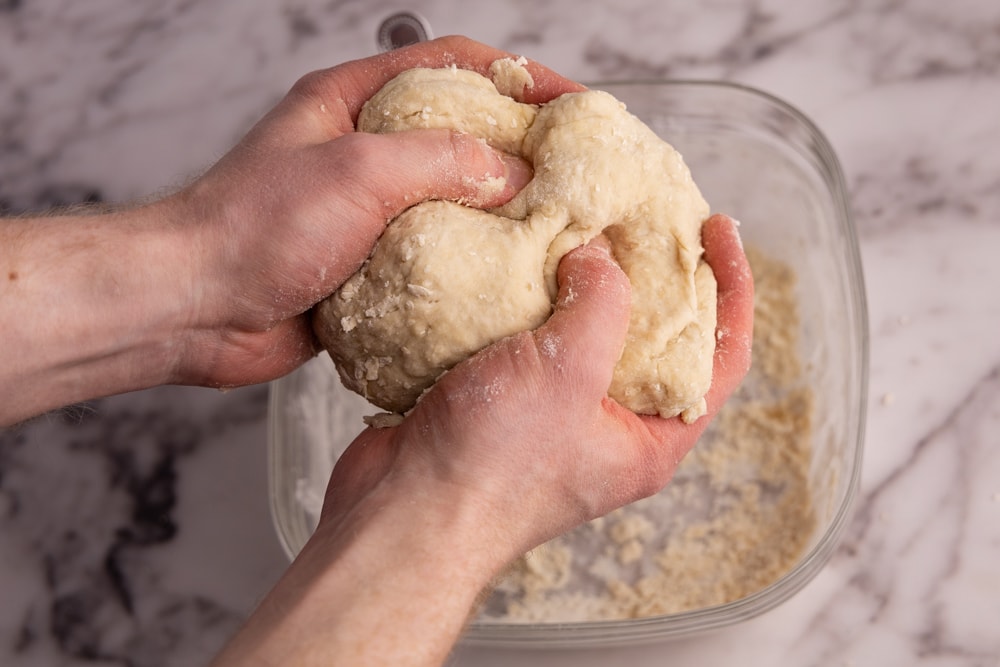
- Knead. Start slowly and make sure the dough isn’t too hot to handle. Knead until you have incorporated all the flour into a homogeneous dough ball, which usually takes 4 to 8 minutes.
 Kneading in progress. Note that there’s still flour left in the bowl.
 Dough ready – all the flour is incorporated and the dough is pretty homogenous.
- Wrap and rest. Wrap the dough ball tightly in plastic wrap and let it rest for about 30 minutes before continuing. This will allow the dough to relax and become easier to work with.

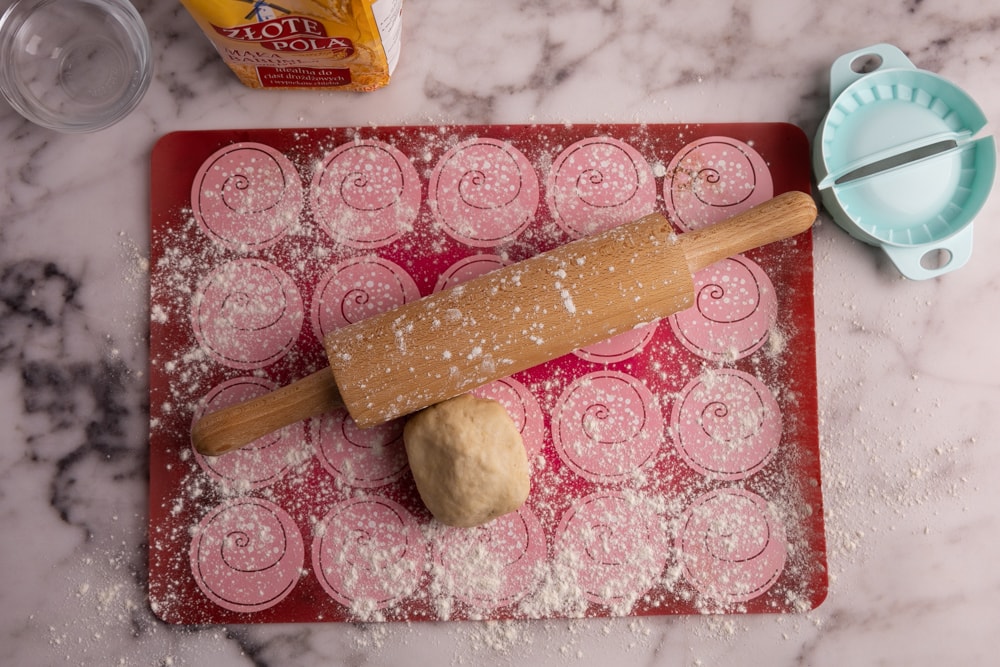
- Make pierogi. Once that half an hour of waiting is over, the dough is ready for rolling and making pierogi.
Step 2: Prep Filling
- Prepare the plums. Thoroughly rinse and pat dry the plums. Halve each plum and remove the stone.
- Add Sugar. Sprinkle roughly 1/4 teaspoon of sugar over each plum (or 1/8 tsp for each half). While it may seem generous, this quantity helps counteract the plum’s natural tartness. Set the sugared plum halves on a spacious plate, letting the sugar seep into the plums.
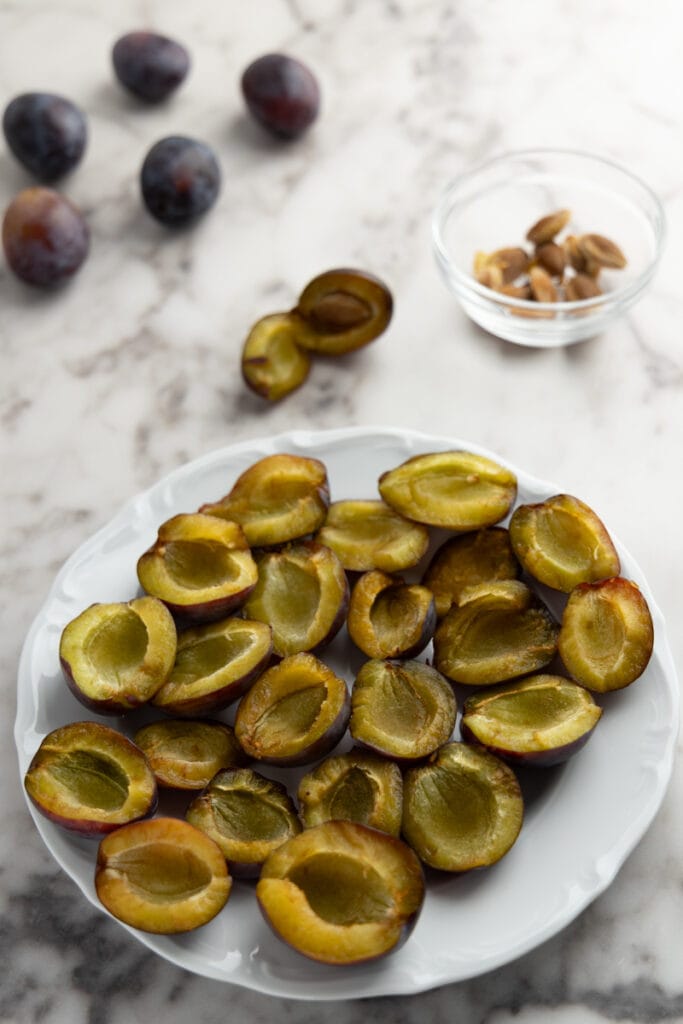 Plums prepared for adding sugar
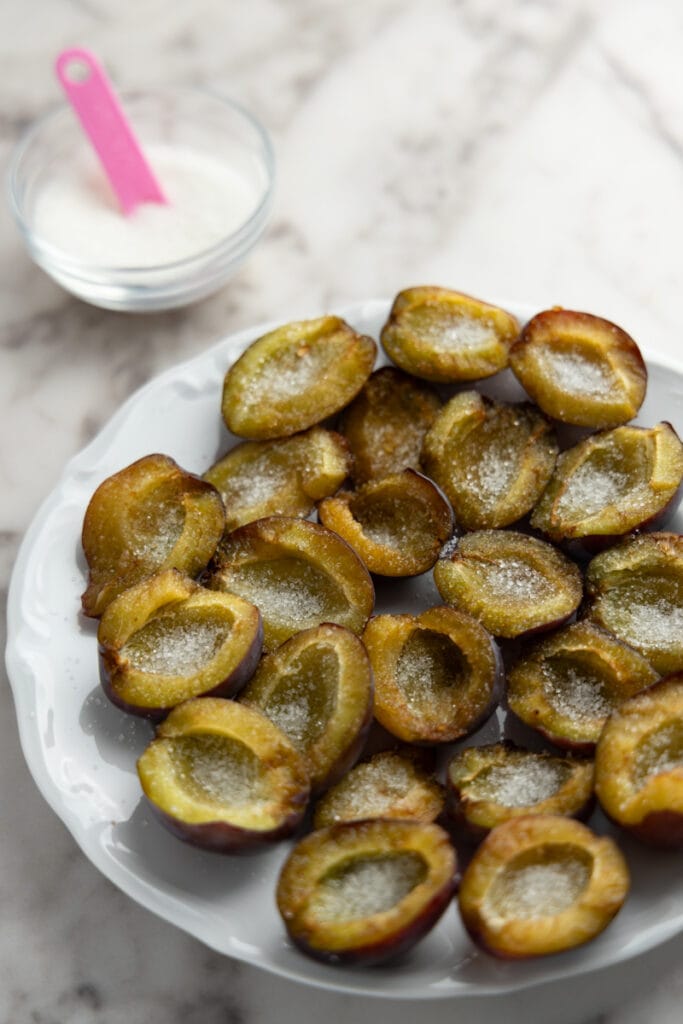 1/4 tsp sugar per plum means quite a lot of sugar
Step 3: Combine
- Divide and roll the dough. Unwrap the rested dough, split it into two or three equal parts, then roll out the first portion on a well-floured surface until thin and even. Make sure it’s thick enough to stretch a little without tearing. Keep the remaining dough wrapped to prevent drying.
- Make pierogi. Place the sugared plum halves directly onto the rolled-out dough, leaving some space between each half. Fold the dough over the plums, ensuring each one is covered, and there’s like half an inch of dough overlap. Press the dough around each plum half (starting from the plum outwards), eliminating any air pockets. Then, using a jar, mug, or any circular object, cut out the pierogi. Ensure there’s a margin of dough around each plum half to keep the plum secure and prevent tearing. Once cut, press the edges of the pierogi to ensure they’re sealed well.
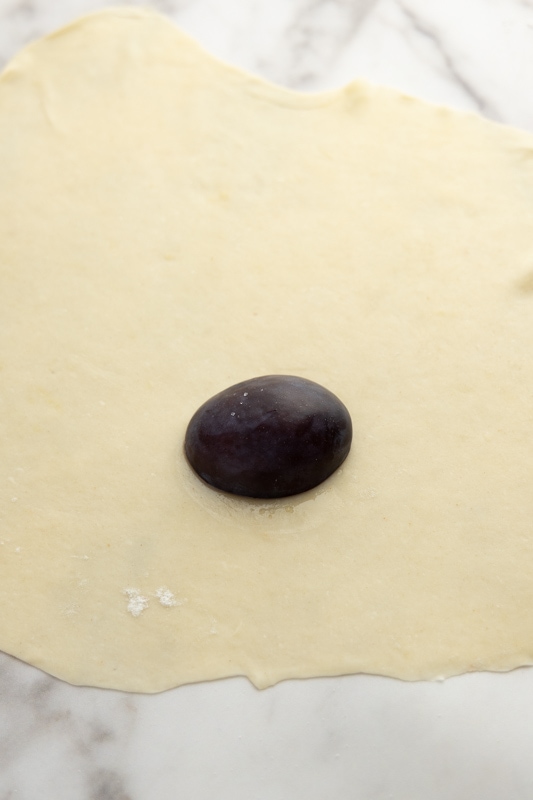 Plum half on the dough
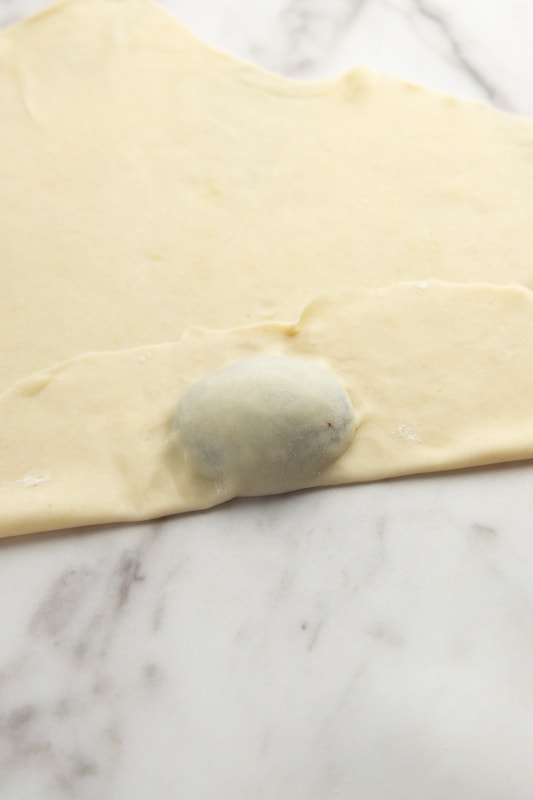 Plum wrapped with the dough
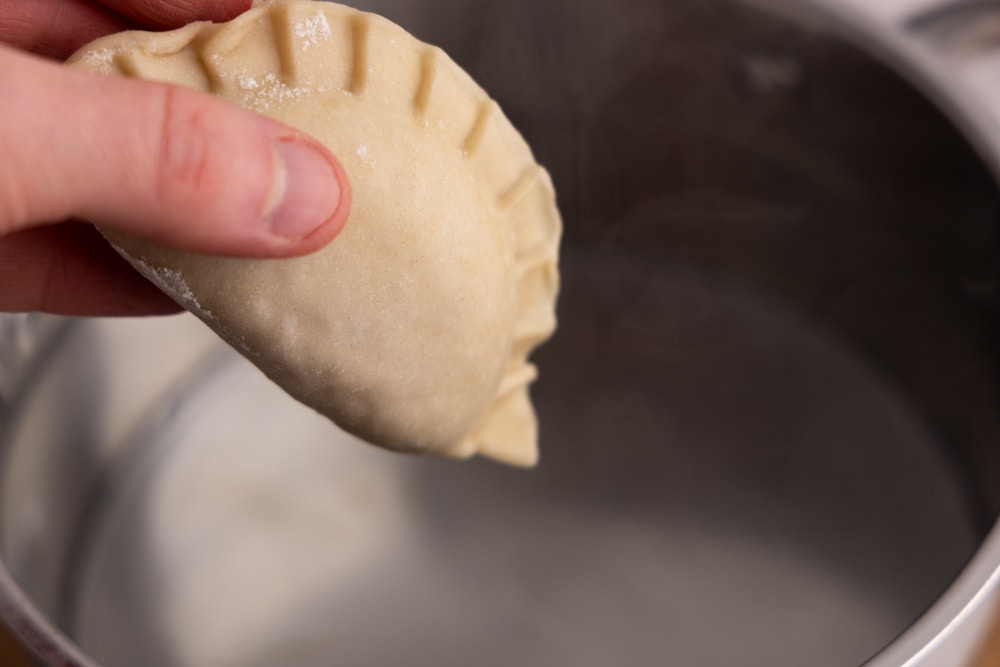
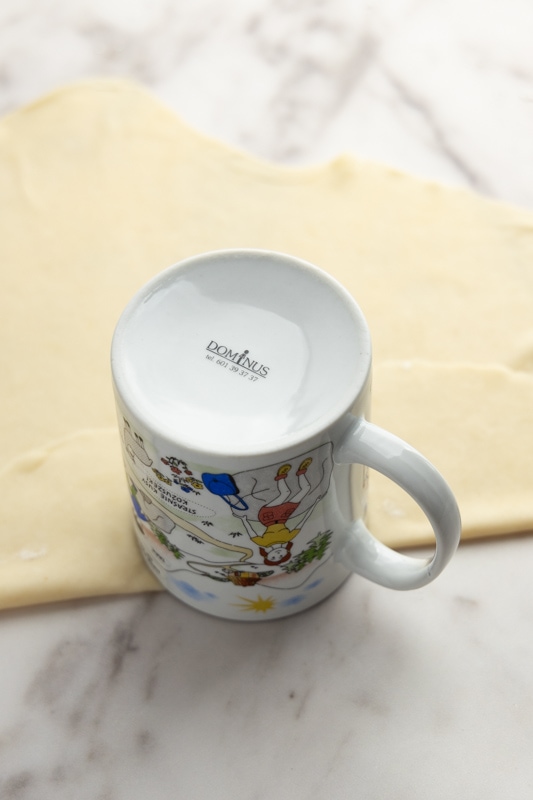 Cutting
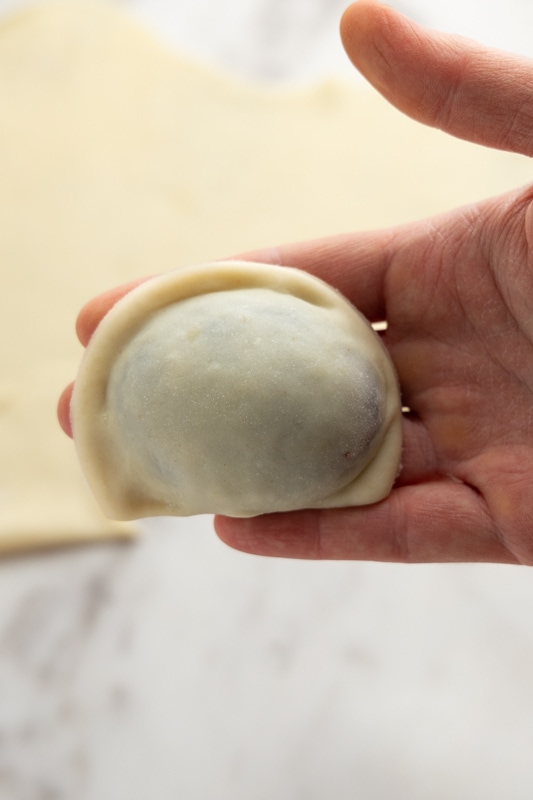 Pierogi ready
- Transfer. Place the formed pierogi on a lightly floured surface and cover them with a damp kitchen towel to prevent sticking or drying. If pierogi are in close contact, dust touching areas with flour.
Step 4: Cook
- Boil water. Bring a large pot of salted water to a boil. I typically use one teaspoon of salt per quart of water but feel free to adjust the amount to your preferences.
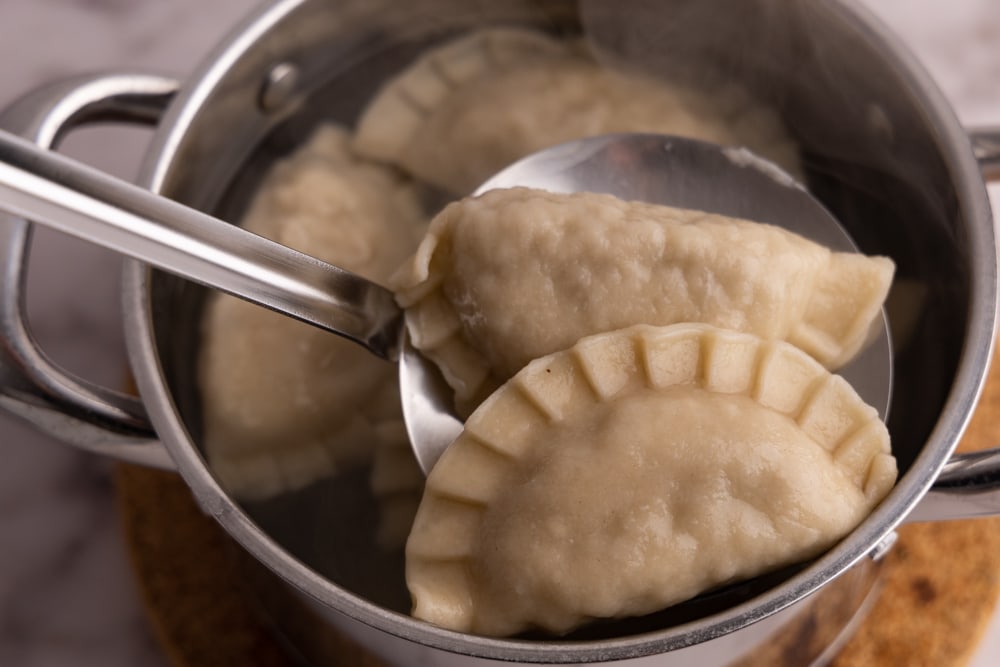
- Add a few pierogi. Once the water is boiling, add a few pierogi to the pot and stir them to prevent them from sticking to the bottom. Once the pierogi start floating to the surface, simmer them gently for another 3 to 4 minutes. Make sure not to overcrowd the pot so that the pierogi don’t stick together or cook unevenly.
- Remove. Remove the pierogi from the water using a slotted spoon.
- Serve: Now, your deliciously cooked pierogi are ready to be served and savored.
How to Serve
When it comes to serving Plum Pierogi, you have a few options to choose from:
- Enjoy them as is: Plum Pierogi are great on their own, so you can serve them as they are. The filling of juicy plums wrapped in tender dough is already a delightful treat.
- Sprinkle with powdered sugar: If the pierogi are a bit on the tart side, you can add a sprinkle of powdered sugar to balance out the flavors. Just a dusting of sweetness can make a big difference.
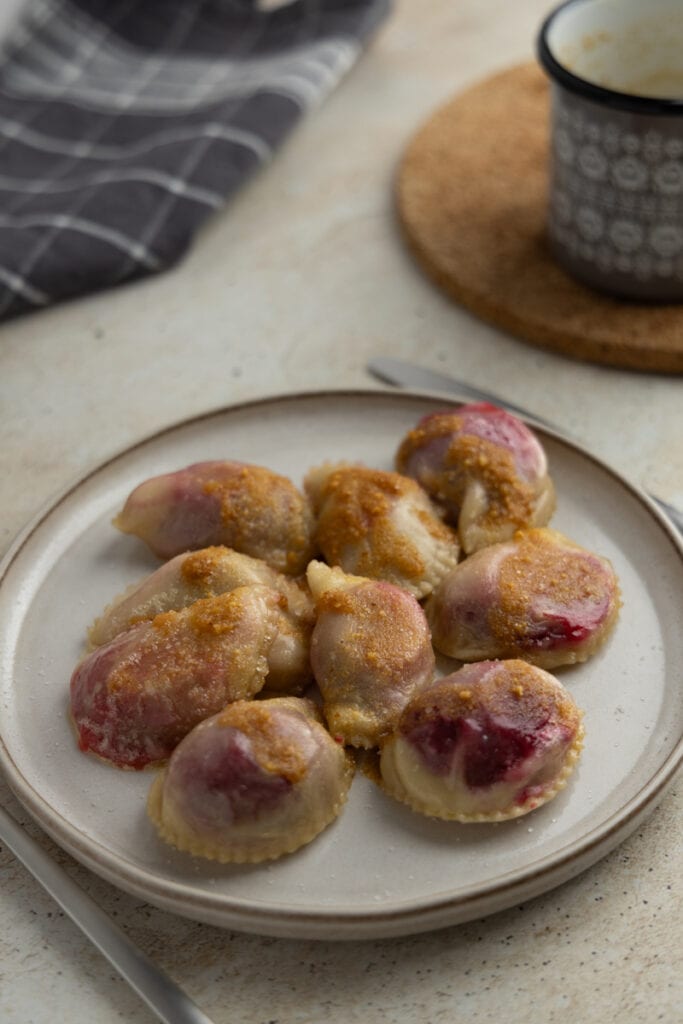
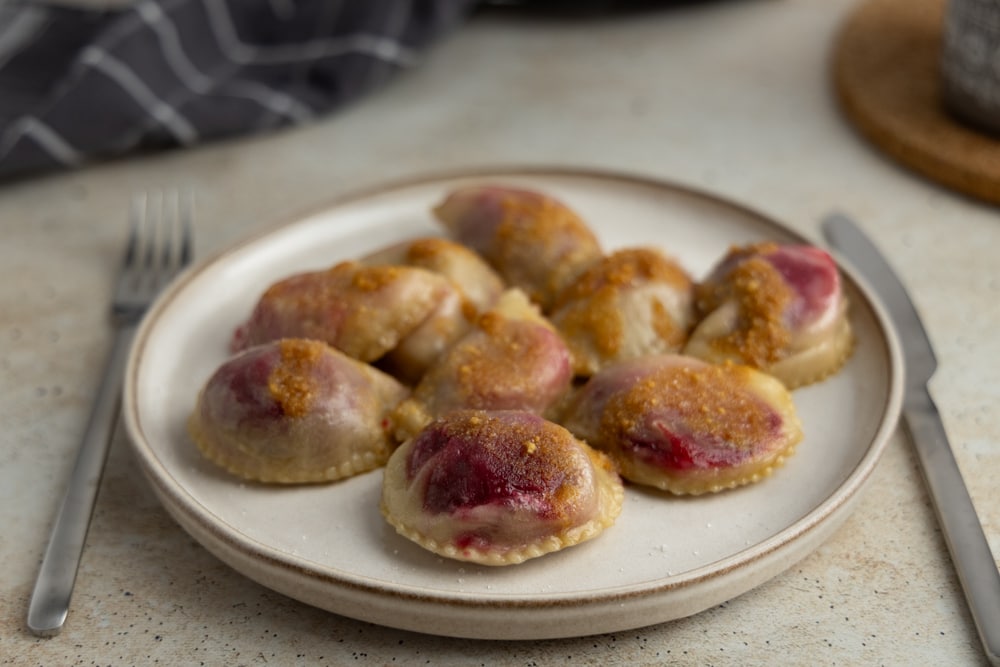
- Serve with browned butter and breadcrumbs: This is a classic Polish way to enjoy pierogi. Start by melting and warming up butter on the stove, then add a couple of teaspoons of breadcrumbs. Cook until both the butter and breadcrumbs turn golden brown. Pour this delicious mixture over the pierogi for a richer twist. To make it sweeter, add a bit of sugar to the mixture.
- Explore other sweet toppings: If you’re feeling adventurous, try different toppings that work well with sweet pierogi. For more inspiration, check out my article on pierogi toppings.
- Pan-fry for extra flavor: For an extra crispy and golden touch, you can pan-fry the pierogi. Simply grab a non-stick skillet, melt a knob of butter or a bit of oil, and cook the pierogi for a few minutes on each side until they become crispy and turn a beautiful golden brown. The added crispiness enhances the texture and takes the pierogi to a whole new level of deliciousness. For a more detailed description, check out the section on reheating.
Storage
To store Plum Pierogi, follow these simple steps:
- Dry the pierogi. After cooking the pierogi, lay them out on large plates. Give them 10 to 20 minutes to dry a bit on one side, then flip them over and let them dry for another 10 to 15 minutes. This ensures that both sides are nice and dry, preventing them from sticking to each other in the storage container.
- Pack into an airtight container. Once the pierogi are dry, pack them up into an airtight container. It’s important to place them in a single layer and avoid crowding them. If you have to stack them, put some plastic wrap between the layers to prevent sticking.
- Refrigerate. You can store the plum pierogi in the fridge if you plan to eat them within three to four days. Just place the airtight container in the refrigerator, and they will stay fresh and ready.
- Freezing Option: If you’ve made a whole bunch of pierogi and want to save them for later, you can freeze them. Check out my guide to freezing pierogi for more info.
How to Reheat
To reheat your delicious plum pierogi, the best method is to pan-fry them. Here’s a short step-by-step guide on how to do it:
- Grab a skillet: Start by placing a non-stick skillet over medium heat on the stovetop.
- Add some fat: Next, add a knob of butter or a bit of oil to the skillet. Make sure it covers the base of the pan. You can use either butter or oil, depending on your preference.
- Warm the fat: Allow the butter or oil to warm up in the skillet until it’s ready for cooking.
- Lay the pierogi: Once the fat is heated, carefully lay the plum pierogi into the pan. Be mindful not to overcrowd the skillet, which may affect the cooking process.
- Cook on one side: Let the pierogi cook for approximately four to six minutes on one side. You want them to become nice and golden brown and crispy.
- Flip and cook on the other side: Once the first side is nicely browned, flip the pierogi over using a spatula. Cook them for another four to six minutes on the other side.
- Ready to serve: Once the plum pierogi are cooked on both sides and have that beautiful golden brown color, they are ready to be served and enjoyed!

This post may contain affiliate links. Read our privacy policy.
Equipment
Ingredients
Pierogi Dough
- 2 cups all-purpose flour ~250g
- ¼ tsp salt
- 1 ½ tbsp oil
- ½ cup boiling water ~120ml
Plum Pierogi Filling
- 12 – 15 plums 16 to 20 oz or 450 to 550g
- sugar
- salt for cooking
Instructions
Make Dough
- Boil Water: Boil a pot of water.½ cup boiling water
- Sift Flour: Sift flour into a large bowl.2 cups all-purpose flour
- Add Salt: Add salt and mix.¼ tsp salt
- Wet Ingredients: Add oil and boiled water.1 ½ tbsp oil
- Mix Ingredients: Mix the ingredients by stirring with a spoon. Be careful not to burn yourself. Once there is no visible water in the bowl, use your hands to knead the dough until it is a homogeneous ball.
- Wrap and Rest: Wrap the dough ball tightly in plastic wrap and let it rest for about 30 minutes before continuing.
- Make Pierogi: Once the wait is over, the dough is ready for rolling and making pierogi.
Prep Filling
- Prep Plums: Wash, halve, and pit plums.12 – 15 plums
- Add Sugar: Sprinkle each half with 1/8 tsp sugar and set aside on a plate.sugar
Combine
- Roll Dough: Divide dough into 2-3 parts. Roll out one portion on a floured surface until thin but stretchable.
- Form Pierogi: Place sugared plum halves on dough. Fold dough over plums, press to seal, and cut with a jar or mug.
- Transfer: Place pierogi on a floured surface and cover with a damp towel. Dust any touching areas with flour.
Cook
- Boil Water: Bring a large pot of salted water to a boil. I typically use one teaspoon of salt per quart of water but feel free to adjust the amount to your preferences.
- Cook: Once the water is boiling, add a few pierogi to the pot and stir them to prevent them from sticking to the bottom. Once the pierogi start floating to the surface, simmer them gently for another 3 to 4 minutes. Make sure not to overcrowd the pot so that the pierogi don't stick together or cook unevenly.salt
- Serve: Remove the pierogi from the water using a slotted spoon and serve immediately with your favorite toppings.