
13 Pierogi Filling Ideas: Classic, Savory, and Sweet Fillings for Your Next Batch
From potato and cheese to fruit and dessert pierogi — simple, reliable filling ideas.
Looking for pierogi filling ideas that actually work in real kitchens? You’re in the right place.
This roundup brings together classic Polish fillings, savory everyday options, and sweet pierogi ideas — from potato and cheese to fruit and dessert pierogi. Each filling is simple, reliable, and easy to adjust depending on what you have on hand.
Whether you’re making pierogi for a family dinner, a freezer batch, or a special occasion, these filling ideas help you keep things familiar while still trying something new.
And if you already have a favorite pierogi filling, there’s also a short section at the end showing how to fill and seal pierogi properly, with simple tips to keep them closed while cooking.
👉 Want the full pierogi workflow in one place, in video form? My FREE pierogi course walks through dough, filling, shaping, and cooking step by step.
Pierogi Fillings
The best pierogi fillings are flavorful, easy to seal, and stable during cooking. From classic potato and cheese to savory and sweet options, pierogi offer endless variety.
Here are the most popular fillings, starting with the traditional favorites.
- Meat
- Potato and Cheese
- Potato and Cheddar
- Spinach and Feta
- Spinach and Garlic
- Lentil
- Asparagus
- Apple
- Strawberry
- Blueberry
- Farmer’s Cheese
- Sweet Cheese
- Plum
Meat

Meat pierogi are made with seasoned ground meat that stays juicy and flavorful inside the dough. Pork, beef, chicken, or mixed meats all work well, depending on what you prefer.
A simple salt-and-pepper base keeps the filling classic, while onions, garlic, or herbs let you customize it easily.
Potato and Cheese (or Pierogi Ruskie)

This traditional Polish filling combines mashed potatoes with cheese for a soft, creamy, and comforting center. In Poland, farmer’s cheese is the classic choice, but cream cheese works just as well. It’s one of the easiest fillings to seal and one of the most loved worldwide.
Potato and Cheddar

This savory filling blends creamy mashed potatoes with sharp cheddar for a rich, extra-cheesy twist on classic potato pierogi. The cheddar melts smoothly into the potatoes, creating a bold, comforting flavor that’s perfect for boiling or pan-frying.
It’s easy to work with, freezer-friendly, and a great choice if you prefer a stronger cheese flavor than traditional farmer’s cheese versions.
Spinach and Feta
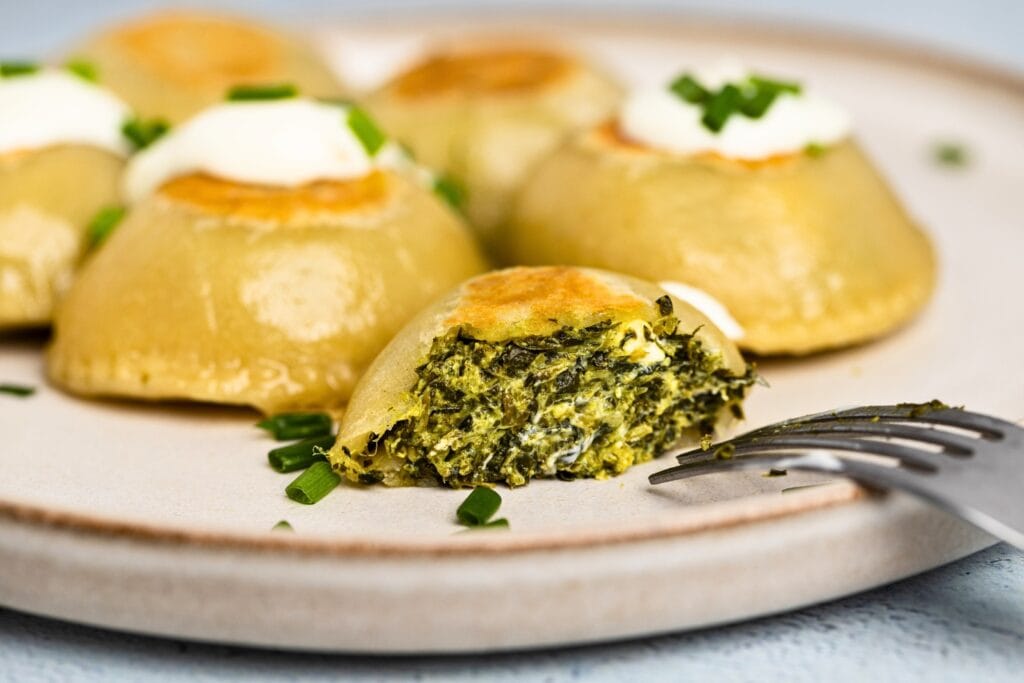
Spinach feta pierogi are a lighter, savory option with a creamy, garlicky filling and a tangy kick from the feta. A great choice when you want something fresher than heavier potato or meat fillings.
Spinach and Garlic

Spinach and garlic pierogi are a simple vegan option with a bold, garlicky filling and added depth from sun-dried tomatoes. A great choice when you want a lighter, dairy-free alternative to classic pierogi fillings. And a must-try if you like garlicky spinach.
Lentils
Lentil pierogi are a hearty, plant-based option with a naturally rich texture. Cooked lentils blend easily with onions and spices, creating a filling that’s both satisfying and easy to work with. It’s a great vegan alternative that still feels comforting and filling.
Asparagus
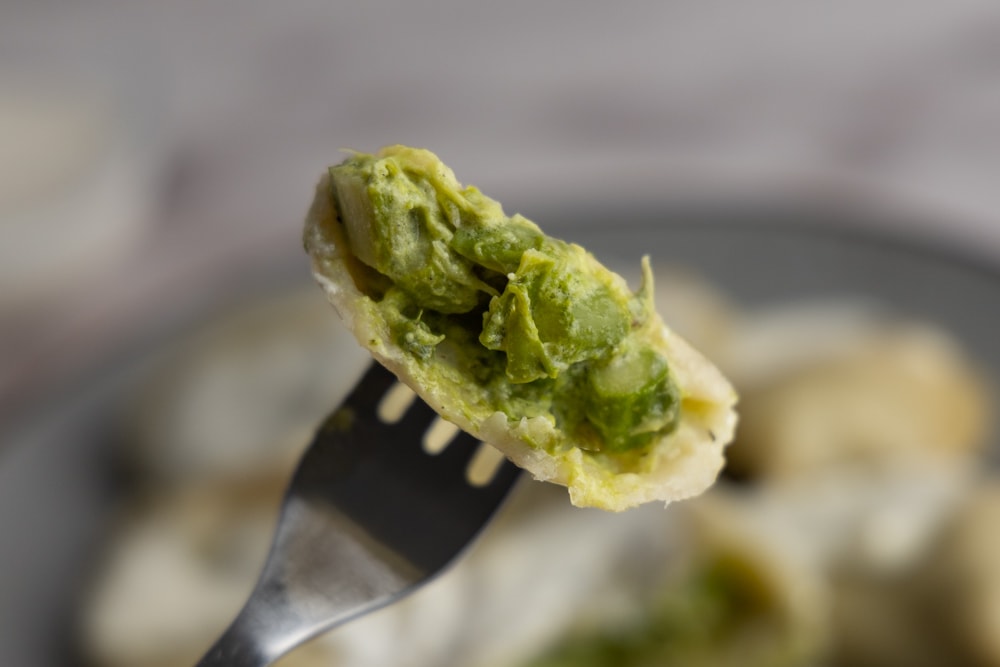
Asparagus pierogi offer a fresh, slightly earthy flavor balanced by creamy mascarpone cheese. This filling feels elegant and seasonal, making it perfect for spring or special occasions. When asparagus is fresh and affordable, it’s one of the most unique pierogi fillings you can try.
Apple

Apple pierogi are the easiest entry point into sweet pierogi. Apples are available year-round, simple to prepare, and naturally sweet with a gentle tartness. This filling works beautifully with cinnamon, sugar, and a touch of lemon.
Strawberry
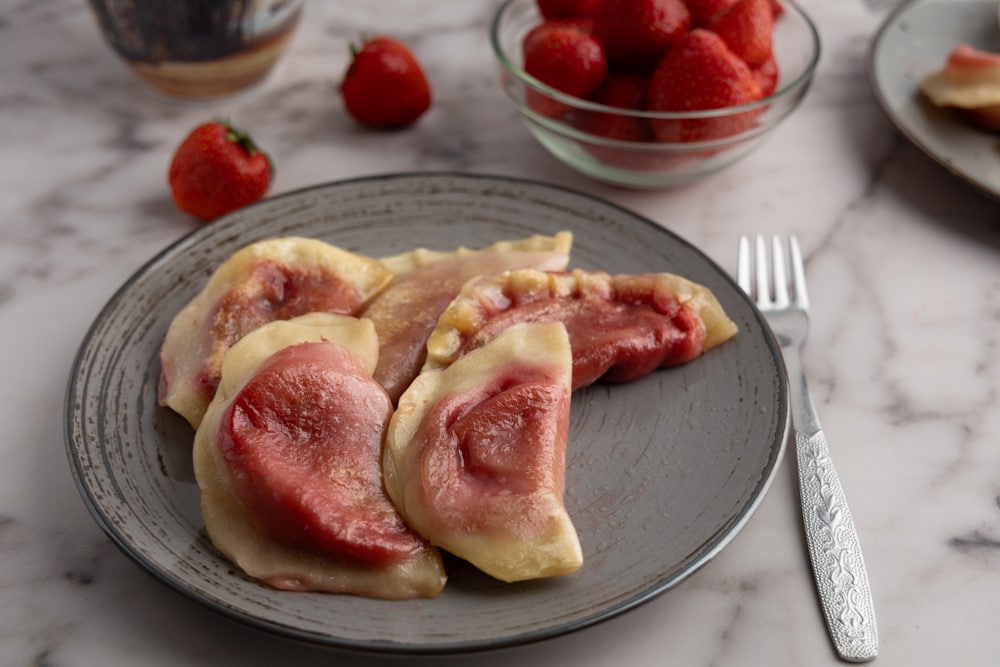
Strawberry pierogi can be made with whole strawberries for a quick, simple version or with strawberry compote for a more intense flavor. The latter option takes more effort and careful sealing, but rewards you with a rich, dessert-like filling. Both versions deliver bright, fruity sweetness.
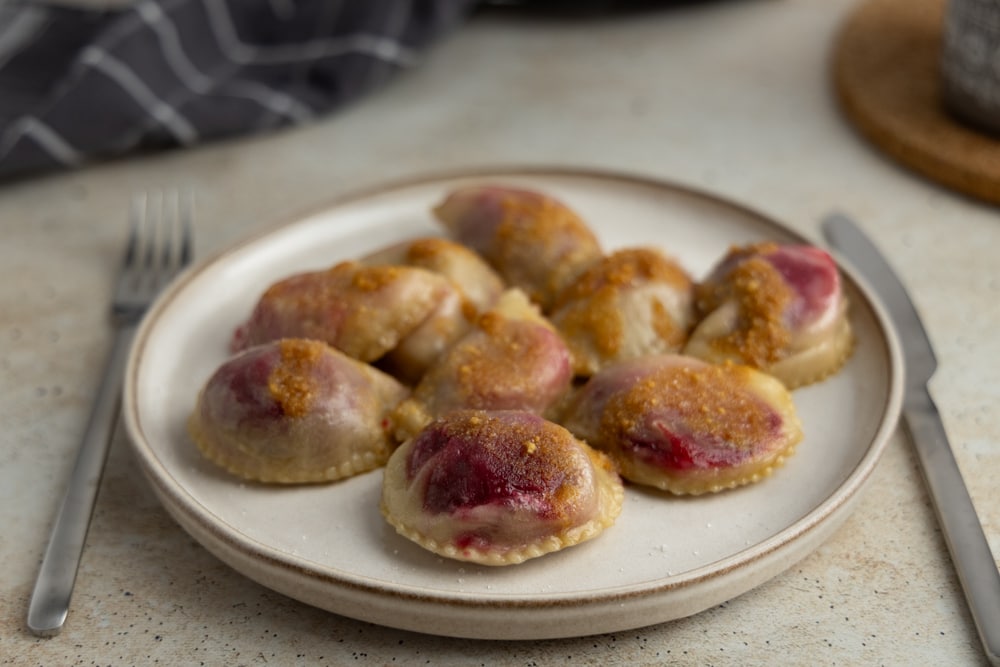
Blueberry
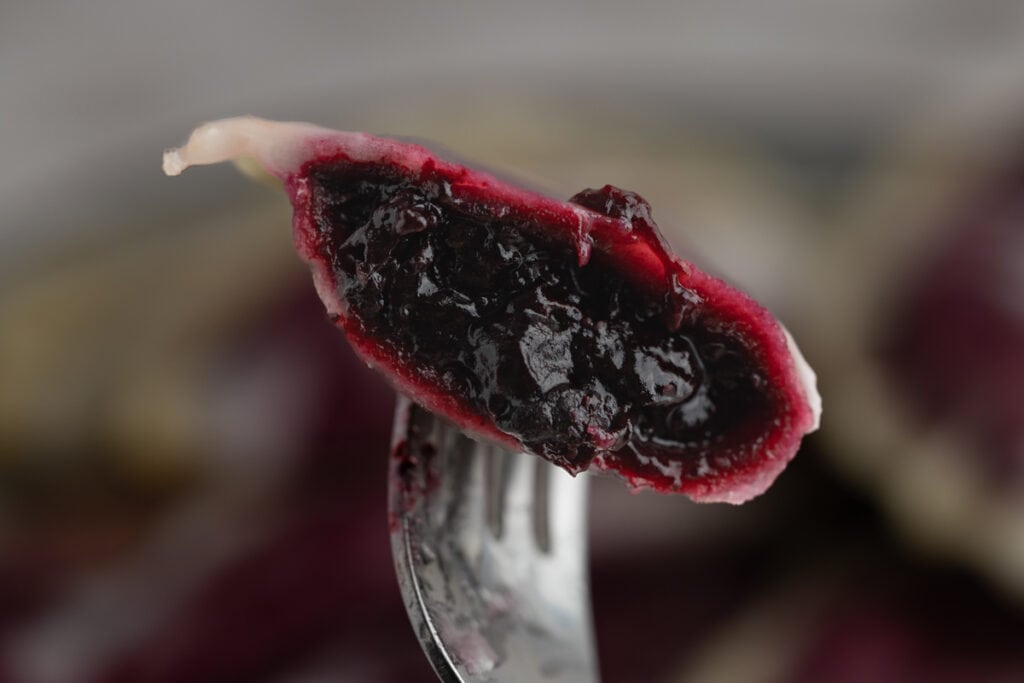
Blueberry pierogi are similar in style to strawberry pierogi and work well with both fresh and frozen berries. The filling is juicy, slightly tart, and naturally vibrant. They’re especially popular as a summer dessert pierogi served with cream or sugar.
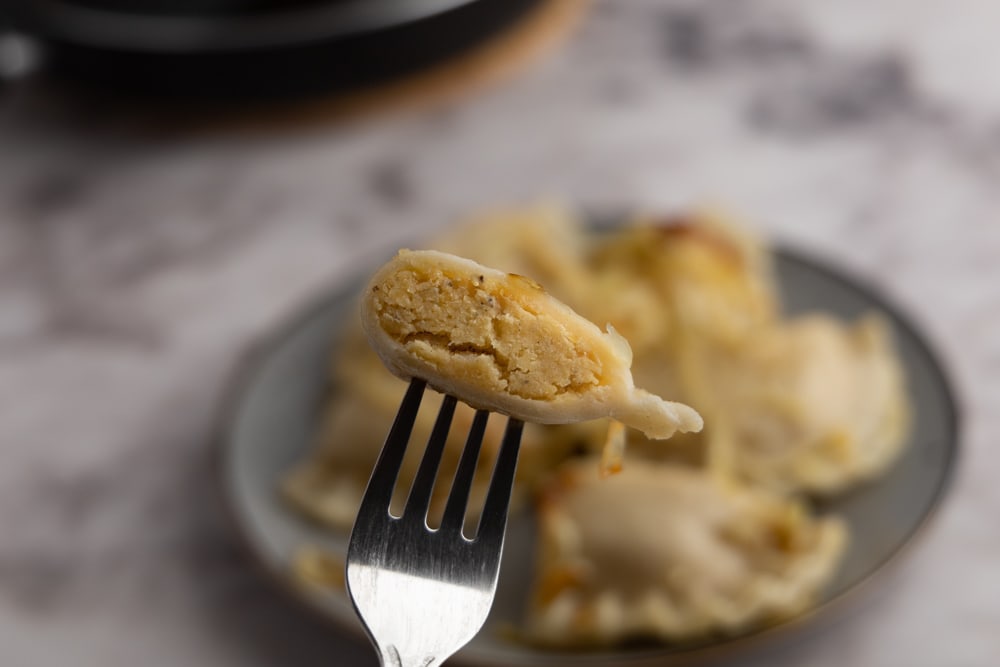
Farmer’s Cheese

Sweet farmer’s cheese pierogi are a classic Polish dessert filling. The cheese is lightly sweetened and stays firm enough to seal easily, making it beginner-friendly. If you can find farmer’s cheese, this is one of the most reliable and traditional sweet pierogi options.
Sweet Cheese

When farmer’s cheese isn’t available, a mixture of cream cheese and overcooked white rice creates a surprisingly good substitute. The rice firms up the filling, making it easy to handle and customize with vanilla, sugar, or citrus zest. It’s a practical solution with excellent results.
Plum
Plum pierogi are one of the simplest fruit pierogi to make. Whole plums or thick plum filling sit beautifully inside the dough and hold their shape well. This filling is slightly tart, naturally sweet, and perfect for beginners.
Tips for Making Pierogi Filling
Good pierogi fillings should be flavorful, balanced, and firm enough to hold their shape inside the dough. Keep these principles in mind:
- Choose the right dough. Not every dough works with every filling. Dessert pierogi are best with soft, all-purpose flour dough, while whole-wheat dough is better suited for savory fillings.
- Season thoughtfully. Treat every recipe as a starting point. Taste and adjust seasoning at the right stage — for example, always taste cooked meat before adding raw egg or other final ingredients.
- Control moisture. Too much liquid leads to leaks. Reduce, drain, or thicken fillings when needed: evaporate excess water on the stove, drain cooked vegetables or lentils, or thicken fruit sauces with starch if needed.
- Chill when necessary. Refrigerating fillings for a few hours (or overnight) makes them firmer and easier to handle.
- Start with firmer fillings. Meat, lentils, whole fruit, and farmer’s cheese are the easiest for beginners. Softer or saucier fillings require more careful sealing.
How to Fill Pierogi
There’s more than one correct way to fill pierogi. The best method depends on your filling, your dough, and how much control you want.
Below are three reliable techniques — each shown in images — so you can choose the one that fits your style (and equipment).
Tabletop Method

Cut palm-sized circles from your dough and place a small spoonful of filling in the center. Fold the dough in half over the filling and pinch the edges together, starting in the middle and working outward.
This method is fast, simple, and perfect for firm, well-behaved fillings like potato, cheese, or meat.
Hand Cup Method

Place a dough circle in your cupped palm to create a natural cradle. Add the filling in the center, then fold the dough over it and begin sealing from the middle toward one side.
Stand the pierogi upright with the sealed edge down and finish sealing from the center outward on the other side.
This method gives you the most control and is ideal for soft, loose, or juicy fillings.
Pierogi Mold Method
For starters, here’s what a typical pierogi mold/maker looks like:

If you’re looking to use a pierogi maker, here’s how you ace it:

Use the bottom of the mold to cut perfectly sized dough circles. Stretch each circle slightly so it’s just larger than the mold.
Press the dough gently into the mold, making sure it covers both the pocket and sealing edges. Add filling evenly, keeping it generous but not overfilled.
Close the mold firmly to seal the pierogi, then remove it carefully and check the edges for a complete seal.
This method is great for uniform shapes and larger batches.
Tips for Filling and Sealing Pierogi
- Remove excess air. Always push air out of the pocket while sealing. Less air means better shape, fewer leaks, and more even cooking.
- Match dough thickness to filling. Use slightly thicker dough for juicy or saucy fillings to reduce the risk of tearing.
- Use moisture only when needed. If the dough doesn’t stick, lightly moisten the edge with water. Use just enough — too much makes sealing harder, not easier.
- Seal from the center outward. This creates a stronger closure and helps prevent filling from escaping during cooking.