
How to Make Pierogi (Full Step-by-Step Guide + Free Video Course)
The complete pierogi workflow: videos and step-by-step recipes.
Pierogi may look impressive, but the basics are simple: a soft dough wrapped around a flavorful filling, brought together with a few straightforward techniques. Once you understand the workflow, making homemade pierogi becomes surprisingly approachable — and incredibly rewarding.
This guide walks you through the entire pierogi-making process step by step, with video lessons and detailed written recipes covering:
- making the dough
- choosing and preparing a few pierogi fillings (both traditional ones and a few modern variations)
- shaping and sealing pierogi
- cooking and serving
Along the way you’ll find practical tips, common mistakes to avoid, and links to deeper guides and recipes — including sweet and vegan variations.
Whether you arrived from YouTube or found this guide through Google, you’re in the right place to learn the full pierogi workflow from start to finish.
Pierogi Course Lessons
- Start Here
- What Are Pierogi?
- Pierogi Dough
- Fillings
- Rolling Dough
- Cutting & Filling
- Cooking
- Sauces & Toppings
- Tips
- Storage
- Reheating
Start Here
Course Overview
New to the course? Start here for a quick overview of how the lessons fit together and what you’ll be able to do by the end.
How to Use This Guide
This short lesson explains how to approach your first batch without getting overwhelmed.
What Makes Good Pierogi
Before jumping into the dough, this lesson explains what good pierogi should look and feel like, so you know what to aim for.
What Are Pierogi? (In < 30 Seconds)
Pierogi are filled dumplings popular across Eastern Europe, especially in Poland and Ukraine (where they’re known as vareniki). They’re made with a simple, unleavened dough and filled with anything from potatoes, cheese, sauerkraut, or meat to sweet fruit fillings.
They’ve been part of Polish food culture for centuries — written records date back to the 17th century, with legends linking them even earlier to Saint Hyacinth and medieval Kraków. Like many dumplings around the world, pierogi are all about the same idea: a tender dough wrapper and a flavorful filling.
With that context, let’s make some pierogi.
Step 1: Make Pierogi Dough

Every pierogi starts with the dough. While there are many variations, most pierogi dough recipes are built around the same core idea: a simple, unleavened dough that’s soft, elastic, and easy to roll thin without tearing.
👉 For a full dough recipe with step-by-step photos, see my Pierogi Dough Master Recipe.
For this guide, I recommend starting with a classic, all-purpose flour pierogi dough made with flour, water, a little oil, and salt. It’s reliable, easy to work with, and works equally well for savory and sweet fillings — especially if you’re making pierogi for the first time.
There are richer versions made with eggs, butter, or sour cream, as well as whole-wheat doughs with a stronger flavor. Those can be great options once you’re comfortable with the process, but they’re not necessary to make excellent pierogi.
Once your dough is mixed, let it rest before rolling. This short resting time relaxes the gluten and makes the dough easier to roll thin and shape cleanly — while you prep the filling.
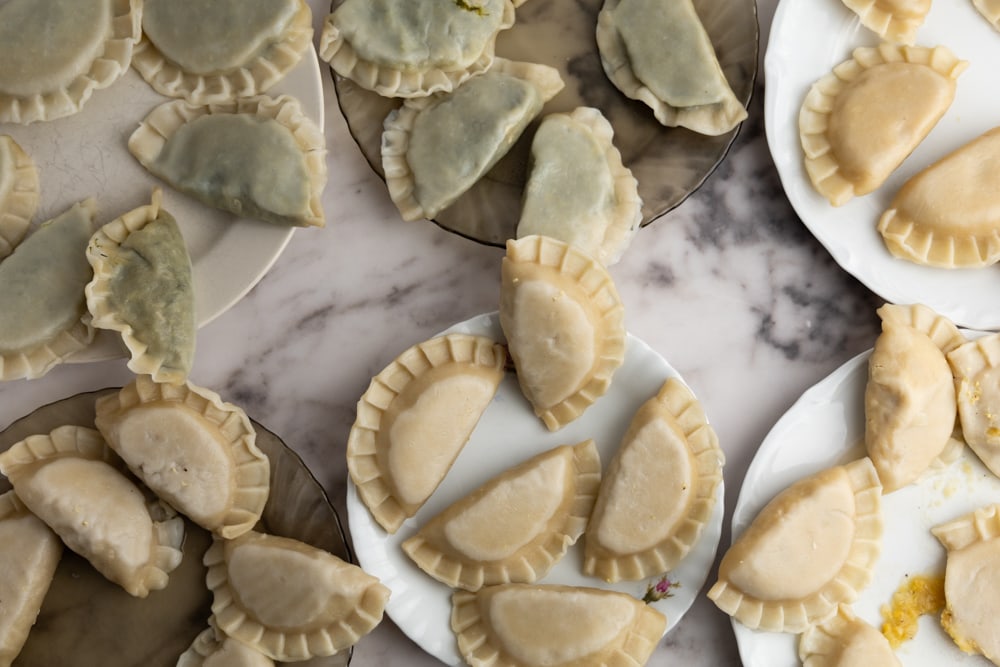
Step 2: Choose a Filling
Pierogi fillings can be savory or sweet, traditional or modern — but they all follow the same basic rule: the filling should be flavorful, cohesive, and easy to handle. A good filling holds together when scooped and doesn’t release excess moisture that could tear the dough.
👉 Looking for ideas? See my complete list of pierogi fillings, from classic savory to sweet dessert options.
Savory Fillings
Classic savory pierogi fillings include potato and cheese, meat, and spinach and feta. These are sturdy, forgiving, and a great starting point if you’re new to making pierogi.
Vegan Fillings
Many pierogi fillings are naturally vegan or easy to adapt. Potatoes (without cheese), sauerkraut, lentils, and fruity options all make excellent plant-based options without sacrificing flavor or texture.
👉 Want more plant-based options? Here’s a full guide to vegan pierogi fillings.
Sweet Fillings
Sweet pierogi are typically filled with fruit or lightly sweetened cheese. Apples, plums, strawberries, blueberries, and farmer’s cheese are traditional choices and work especially well when served with butter, sugar, or a simple sauce.
👉 Making dessert pierogi? See my full guide to sweet and dessert pierogi fillings.
Popular Pierogi Fillings (Video Lessons)
Potato and Cheese (Pierogi Ruskie)
A creamy mashed potato filling with cheese — one of the most traditional and beginner-friendly pierogi fillings.
👉 Full recipe: Potato and Cheese Pierogi
Meat Filling
Savory ground meat mixed with onions and seasoning. Rich, satisfying, and great for pan-fried pierogi.
👉 Full recipe: Meat Pierogi
Farmer’s Cheese
A lightly sweet cheese filling that works beautifully for dessert pierogi.
👉 Full recipe: Farmer’s Cheese Pierogi
Cream Cheese Filling
A smoother, milder alternative to farmer’s cheese that’s easy to find and simple to prepare.
👉 Full recipe: Cream Cheese Pierogi
Apple Filling
Soft spiced apples that turn pierogi into a comforting dessert.
👉 Full recipe: Apple Pierogi
Step 3: Roll Out the Dough
Start by rolling out the rested dough on a lightly floured surface. Work with a portion of the dough at a time, keeping the rest covered so it doesn’t dry out.
Roll the dough evenly until it’s thin, smooth, and flexible — thin enough to fold and seal easily, but sturdy enough to handle stretching without tearing.
If you’re using a very moist filling, such as fruit, rolling the dough slightly thicker can help prevent leaks during shaping and cooking.

Step 4: Cutting and Filling
There’s more than one correct way to fill pierogi. The best method depends on your filling, your dough, and how much control you want during shaping.
Start by cutting rounds from the rolled dough using a round cutter, glass, or mug. Gather and re-roll the scraps as needed.
Below are three reliable filling methods — choose the one that fits your filling and workflow.
Tabletop Method

Place a dough circle flat on the work surface and add a small spoonful of filling in the center. Fold the dough in half over the filling and pinch the edges together, starting in the middle and working outward.
This method is fast, simple, and works best with firm, well-behaved fillings such as potato, cheese, or meat.
Hand Cup Method

Place a dough circle in your cupped palm to create a natural cradle. Add the filling, fold the dough over it, and begin sealing from the center toward one side. Stand the pierogi upright with the sealed edge down, then finish sealing from the center outward on the other side.
This method offers the most control and is ideal for soft, loose, or juicy fillings, including fruit.
Pro tip: Instead of your hand, you can use a small cup or measuring cup lightly dusted with flour to cradle the dough. This gives the pierogi structure while keeping both hands free, making it easier to add the filling and seal the edges cleanly — especially with soft or juicy fillings.
Pierogi Mold Method

A pierogi mold can be helpful for making uniform shapes or larger batches. Use the mold to cut evenly sized dough circles, stretch them slightly, and press them gently into the mold. Add filling without overfilling, then close the mold firmly to seal.
This method prioritizes speed and consistency over hands-on control.
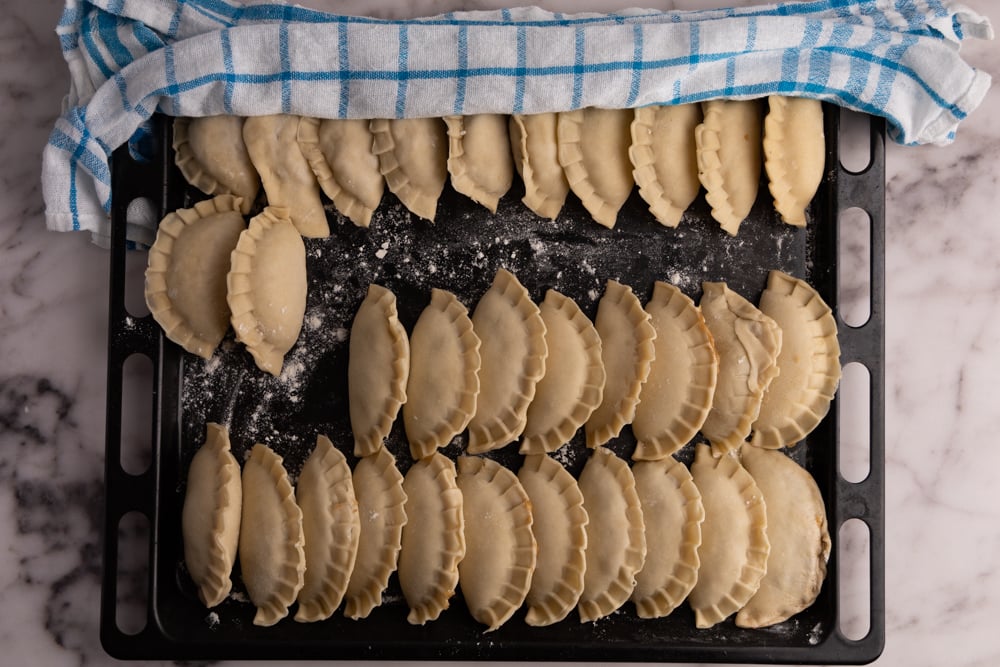
Tips for Filling and Sealing Pierogi
- Remove excess air. Push air out of the pocket as you seal to prevent leaks and uneven cooking.
- Match dough thickness to the filling. Roll slightly thicker dough for juicy or saucy fillings.
- Use moisture only when needed. If the dough doesn’t stick, lightly moisten the edge with water — too much makes sealing harder.
- Seal from the center outward. This creates a stronger seal and helps prevent filling from escaping.
Once formed, place the pierogi on a lightly floured surface and keep them covered with a kitchen towel until cooking to prevent drying out.
Step 5: Cook
Bring a large pot of well-salted water to a gentle boil. Cook the pierogi in batches — overcrowding the pot can cause them to stick or cook unevenly.
Add the pierogi to the boiling water and gently stir once or twice to prevent sticking. When they float to the surface, let them cook a bit longer: 1–2 minutes for sweet fillings, or 3–4 minutes for savory fillings, to make sure everything is fully cooked.
Remove the pierogi with a slotted spoon. At this point, they’re ready to serve right away or set aside for later frying, baking, or storing.

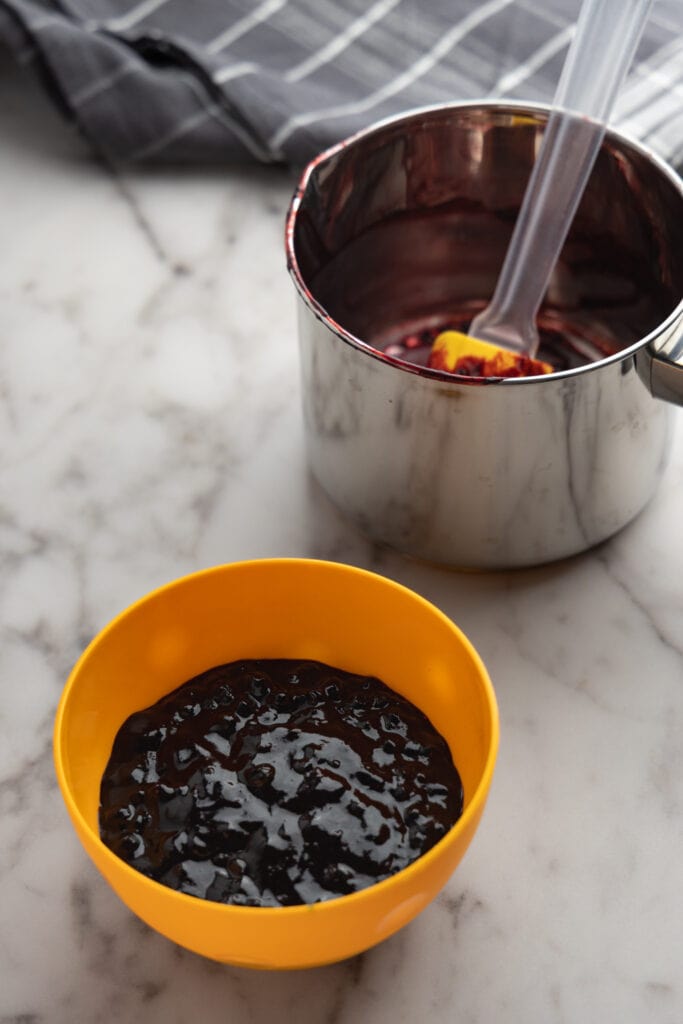
Step 6: Add Sauce or Topping (Optional)
Pierogi can be served simply, straight after cooking, but sauces and toppings are an easy way to tailor them to the filling and occasion. Some options work across the board, while others are better suited to savory or sweet pierogi.
Savory Pierogi
Savory pierogi are often finished with classic additions like melted butter, sour cream, or sautéed onions. These enhance the filling without overpowering it and are especially popular with potato, cheese, meat, and sauerkraut fillings.
Sweet Pierogi
Sweet pierogi pair well with lighter toppings such as powdered sugar, fresh fruit, sweetened dairy, or simple sauces. These additions highlight the filling rather than masking it, making them ideal for fruit- or cheese-based pierogi.
👉 Looking for ideas? See my complete guide to pierogi sauces and toppings, with options for both savory and sweet pierogi.
Practical Tips for Making Pierogi
- Try more than one filling. Making a few different fillings in one session adds variety without much extra work.
- Stick to one dough recipe at first. Using a familiar, reliable dough makes the whole process easier and lets you focus on fillings instead of troubleshooting texture.
- Keep fillings cohesive and not greasy. Too much oil or butter in the filling can leak into the dough and make pierogi heavy or greasy.
- Make a bigger batch if you can. Most of the work happens upfront, so doubling a recipe is more efficient — and pierogi freeze very well.
How to Store Pierogi
After cooking, pierogi should be stored in a way that prevents sticking and makes reheating easy later. You can do this in one of two simple ways.
Option 1: Let Them Dry
Spread the cooked pierogi loosely on plates or a tray and let them dry for 10–15 minutes, then flip them and dry briefly on the other side. Once dry, transfer them to an airtight container. If stacking, separate layers with parchment or plastic wrap.
Option 2: Lightly Coat with Oil
Instead of drying, you can place the freshly cooked pierogi into a bowl, add a small amount of neutral cooking oil, and gently stir until they’re lightly coated. This prevents sticking and makes them ready to reheat directly in a pan later.
Storage Times
- Refrigerator: up to 3–4 days
- Freezer: pierogi freeze very well and can be stored for longer periods
👉 Freezing pierogi? See my full guide to freezing pierogi, including how to freeze, thaw, and reheat them properly.
How to Reheat Pierogi
Heat a non-stick skillet over medium-low heat and add a small amount of neutral oil or butter.
Arrange the pierogi in a single layer, leaving space between them. Reheat gently for 8–12 minutes, flipping halfway through, until heated through. Also, shake the pan occasionally to prevent sticking.
Using a lid is optional, but it helps the pierogi warm more evenly and reduces the risk of overbrowning before the centers are hot.
If you’re reheating frozen pierogi, use a lid, keep the heat low, and add a few minutes to the reheating time.
Serve immediately.